
Your wheelchair rolling away during a transfer or accelerating downhill isn’t just inconvenient—it’s dangerous. When standard parking locks fail to stop motion, understanding the critical differences between types of wheelchair brakes becomes essential for safety and independence. Whether you’re navigating city sidewalks, steep ramps, or care facilities, choosing the right braking system prevents accidents and preserves your mobility. This guide cuts through the confusion by comparing every functional brake type available today—from basic push-to-locks to advanced electromagnetic systems—so you can match your physical abilities and lifestyle with the perfect solution.
Most users mistakenly treat wheelchair “locks” and “brakes” as interchangeable, but this error causes tire damage and safety hazards. Parking locks (like push-to-locks) only immobilize stationary chairs during transfers, while true brakes actively slow motion during movement. Manual chairs rely on rim braking or disc systems for motion control, while power chairs use electromagnetic technology. Choosing incorrectly leads to dangerous overuse of parking locks on inclines—a leading cause of wheelchair-related injuries. Let’s break down every option so you never confuse these critical systems again.
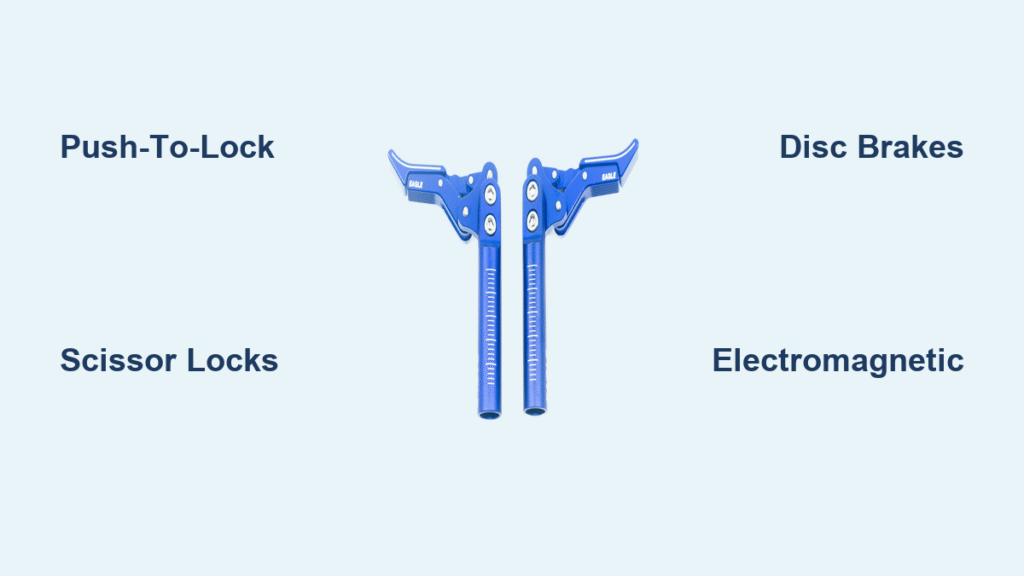
Push-to-Lock and Pull-to-Lock Systems: Everyday Solutions
These lever-based systems dominate manual wheelchairs because they’re affordable and intuitive. Push the lever down (push-to-lock) or pull it up (pull-to-lock), and a metal bar presses against your rear tire to prevent rolling. But don’t mistake them for motion brakes—they’ll wear out fast if used to stop downhill movement.
Why Push/Pull Locks Fail on Hills
Never use push-to-locks to slow rolling chairs—this grinds rubber against metal, creating flat spots on tires within weeks. You’ll recognize this failure by uneven vibrations during movement or visible bald patches on tire surfaces. Light-duty springs ($38 AUD) suit users with strong hands, while heavy-duty versions ($70 AUD) help those with arthritis—but both require moderate grip strength.
Critical Extension Handle Warning
Extension handles seem helpful for limited reach, but they protrude dangerously close to spinning wheels. During propulsion, your hand can snag these extensions, causing finger injuries or loss of control. If you need extensions, test them in a clinic first: Position your hand naturally on the push-rim—if your thumb brushes the extension, skip this option. Curved ergonomic levers ($125–$145 AUD) often provide safer reach without protruding hazards.
Scissor Locks for Active Users: Zero-Interference Design
Forget clunky levers blocking your push-rim strokes. Scissor locks clamp directly onto the wheel hub, retracting flush with the frame when disengaged. This makes them the top choice for athletes and daily commuters who need unobstructed hand movement during rapid propulsion.
Spot the Hidden Lever During Transfer
When disengaged, scissor locks vanish beneath your seat—so you must know exactly where to look. Run your fingers along the frame near the wheel hub until you feel a small, spring-loaded lever (about 1 inch long). Flip it upward firmly to release. If you struggle to locate it, try textured lever caps ($20 AUD add-on) for better tactile feedback. Users with spasticity often find this fiddly mechanism challenging, so practice 10 times before relying on it during transfers.
Hub-Actuated Wheel Locks: Strength-Saving Alternative

Hub locks eliminate tire wear by engaging a pawl inside the wheel hub—not the rubber surface. A compact lever mounted near the axle requires 40% less force than push-to-locks, making them ideal if arthritis or nerve damage limits your grip.
Upgrade Your Existing Chair in 5 Minutes
Most standard wheelchairs accept hub locks with basic Allen keys. First, remove your push-to-lock arms. Then slide the hub lock’s mounting bracket over the frame rail (aligning it 2 inches behind the wheel axle). Tighten the bolt until the lever clicks smoothly—but stop if you hear grinding noises, which indicate misalignment. Add $35 AUD hub extensions if your fingers can’t reach the lever comfortably. Pro tip: Apply silicone spray to pivot points monthly to prevent stiffness in humid climates.
Caregiver-Operated Foot Locks: Transfer Safety Essential
When users can’t operate locks independently—due to dementia, spinal cord injuries, or limited arm function—foot locks let caregivers secure both wheels simultaneously with a rear-mounted pedal. This prevents dangerous leaning during transfers.
Why Foot Locks Aren’t for Self-Use
These systems position the pedal under the rear frame crossbar, requiring downward foot pressure to engage. Users with partial mobility often attempt to operate them with their feet, risking foot entrapment or falls. If you have even minimal hand function, pair hub locks with caregiver foot locks for layered safety. Always confirm the pedal clicks audibly when locked—silent engagement means worn springs needing replacement.
Disc Brakes for Outdoor Use: Precision Hill Control

Forget burning your palms on wheel rims during downhill rides. Disc brakes use bicycle-style calipers that clamp a rotor on the wheel hub, giving you fingertip control over speed—just like motorcycle brakes.
Install Disc Brakes Without Voiding Warranty
Retrofit kits require dealer consultation, but here’s what to verify first:
1. Measure your wheel hub diameter (most accept 160–203mm rotors)
2. Check frame clearance—calipers need 15mm space on the non-gear side
3. Confirm lever mounting compatibility (some attach to push-rims, others need handlebar clamps)
Never overtighten caliper bolts—this warps rotors, causing shuddering during braking. Test new disc brakes on a 5° slope first, applying 3-second pulses to avoid rotor overheating.
Electric Wheelchair Electromagnetic Brakes: Effortless Safety
Power chair brakes engage automatically when you release the joystick, preventing rollaways on inclines. Unlike manual systems, these require zero physical effort—critical for users with limited strength.
Diagnose Failing Electromagnetic Brakes in 60 Seconds
If your chair creeps backward on hills, unplug the controller battery for 30 seconds to reset the system. Still rolling? Check for error codes: Three rapid beeps indicate brake coil failure (common after liquid spills). Two slow beeps mean worn brake pads needing replacement. Always carry a portable brake override tool ($15 AUD) for emergencies—this manual release lets caregivers move you if power fails.
Automatic Locking Brakes: Memory-Lapse Protection

Common in nursing homes, these brakes engage when weight lifts off the seat—preventing falls when users forget to lock wheels. Spring-loaded versions ($85 AUD) activate instantly, while electronic models ($220 AUD) add a 10-second delay for easier transfers.
Prevent False Triggers During Transfers
Automatic locks sometimes engage mid-transfer if you shift weight too quickly. Fix this by adjusting the sensitivity dial (usually under the seat cushion) until it triggers only when 90% of your weight lifts off. For electronic models, increase the delay timer to 15 seconds if you transfer slowly. Never disable these systems—they reduce fall-related injuries by 73% in memory care facilities.
Weekly Maintenance Checklist You Can’t Skip
Neglected brakes cause 31% of preventable wheelchair accidents. Spend 3 minutes weekly on these checks:
– Tire inspection: Run fingers along rear tires feeling for flat spots (replace if deeper than 2mm)
– Lever test: Engage locks—wheels must not rotate more than 5 degrees when pushed
– Crack detection: Shine a flashlight on composite levers; hairline cracks mean immediate replacement
– Lubrication: Spray silicone on pivot points (never use WD-40—it attracts dirt)
Critical red flags: Squeaking noises during braking (indicates dry pivots), excessive lever wobble (loose mounting bolts), or delayed engagement (worn springs). Address these within 48 hours to avoid sudden failure.
Selection Decision Matrix: Match Your Needs
| Your Situation | Best Parking Lock | Motion Brake Add-On |
|---|---|---|
| New user with good hand strength | Push-to-Lock | None |
| Frequent hill navigation | Hub Lock | Disc brakes |
| Limited grip + caregiver help | Foot Lock | Attendant brake lever |
| Memory issues | Automatic Lock | Electronic brake |
Final Selection Tips: Avoid Costly Mistakes
Never prioritize price over compatibility—a $35 push-to-lock that doesn’t fit your frame is useless. Start by checking your chair’s manual for approved brake types (search “[Your Brand] + brake compatibility”). If you’re active outdoors, prioritize disc brakes over rim braking—they last 3x longer on hills. For care-dependent users, combine automatic locks with caregiver foot locks for dual safety layers.
Most importantly: Test before you buy. Visit a mobility clinic to try scissor locks versus hub locks with your exact chair model. Your ideal brake system should feel intuitive within 5 transfers—if it doesn’t, keep searching. Remember, the right brakes don’t just stop your wheelchair; they protect your independence every single day.


