
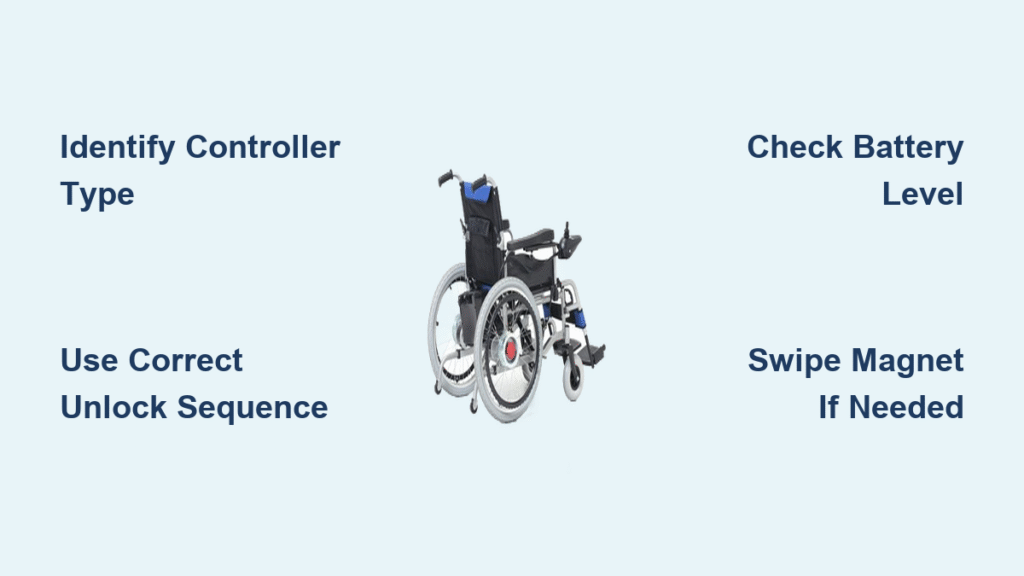
Your electric wheelchair won’t budge, the display shows flashing lights, and you’re stranded. This panic-inducing scenario usually means your controller is locked—a critical safety feature that prevents accidental movement during transport or storage. Whether you’re using a Pride Jazzy, Dynamic Shark, or other mobility chair, unlocking your electric wheelchair follows specific sequences unique to each controller type. The good news? With the right steps, you’ll regain mobility in under a minute without professional help.
Most lockouts occur during routine situations: after car transport, following battery replacement, or when returning from storage. Manufacturers intentionally make these sequences simple but controller-specific to avoid accidental activation. This guide cuts through the confusion with exact steps for every major controller brand, visual cues to identify your system, and troubleshooting for stubborn locks. You’ll learn precisely how to unlock electric wheelchair systems safely and independently.
Identify Your Controller Type Before Attempting Unlock
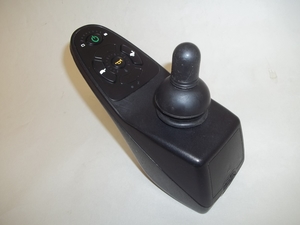
Check your joystick faceplate immediately—model identifiers appear as tiny text near the power button or display corners. Don’t guess; using the wrong sequence wastes time and may trigger error modes. Pride controllers often hide markings along the bottom edge, while Dynamic models feature “Shark” branding on the housing. If text is illegible, power on the controller and note the lock indicator pattern: scrolling LEDs, flashing key symbols, or rippling speed lights all point to specific systems.
Critical identification shortcuts:
– VSI/VR2/nVR2: Pride Jazzy series with left-to-right scrolling profile LEDs
– DX2 REM: Dynamic Shark controllers requiring double-horn presses
– G90/ACS: Red flashing key symbol requiring magnet activation
– LiNX: Minimalist design needing two rapid horn button presses
– GC3: Jazzy Evo models with battery meter lock indicators
Photograph your controller and cross-reference with manufacturer diagrams online—this prevents costly mistakes during urgent situations.
VSI Controller Unlock Sequence for Pride Jazzy Models
Models affected: Jazzy Carbon, Jazzy Passport, and older Pride chairs showing left-to-right LED scrolling below the battery indicator.
When locked, five profile LEDs pulse in sequence like a wave. This isn’t a malfunction—it’s the system waiting for your unlock command. Attempting to move the chair now causes jerky motions or complete unresponsiveness. The fix requires precise joystick timing, not button presses.
Execute this sequence:
1. Power on the controller if not already active
2. Push joystick fully forward—hold until you hear a distinct single beep
3. Pull joystick fully backward—maintain pressure until second beep sounds
4. Release to center position immediately after the beep
5. Confirm unlock when scrolling LEDs stop and power button lights flash
Avoid this critical mistake: Rushing the sequence. If lights continue scrolling, restart slowly—each movement must trigger a beep before proceeding. No beep means insufficient joystick displacement; adjust your grip for full range.
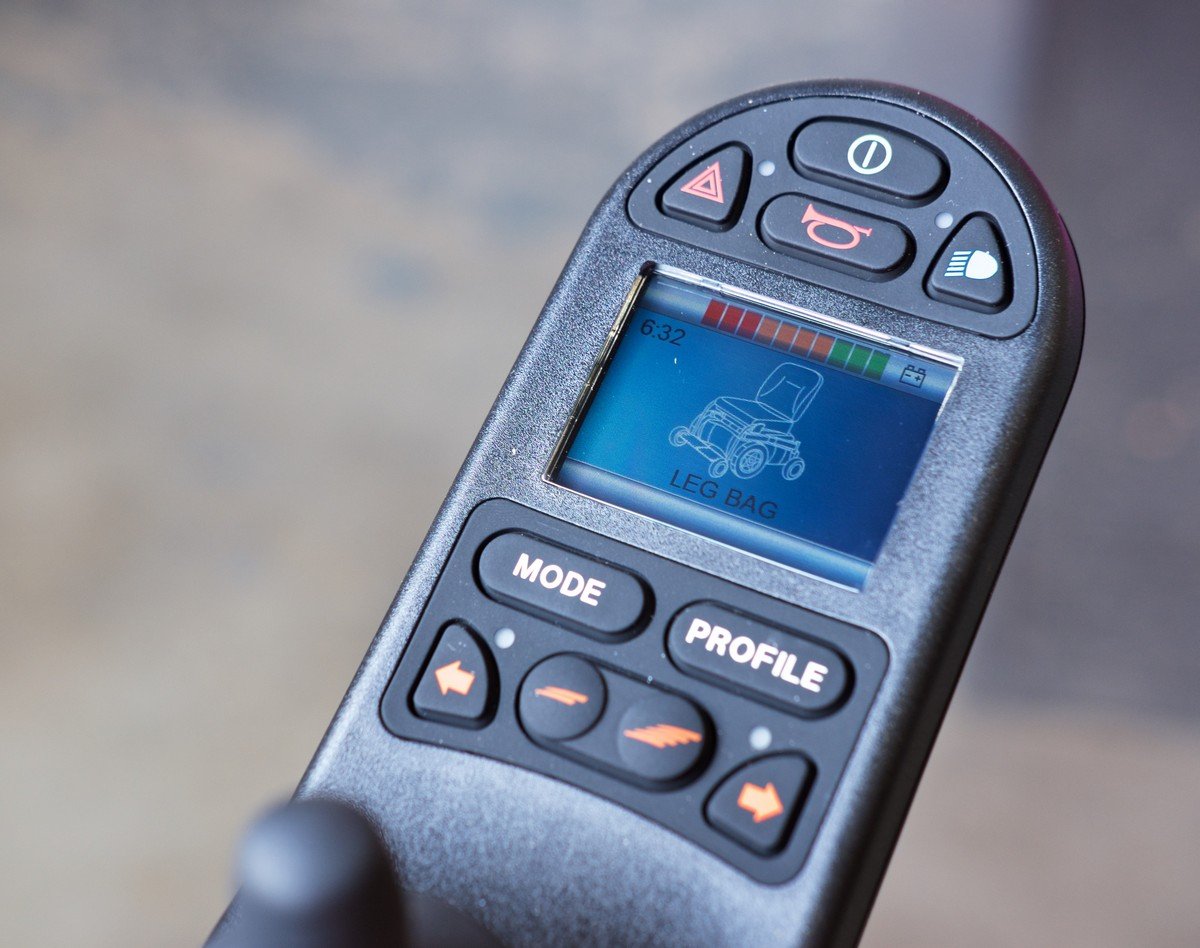
VR2 Controller Unlocking for Premium Pride Chairs
Models affected: Jazzy Air 2, Jazzy Elite 1450, and power-seat models with yellow center LEDs scrolling left-to-right.
These controllers demand speed-sensitive inputs. The unlock window closes 10 seconds after power-on, so have your hands ready. Yellow scrolling LEDs mean the system is armed but immobilized—a safety feature preventing transport accidents.
Follow these exact steps:
1. Power on the controller
2. Push joystick forward until beep confirms position
3. Pull joystick back until second beep sounds
4. Center the joystick within 2 seconds
5. Listen for long confirmation beep (1+ second duration)
Pro tip: Time your movements to “one-thousand-one” between steps. Delayed centering triggers error mode—practice the sequence with the chair powered off first.
nVR2 Controller Method for Newer Pride Systems
Newer nVR2 controllers indicate lock status through rippling speed indicator lights. Unlike older models, they require complete joystick release after the backward movement. Missing this step causes repeated lockouts.
Unlock procedure:
1. Activate controller with power button
2. Watch speed lights—up/down rippling confirms locked state
3. Push joystick forward until beep (full displacement required)
4. Pull joystick back until second beep
5. Release joystick completely—do not hold center position
6. Wait for long beep (up to 5 seconds)
Troubleshooting: If no beep occurs during forward push, check for physical obstructions under the joystick boot. Dust buildup often prevents full movement.
Dynamic Controller Variants
DX2 REM A/B and Shark Controllers
Dynamic controllers use horn-button activation instead of joystick inputs. The 10-second LED scroll window is your only opportunity—miss it, and you must power cycle.
Quick unlock:
1. Power on controller
2. During LED scrolling (first 10 seconds)
3. Press horn button twice rapidly (within 1 second)
4. Confirm immediate unlock—scrolling stops instantly
Critical warning: Single presses trigger horn functions; double-press must be snappy. Practice the rhythm: “tap-tap” like a heartbeat.
G90 and ACS REM 24 Controllers
These systems use magnetic security—no buttons or joysticks involved. The red flashing key symbol is your visual cue. Forget complex codes; household magnets do the job.
Unlocking process:
1. Power on the system
2. Locate flashing red key on display
3. Swipe magnet slowly across symbol area (refrigerator magnet works)
4. Repeat if needed—weak magnets may require 2-3 passes
5. Confirm unlock when red key disappears
Magnet hack: If no magnet is available, use steel keys or scissors—the ferrous metal triggers the sensor. Avoid strong neodymium magnets that could damage electronics.
LiNX Controller Unlock for Modern Chairs
LiNX systems prioritize simplicity. The lock indicator appears briefly on startup, demanding immediate action.
Simple unlock:
1. Power on remote/controller
2. Press horn button twice within 10 seconds
3. No additional steps—system unlocks automatically
Time-saving tip: The horn button is larger than it appears—press the center dome firmly. Missed timing? Power off/on and retry immediately.
GC3 Controller for Jazzy Evo Models
Models affected: Jazzy Evo 613 with unique battery meter lock indicators.
Unlike other Pride controllers, GC3 uses the battery display to signal lock status. A specific ripple pattern replaces traditional LED scrolling.
Unlock sequence:
1. Power on using on/off key
2. Watch battery meter for vertical ripple pattern
3. Push joystick forward until beep
4. Pull joystick back until beep
5. Release completely
6. Listen for long confirmation beep
Common error: Confusing low-battery indicators with lock patterns. Lock sequences show rhythmic movement; low battery shows static segments.
When Standard Methods Fail
Battery check first: Below 20% charge prevents unlocking. Plug in for 30 minutes minimum—don’t waste time troubleshooting dead batteries. If charging indicators don’t light, inspect the charger connection for corrosion.
Controller damage signs requiring immediate attention:
– Sticky joystick that won’t return to center
– Cracked housing exposing internal components
– Intermittent beeps during sequence attempts
– Error codes like “E02” on display
Slow-sequence technique: For unresponsive controllers, extend timing to “one-thousand-one, one-thousand-two” between steps. Some older models need deliberate pacing.
Crucial check: Verify freewheel mode is disengaged—locked controllers won’t respond if wheels are in neutral. Shift to drive mode before retrying.
Safety During Unlocking
Before starting:
– Position wheelchair on level, non-slip surface
– Engage drive mode (freewheel disengaged)
– Clear hands/feet from wheel paths
– Have a helper nearby if possible
During sequence:
– If sudden jerking occurs, power off immediately
– Never force stuck joysticks—this damages internal sensors
– Stop instantly for grinding noises or burning smells
Emergency response: If the chair moves unexpectedly during unlocking, press and hold the power button for 5 seconds to force shutdown.
Professional Support Options
Call for help when:
– Controller ignores inputs after 3 attempts
– Error codes persist post-unlock
– Physical damage is visible
– Chair moves erratically when unlocked
Support preparation:
– Note exact error codes (e.g., “E14”)
– Record beep patterns (short/long sequences)
– Have serial number ready (usually under seat)
– Describe recent incidents like drops or water exposure
Best contacts: Authorized dealers resolve 80% of issues without service calls. For urgent needs, manufacturers like Pride Mobility offer live tech support 8 AM-8 PM EST.
Prevent Future Lock Issues
Transport protocol:
– Power off before folding or lifting
– Secure joystick with travel strap
– Verify unlock status after storage
Monthly maintenance:
– Clean joystick boot with alcohol wipe
– Check cable connections at base
– Test unlock sequence as preventative measure
Battery management:
– Never drain below 25% charge
– Use only manufacturer-approved chargers
– Store at 50% charge for long periods
Quick Reference Unlock Chart
Pride VSI/VR2/nVR2/GC3: Forward-beep → Back-beep → Release → Long beep
Dynamic DX2 REM/Shark: Power on → Double-horn during LED scroll
G90/ACS: Power on → Magnet swipe over red key symbol
LiNX: Power on → Double-horn within 10 seconds
Final verification: After unlocking, test movement in a safe 10×10 ft space. If response feels sluggish, check battery charge—not controller lock. Remember, this safety feature protects you from accidental activation during transport. Master these sequences, and you’ll never be stranded by a locked controller again. For persistent issues, document symptoms before contacting support—this cuts diagnosis time by 70%. Keep this guide accessible in your chair’s storage pouch for instant reference.


