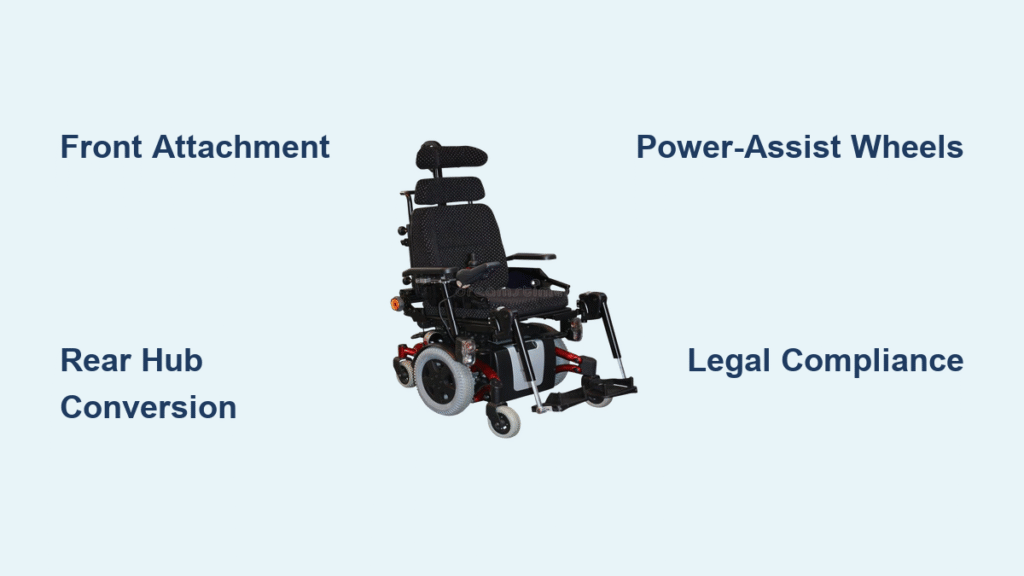
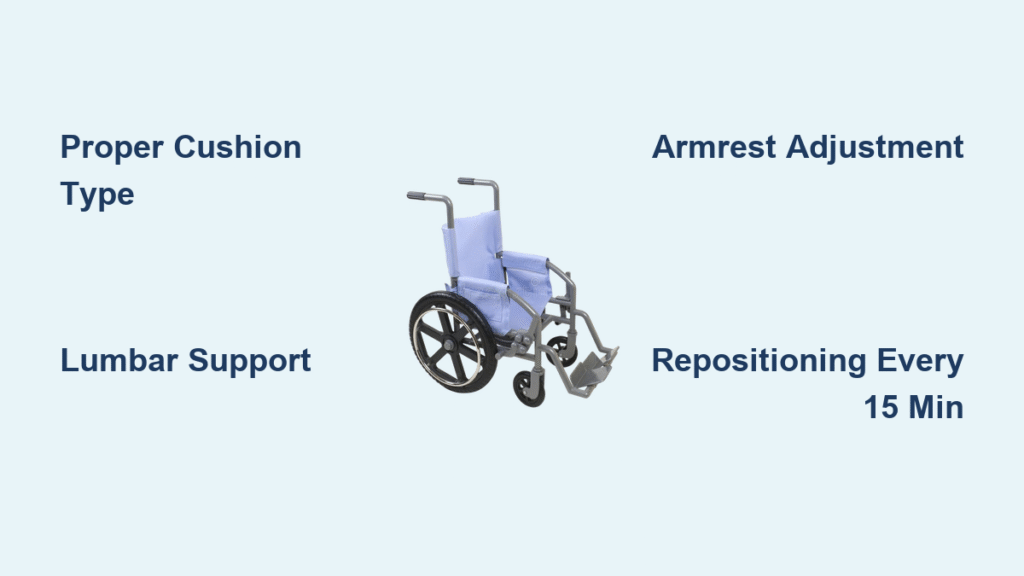
Struggling with shoulder pain after pushing your manual wheelchair up a slight incline? You’re not alone—nearly 70% of manual wheelchair users develop chronic shoulder injuries within ten years of regular use. Learning how to motorize a wheelchair solves this problem by adding electric propulsion to your existing frame without permanent modifications. Whether you need occasional hill assistance or full-time electric mobility, modern solutions attach in minutes and preserve your chair’s folding capability.
This guide reveals six proven methods to motorize your wheelchair, from budget-friendly front attachments to complete rear-wheel conversions. You’ll discover exact compatibility requirements, installation timeframes, and cost breakdowns so you can choose the right solution without costly mistakes. Most importantly, you’ll gain independence while reducing physical strain—transforming exhausting daily commutes into effortless journeys.
Todo Drive Front Attachment: 10-Minute Installation for Foldable Chairs
Why Front-Wheel Systems Beat Full Conversions for Occasional Use
Front-wheel attachments like the Todo Drive add a single powered wheel beneath your footplate, creating a three-wheel configuration that maintains your chair’s folding capability. At just 4.5 kg total weight, these systems install with a single hex key in under 10 minutes while delivering 6 km/h speeds and 7 km range. The compact 0.9 kg battery slips into an under-seat pouch, eliminating the need for frame drilling or permanent modifications.
Critical compatibility check: Measure your footplate tubing diameter—most systems require 22-28 mm tubes. If your chair has rigidizer bars, verify the clamp assembly clearance before ordering. Chairs with folding mechanisms need special attention to cable routing at pivot points.
Todo Drive Installation: Torque-Specific Mounting Steps

- Slide the clamp assembly over your footplate tube, positioning it 2-3 cm from the caster wheel forks
- Tighten bolts to the precise 8-10 N·m torque specification using a calibrated hex key
- Engage the locking cam lever until you hear two distinct clicks confirming full engagement
- Route cables along the frame using supplied Velcro ties, keeping them clear of rotating axles
Pro tip: Mark your footplate tube with tape before installation—this ensures consistent positioning when removing the unit for transport. Never pinch cables between folding mechanisms; use spiral wrap protection at all pivot points to prevent chafing.
Rear-Wheel Hub Conversions: Full Electric Control Without Frame Modifications
Joystick-Powered Mobility for Indoor Precision
Rear-wheel hub conversions replace your existing wheels with motorized units controlled by an armrest-mounted joystick. These systems add 8-12 kg but provide superior indoor maneuverability through electronic differential steering. Unlike front attachments, they maintain your chair’s original footprint while delivering 6-8 km/h speeds and 15-25 km range on a single charge.
Best for: Users needing full-time electric mobility who still require tight-space navigation in homes or offices. Chairs with quick-release rear axles install in minutes—fixed axles may require adaptor sleeves adding 15 minutes to setup time.
Wheel Replacement Process: Avoiding Frame Damage
Remove manual wheels by releasing quick-release axles, then slide powered hubs onto axle tubes until you hear the engagement click. Support each 3.5 kg hub during installation to prevent frame stress. Secure with the camber tube clamp while maintaining proper wheel alignment—misaligned wheels cause premature tire wear and instability.
Warning: Always add thread-locking compound to mounting screws. Vibration from motors can loosen standard fasteners within weeks, creating dangerous detachment risks. Test all connections after 24 hours of use.
Power-Assist Wheels: How SMOOV One Reduces Shoulder Strain by 40%
Electronic Push Amplification for Active Users
Power-assist systems like the SMOOV One sense your push-rim force and amplify it electronically, reducing effort by up to 40% without changing your natural propulsion motion. These Bluetooth-enabled wheels provide 10 km/h maximum assist and 20 km range while maintaining your chair’s original handling characteristics.
Key advantage: You retain full physical control while getting electric assistance only when needed—perfect for tackling hills or long commutes. The system automatically disengages below 1 km/h to prevent accidental movement during transfers.
Calibration Protocol for Natural Push Feel
Power on the controller and enter setup mode by holding both throttle buttons for 3 seconds. Set minimum throttle position to prevent creep, then maximum range while fully twisting the grip. Test reverse inhibit by attempting to engage reverse while moving forward—the system should prevent dangerous direction changes. Adjust acceleration curves via smartphone app for smoother starts on slippery surfaces.
£1,100-£6,000 Cost Breakdown: What Each Method Really Costs

Commercial Kit Pricing vs Hidden Expenses
Front attachments like the Todo Drive cost £1,100-£1,400 while rear-wheel conversions range from £3,000-£6,000 for full joystick control systems. Power-assist wheels cost £1,500-£2,400 per pair, and attendant packs run £1,200-£1,900. But these prices don’t tell the full story—budget these often-overlooked expenses:
- Spare batteries: £200-£400 for daily ranges exceeding 15 km
- Annual servicing: £80-£150 for brake adjustments and motor diagnostics
- Insurance premium increases: £50-£100 yearly
- Battery replacement: £300-£600 every 3-4 years
Money-saving tip: Aftermarket kits from EU suppliers often cost 30% less than branded units while maintaining CE certification. The Todo Drive equivalent from European manufacturers costs £750-£1,000 versus £1,100-£1,400 for the branded version.
UK Legal Requirements: Class 2 vs Class 3 Classification
Speed Limits and Safety Checks You Must Know
Your motorized wheelchair becomes a Class 2 invalid carriage (pavement use only) if it exceeds 4 mph (6.4 km/h) but stays under 8 mph (12.8 km/h). Class 3 classification for road use requires additional safety features including indicators and rear reflectors. All systems must maintain a minimum 15° tipping angle with the user seated and batteries installed.
Critical safety tests:
– Braking distance from 3 km/h must not exceed 1 meter
– Battery must have integrated BMS preventing over-discharge
– All electrical components require IP54 weatherproofing
– Frame modifications must not compromise structural integrity
Warning: DIY conversions lack regulatory certification—while legal for personal use, they void insurance coverage and create liability issues in accidents. Always choose CE-marked kits meeting EN 12184 standards.
Weekly Maintenance Checklist: Extending Lifespan Beyond 5 Years
Three Critical Tasks You Can’t Skip
- Drive wheel inspection: Check tread depth and hub screw torque weekly—re-torque to manufacturer specifications using a calibrated wrench
- Battery care: Charge after each use and never store below 20% capacity; lithium-ion batteries degrade fastest at full discharge
- Brake testing: Verify electromagnetic brakes hold on 10° slopes before regular use—replace pads when thickness drops below 3mm
Pro tip: Clean battery contact points monthly with isopropyl alcohol to prevent corrosion. Check all cable routing for wear spots, particularly at folding joints where repeated movement causes chafing.
Final Selection Guide: Choose power-assist wheels if you self-propel but need hill assistance. Select attendant control packs when caregivers provide primary mobility. Opt for front-attachments for occasional powered travel while maintaining folding capability. Pick rear-wheel conversions for full-time electric mobility without folding needs. Consider DIY builds only if you accept full liability and possess technical skills.
Most suppliers offer 14-day trials—test different systems with your actual daily routes before committing. Properly installed motorization transforms exhausting commutes into effortless journeys while protecting your shoulders from long-term damage. Start with a front-wheel attachment for under £1,400 and upgrade as your needs evolve—your future self will thank you when you’re still independently mobile decades from now.

