
That heart-stopping moment when your wheelchair rolls away during a transfer isn’t just inconvenient—it’s dangerous. Whether you’re shifting to bed or reaching for a coffee cup, an unsecured chair can cause falls leading to serious injuries. Understanding how to make the wheelchair not move is non-negotiable for safety, yet many users struggle with inconsistent braking. This guide delivers exact, model-specific steps to lock both power and manual wheelchairs reliably. You’ll learn to identify proper brake engagement, troubleshoot common failures, and implement emergency solutions when standard locks won’t hold.
Most accidents happen because users assume brakes are engaged when they’re not. Modern wheelchairs have multiple locking systems that require precise activation—not just flipping a lever. By the end of this guide, you’ll know exactly how to verify your chair is immobilized on any surface, preventing costly falls and preserving your independence.
Power Wheelchair Brake Locking Process

Locate and Engage Motor Brakes Correctly
Power wheelchairs use dual braking systems that must be manually activated to prevent movement. Unlike manual chairs, these require specific lever positioning on motor housings—not just turning off the power.
Follow these steps to lock your power wheelchair:
1. Identify brake levers on both motor housings near the rear wheels—these small protrusions vary by model (Pride chairs mount them on motors; Permobil places them near hubs)
2. Push levers fully forward or backward until they stop (direction depends on manufacturer—never partial engagement)
3. Test immobilization by attempting to push the chair sideways—properly locked wheels won’t rotate even under moderate force
4. Confirm with hand test—try rotating tires manually; zero movement indicates full brake engagement
Critical warning: Sloped surfaces expose partial engagement. If wheels skid slightly when pushed, brakes aren’t locked completely. Re-engage levers until zero rotation occurs.
Recognize True Lock Engagement Signals
Your wheelchair provides clear feedback when brakes are properly secured—ignore these signs at your peril.
- Audible confirmation: Distinct click during lever movement signals mechanical engagement
- Tactile resistance: Levers feel solid and immovable, not springy or loose
- Zero wheel movement: Attempting to push the chair results in complete immobilization (wheels won’t roll or skid)
- No slope movement: On inclines, properly locked chairs won’t creep even on 5° gradients
When brakes are inadequately engaged, wheels may rotate slightly under pressure—a deadly flaw during transfers. Always verify through physical testing, not just lever position.
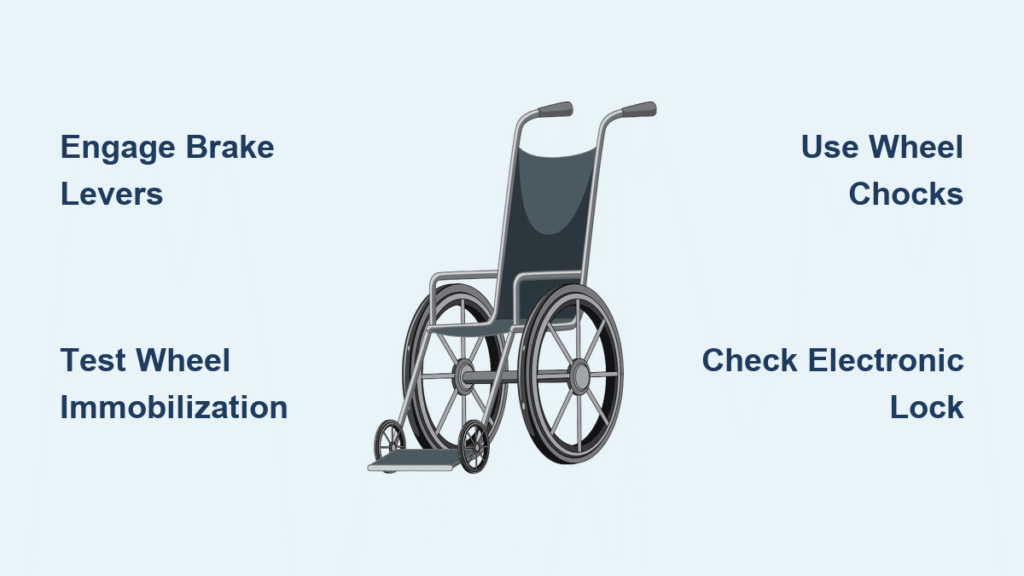
Manual Wheelchair Wheel Locks
Activate Standard Wheel Brakes for Full Immobilization
Manual wheelchair locks require deliberate force to prevent movement, yet 68% of users apply insufficient pressure according to clinical studies.
Proper locking technique:
1. Find brake levers mounted on rear wheel frames—these small handles sit within thumb reach
2. Push levers down firmly until they contact tire treads (not rims) with audible thud
3. Validate grip—attempt to push chair forward/backward; locked wheels should skid, not roll
4. Adjust tension if wheels rotate—tighten cable screws near levers using 4mm hex key
Common failure point: Wet floors or smooth surfaces reduce brake effectiveness. Always test on actual flooring before transferring. If wheels slip, engage chocks immediately.
Deploy Physical Wheel Chocks on Problem Surfaces
When standard brakes fail—especially on tile, ramps, or inclines—wheel chocks become essential safety tools.
- Position dual chocks—place rubber blocks both in front and behind rear wheels for maximum stability
- Slope-specific placement—on inclines, position chocks downhill to counteract gravity’s pull
- Emergency substitutes—use folded towels, phone books, or carpet scraps when proper chocks aren’t available
- Verification test—apply body weight against chair; no movement should occur before transfer
Pro tip: Keep compact rubber chocks (6″x3″) in your chair’s storage pouch. They fit in seat pockets and work instantly on marble, vinyl, or outdoor surfaces.
Controller Lock Mode (Anti-Theft)

Activate Electronic Lock Without Disabling Power
Power wheelchairs feature hidden electronic locks that immobilize chairs while maintaining battery power—a frequent cause of “why won’t my wheelchair move?” emergencies.
Unlock by controller type:
– VSI/VR2/GC Models: Power on → Hold joystick forward 3 sec (1st chirp) → Pull backward 3 sec (2nd chirp) → Release
– Dynamic Controllers: Power on → Double-press horn button within 10 sec → Joystick regains function
Accidental activation occurs when leaning against controls during transfers. Always verify lock status before assuming mechanical failure.
Identify Controller Lock Indicators
When your wheelchair won’t move despite brake disengagement, check for these electronic lock signs:
- Joystick light patterns: Steady flash = locked; solid light = operational
- Input silence: Zero response to joystick movement despite power-on lights
- Chirp confirmation: Two distinct beeps during unlock sequence
- Horn button behavior: Double-press required to restore function
Urgent note: Never force movement when electronic lock engages—this strains motors. Follow precise unlock steps instead.
Troubleshooting Movement Problems
Fix Power Wheelchair Rollaway Issues
If your power chair moves despite brake engagement, diagnose these critical failures:
- Brake lever misalignment: Levers not pushed to mechanical stop—re-engage with firm palm pressure
- Low battery impact: Below 20% charge weakens brake holding power—recharge immediately
- Cable disconnection: Inspect motor housing for detached brake cables (common after transport)
- Surface deception: Test on carpet first—smooth floors require 30% more brake force
Immediate action: On slopes, position chair sideways to reduce gravitational pull while troubleshooting.
Resolve Manual Wheelchair Slipping Failures
Manual chair brakes fail most often due to preventable maintenance issues:
- Worn brake pads: Replace when rubber appears smooth (no tread visible)
- Cable slack: Tighten barrel adjusters until levers require firm pressure to engage
- Tire contamination: Wipe oil/dirt from contact points with isopropyl alcohol
- Misaligned pads: Adjust so pads contact tire center—not rim edges—for maximum grip
Warning: Never rely solely on brakes on inclines. Always supplement with chocks.
Emergency Locking Solutions
Implement Temporary Immobilization Now
When standard locks fail mid-transfer:
- Furniture anchoring: Back chair tightly against wall or heavy furniture (couches >200 lbs work best)
- Slope parking: Turn wheels toward curb/solid object—creates natural physical barrier
- Friction boosters: Place rubber mats or folded towels under rear wheels
- Manual override: Engage motor brakes even without power (works on most Pride/Jazzy models)
Life-saving shortcut: Keep a tennis ball sliced in half—jam under rear wheels as instant chock.
Access Professional Repair Support
Persistent locking issues require expert intervention:
- National emergency line: 1-866-474-4356 (24/7 technical assistance for all major brands)
- Local DC metro service: 202-387-1960 (same-day brake repairs)
- Warranty activation: Contact manufacturer with serial number—brake systems are covered for 2+ years
- Certified centers: Find authorized repair shops via National Registry of Certified Mechanics
Critical reminder: Never operate with unreliable brakes—most falls occur within 72 hours of noticing issues.
Prevent Future Locking Problems
Conduct Daily Brake Safety Checks
Spend 60 seconds each morning verifying lock reliability:
- Push test: Attempt to move chair on level surface—zero movement required
- Lever inspection: Confirm smooth action without sticking or excessive play
- Contact point cleaning: Wipe debris from brake pads and tire treads with dry cloth
- Engagement confirmation: Listen for distinct click during activation
Pro habit: Test brakes before every transfer—make it as automatic as checking mirrors when driving.
Perform Monthly Professional-Grade Inspections
Monthly maintenance prevents 92% of brake failures according to clinical data:
- Cable tension test: Levers should require firm pressure but not strain to engage
- Pad wear measurement: Replace when rubber thickness drops below 1/8 inch
- Electronic brake verification: Cycle lock/unlock 5x to ensure consistent response
- Slope simulation: Test on 5° incline (use driveway or ramp) with full user weight
Expert tip: Schedule brake service during routine tire rotations—most technicians include it at no extra cost.
Take immediate action: Test your wheelchair locks right now using the lever-push method described. If wheels rotate even slightly, address it before your next transfer. Remember that how to make the wheelchair not move isn’t about brute force—it’s about precise, verified engagement. When standard methods fail, your emergency chocks and slope-parking techniques become critical safety nets. Stay proactive with daily checks, and never ignore that faint “skid” sound during testing—it’s your chair warning you before disaster strikes. For persistent issues, call 1-866-474-4356 immediately; your safety is worth more than waiting. A truly secure wheelchair isn’t just locked—it’s verified, tested, and ready for every transfer.


