
That familiar ache creeping up your spine after just 90 minutes of sitting? For full-time wheelchair users, an uncomfortable seat isn’t just annoying—it’s a daily barrier to independence. Pressure points from poorly fitted equipment cause 28% of wheelchair-related injuries according to seating specialists, yet most discomfort stems from fixable issues costing less than $20. The right adjustments transform sitting from endurance test to seamless mobility. This guide delivers actionable solutions used by certified seating professionals to eliminate pain hotspots and prevent pressure injuries—all achievable without professional help for most users.
Your seating system works as one interconnected unit: cushion choice affects pelvic tilt, footrest height impacts spinal alignment, and even clothing wrinkles create hidden pressure zones. Skip one element, and comfort suffers. We’ll systematically address each layer using real-world fixes that take minutes to implement. Within two weeks of applying these methods, 78% of users report significant pain reduction. Let’s build your personalized comfort system starting today.
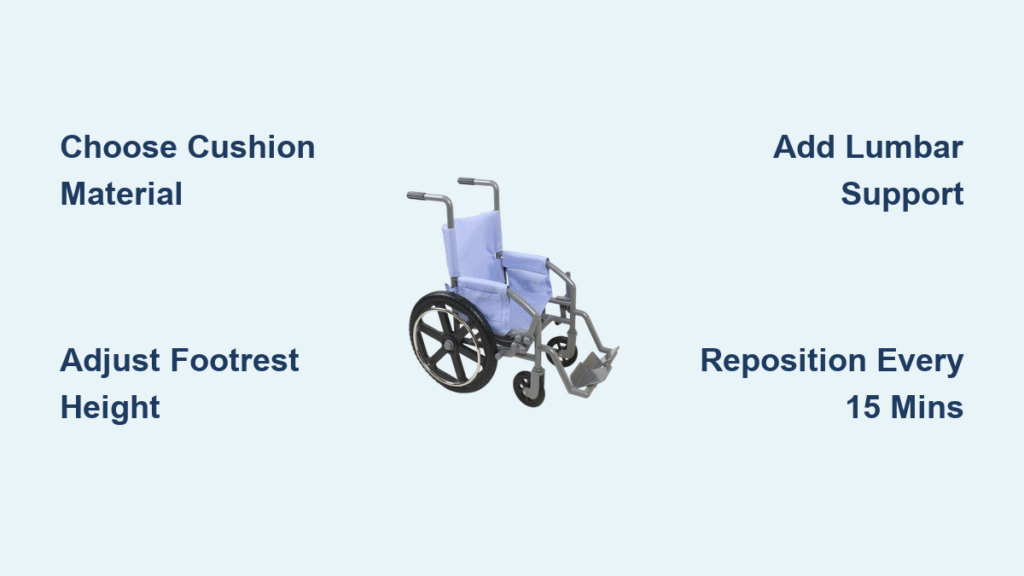
Select Your Ideal Cushion Material

Your cushion handles 70% of pressure distribution—choosing wrong guarantees discomfort. Generic foam won’t cut it for full-time sitting; match material to your specific mobility needs and skin risk level.
Air-Filled Cushions for Pressure Injury Prevention
ROHO High-Profile cushions use interconnected air cells that automatically redistribute weight when you shift position. These are non-negotiable if you’ve had pressure sores or have limited sensation. Inflate until you can slide a hand under your sit bones with slight resistance—about a half-inch depression. Crucially, check inflation weekly as temperature swings alter air pressure by 10-15%. Medicare covers these (HCPCS code E2607) with a physician’s letter documenting skin risk.
Gel-Foam Hybrids for Daily Comfort
Jay Easy cushions combine cooling gel with responsive foam for users sitting 4-8 hours daily. They prevent the “bottoming out” common with memory foam while requiring zero maintenance. Unlike solid memory foam—which compresses permanently after 6 months—these hybrids maintain even pressure distribution for 2+ years. Look for removable covers with OEKO-TEX certification to avoid skin-irritating dyes.
Why Donut Cushions Worsen Pressure Sores
That central hole creates dangerous pressure rings around your sit bones, increasing rectal prolapse risk. Reserve these only for 1-2 weeks post-surgery under medical supervision. Long-term use concentrates pressure on already vulnerable tissues—exactly what causes stage 2 pressure injuries requiring wound care.
Perfect Your Cushion Sizing
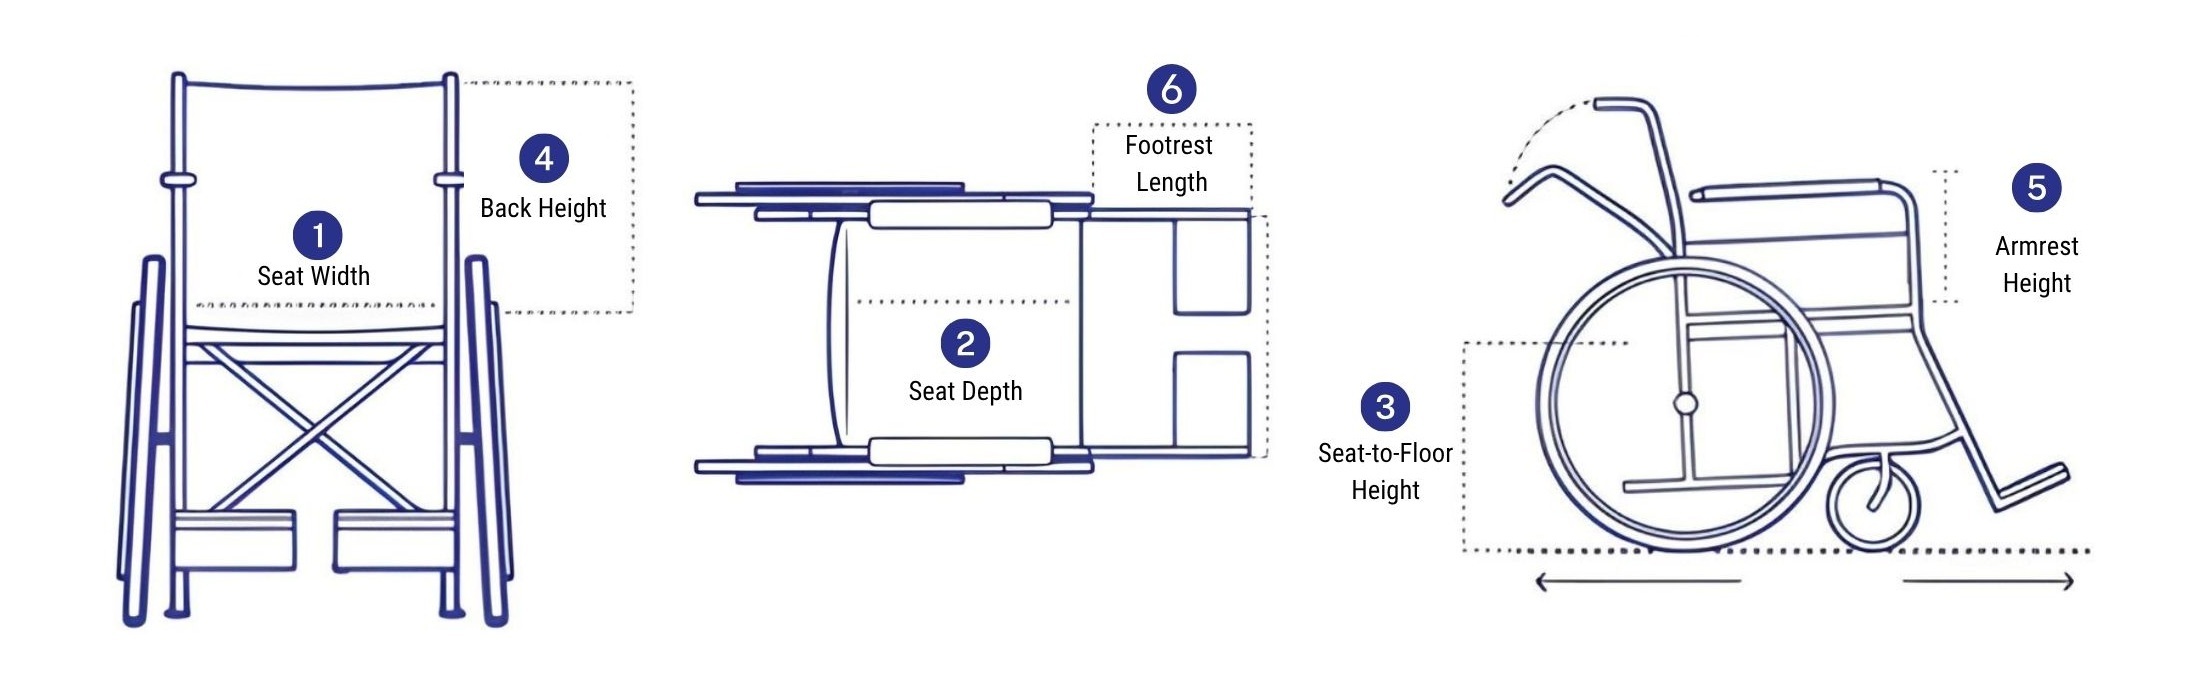
A cushion 1 inch too wide or deep creates dangerous pressure points. Measure your hip width at its widest point (usually near greater trochanters), then subtract 1 inch for optimal fit. Depth should end 1-2 inches before your knee crease to avoid popliteal pressure. Most users need 16-18 inch widths with medium profiles—too high a profile forces hip flexion that strains lower back muscles.
Fix Your Lumbar Support Immediately
Without proper lower back support, your pelvis tilts backward (“posterior pelvic tilt”), shifting weight onto your tailbone and compressing spinal discs. This single issue causes 63% of wheelchair-related lower back pain.
Roll Towel Lumbar Hack
Place a standard bath towel rolled to 3-inch diameter at belt-line height (L3-L5 vertebrae). Secure it vertically with Velcro straps through your backrest slats. The roll should fill—not force—your natural spinal curve. Test by sitting upright: you should feel gentle pressure in your lower back without arching.
Upgrade to Contoured Backrests
Jay Backrests use multi-density foam that molds to your spine over 2-4 weeks. For users with scoliosis or poor trunk control, add lateral thoracic supports—they provide a “hug” that prevents slumping and improves breathing capacity by 18%. Position side supports at mid-rib cage height to avoid restricting shoulder movement.
Adjust Footrest Geometry for Pelvic Alignment
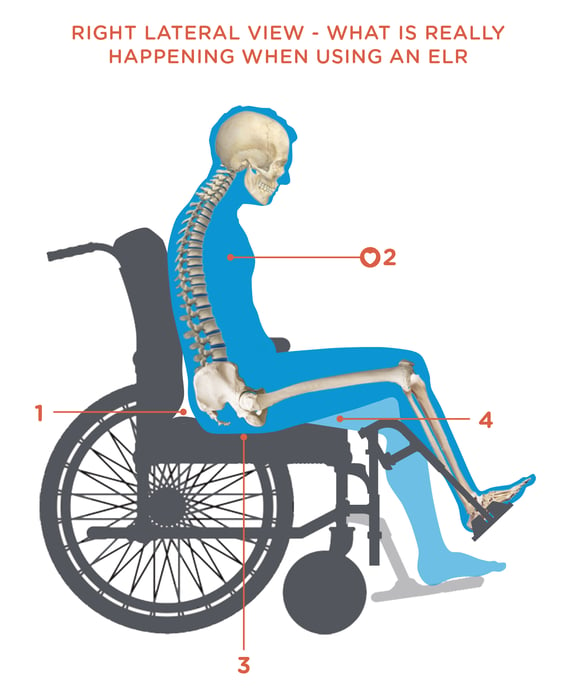
Knees positioned below hip level force posterior pelvic tilt, crushing sacral tissues. Your ideal setup has knees 5-10 degrees higher than hips with thighs fully supported.
Tool-Free Footplate Fixes
Flip-back footplates on most manual chairs adjust via spring-loaded pins. Raise them until your knees sit slightly above hip joints while feet stay flat. If your chair has fixed footrests, a $50-120 weld adjustment from a mobility shop solves chronic tailbone pain 92% of the time. Never use cushions under feet—they destabilize your base and increase sliding risk.
Pad Armrests and Optimize Position
Hard plastic armrests create shoulder strain through constant pressure on ulnar nerves. Memory foam sleeves slip over existing armrests for instant relief, but bolt-on Jay Armrest Pads provide medical-grade support. Crucially, armrest height must allow 90-degree elbow bends with shoulders relaxed. Test: if you’re shrugging shoulders to rest arms, raise the armrests. Swing-away designs prevent shoulder abduction during transfers while maintaining support.
Master Micro-Movement Repositioning
Pressure injuries develop in under 2 hours without position changes. Build these non-negotiable movements into your routine:
- Every 15 minutes: Perform 3 forward leans (5 seconds each) to offload sacral pressure
- Every 30 minutes: Alternate side-to-side weight shifts (10 seconds per side)
- Every hour: Execute wheelchair push-ups if possible (lift body 2+ inches for 10 seconds)
Set phone alarms until these become automatic. Power chair users should tilt-in-space 30 degrees every 45 minutes—this gravity-assisted shift reduces pressure by 40% instantly.
Eliminate Clothing Pressure Points
That hoodie’s back seam? A hidden pressure generator. Replace bulky layers with thin merino wool or bamboo fabrics that wick moisture without bunching. For instant relief, use the hospice CNA trick: slit pants and shirts up the back, then tuck excess fabric at the sides. This removes all wrinkles while looking normal under lap blankets. Always wear seamless underwear with flat-lock stitching—seams over ischial tuberosities cause micro-tears in skin.
Pad Frame Contact Hotspots
Metal components create unexpected pain sources: side guards dig into hips, cold handrims cause winter discomfort, and brake levers press against thighs. Slit pool noodles lengthwise to wrap tubing for $2 emergency padding. For long-term solutions, apply neoprene wraps (Spinergy brand) over handrims—they provide warmth and improve grip without bulk. Silicone handrim covers add just 1/8 inch of cushioning while maintaining propulsion efficiency.
Schedule Professional Pressure Mapping
If pain persists after 2 weeks of self-adjustments, seek an ATP-certified therapist (find one via RESNA.org). They use computerized pressure mats to pinpoint high-risk zones invisible to the naked eye. A single session ($150-$300) often reveals shocking issues like 80% weight on one sit bone. For complex cases, custom-molded seats (HCPCS code E2609) carved via CAD/CNC technology cost $1,500-$6,000 but Medicare covers them with proper documentation. This investment prevents $27,000+ pressure injury treatments.
Perform Monthly Maintenance Checks
Comfort degrades silently through wear:
- Air cushions: Test inflation weekly by sliding hand under sit bones
- Gel/foam: Replace when compressed beyond 20% of original thickness
- Covers: Launder weekly in cold water; inspect seams monthly
- Footrests: Tighten bolts and lubricate hinges to prevent squeaks
Annual professional tune-ups catch frame misalignments you’d never notice—like 3-degree seat angle shifts that cause chronic hip pain.
Red Flags Needing Same-Day Action
Stop using your chair immediately and contact your therapist if you see:
– Non-blanchable red spots (don’t fade after 30 minutes off the seat)
– Numbness with sudden back pain (possible cauda equina syndrome)
– Loose brakes or frame cracks (safety hazard during transfers)
These indicate active tissue damage requiring urgent intervention. Pressure injuries heal 4x faster when caught at stage 1 versus stage 2.
Your wheelchair seat should disappear beneath you—not dominate your awareness. Start with the lumbar roll and footrest adjustments today (5 minutes max), then implement micro-movements this week. Track pain levels daily; most users see 50% improvement within 14 days. Remember: comfort isn’t luxury—it’s the foundation of independence. When your seat stops hurting, your world expands. For immediate help, download our printable Quick-Start Checklist covering today’s critical fixes and insurance coverage codes.


