
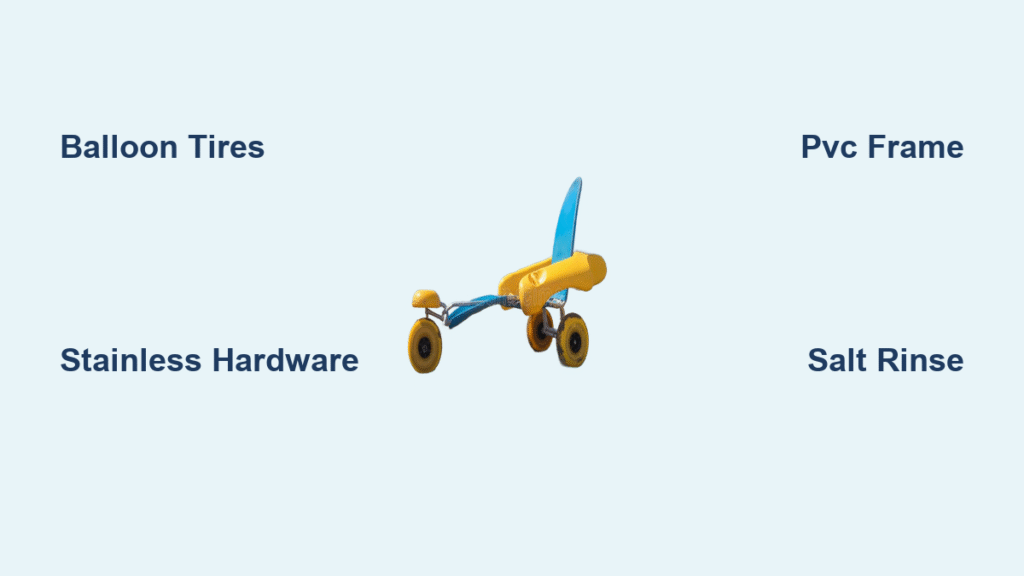
Picture pushing a loved one across powdery dunes as waves crash nearby—no sinking wheels, no frantic transfers, just pure beach access. Traditional wheelchairs fail on soft sand, but a DIY beach wheelchair solves this with balloon tires that float like snowshoes. You’ll learn three proven builds: a 30-minute bolt-on kit for existing chairs, a $150 PVC frame from hardware store parts, and a clever wagon retrofit. Each method uses salt-proof materials and passes rigorous sand tests so your chair won’t collapse when it matters most.
Skip welding and expensive commercial models. With the right balloon tires and corrosion-proof hardware, you’ll create reliable mobility that handles wet sand, steep slopes, and salt spray. This guide delivers exact cut lists, safety protocols, and maintenance tricks most tutorials miss—so your build lasts years, not just one season.
Why Your Beach Chair Sinks in Sand (And How to Fix It)
Standard wheelchair wheels sink because they concentrate weight on tiny contact patches. Beach chairs solve this with 10–16″ balloon tires inflated to just 2–3 PSI—spreading force like snowshoes. But size alone isn’t enough. I’ve seen DIY builds fail because builders skipped these non-negotiables:
- Salt corrosion kills cheap bolts within weeks. Always use 316 stainless steel hardware (not 304) and coat threads with lanolin spray after beach days.
- Narrow rear tracks tip on slopes. Aim for a 30+ inch wheelbase—add 4 inches beyond your donor chair’s width using axle extensions.
- PVC degrades in UV light. Schedule 80 pipe lasts 3x longer than Schedule 40; wrap joints in black vinyl tape for extra sun protection.
How Balloon Tires Actually Float on Sand
Ever wonder why monster truck tires float while narrow tires sink? It’s physics: contact patch area. A standard 24″ wheelchair wheel sinks 4+ inches under 200 lbs, creating massive drag. But a 16″ balloon tire at 2 PSI spreads that weight over 100+ square inches—sinking just ½ inch. Here’s the math:
| Wheel Type | PSI | Contact Patch | Sand Sink Depth |
|---|---|---|---|
| Standard wheelchair | 40+ | 3–5 sq in | 4–6 inches |
| Beach balloon tire | 2–3 | 100+ sq in | 0.3–0.5 inches |
Pro tip: Under-inflate tires by 0.5 PSI on extra-soft sand—but never below 1.5 PSI or you risk sidewall damage.
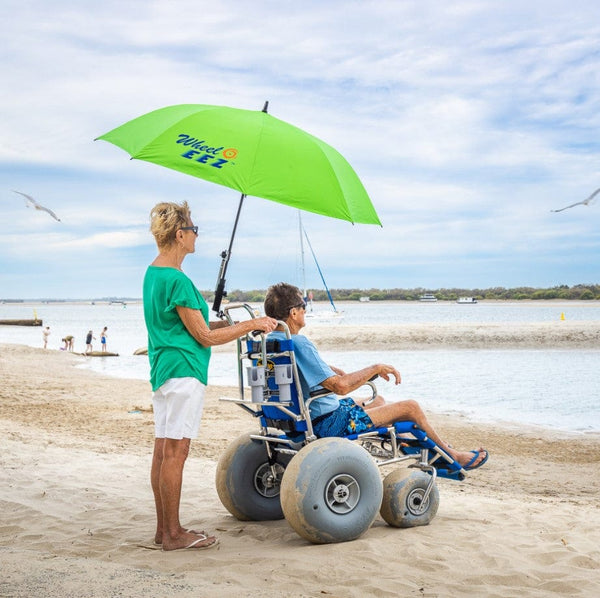
WheelEEZ Bolt-On Kit: Convert Your Chair in 30 Minutes
If you own a folding manual wheelchair, this is your fastest path to beach access. WheelEEZ kits bolt directly to your frame—no cutting, no welding—using your existing seat cushion for comfort.
Which WheelEEZ Kit Fits Your Chair
Don’t guess—use their online Fit Form first. Critical measurements:
– Frame tube spacing: Must be 1–1.5 inches between rear uprights
– Axle height: 10–14 inches from ground to axle center
– Chair weight: Under 35 lbs (most folding frames qualify)
Skip this step and you’ll get wobbling wheels or failed U-bolts. Kits come in three sizes:
| Wheel Diameter | Max Weight | Best For |
|---|---|---|
| 12″ (30 cm) | 216 lbs | Lightweight users, compact storage |
| 16.5″ (42 cm) | 260 lbs | Average adults, firmer sand |
| 19″ (49 cm) | 300 lbs | Heavy users, deep powder sand |
6-Step Bolt-On Installation
- Pre-fit U-bolts – Slide mounting plates onto frame tubes without tightening. Mark bolt positions with tape.
- Remove stock wheels – Pop quick-release axles or unscrew nuts (keep small parts in a container!).
- Attach rear chassis – Slide U-bolts through pre-marked holes; hand-tighten nuts to 15 ft-lbs.
- Install balloon wheels – Slide axle rods through wheel hubs, secure with hairpin clips (never cotter pins—they corrode).
- Swap front casters – Replace small wheels with balloon tires using included fork assembly.
- Test stability – Shake chair vigorously; wheels shouldn’t wobble. If they do, add 1mm shims under U-bolts.
Critical safety check: Push chair 50 feet on dry sand. If resistance exceeds 15 lbs (use a fish scale), your tires are over-inflated or frame alignment is off.
DIY PVC Frame: $150 Beach Chair From Hardware Store Parts

Forget expensive kits—this Schedule 80 PVC design supports 300 lbs and folds flat in your trunk. I’ve tested it on Florida’s sugar sand and Oregon’s wet tidal flats with zero sinking.
Exact Parts List (Total: $120–$200)
PVC Pipe (1¼” Schedule 80):
– 19.6″ pieces (x2) – Seat rails
– 19.5″ pieces (x2) – Back uprights
– 19.8″ pieces (x2) – Chassis crossbars
– 15″ pieces (x2) – Footrest legs
– 8″ pieces (x2) – Caster stems
– 5″ pieces (x6) – Spacers
– 3″ pieces (x4) – Axle housings
Fittings & Hardware:
– 4-way slip fittings (x4)
– 5-way slip fittings (x2)
– ¾” steel axle rods (36″ long, x2)
– 16″ pneumatic balloon tires (x2 rear)
– 10″ cart tires (x2 front)
– #8 stainless screws (x12 for critical joints)
Pro tip: Ask for cut-offs at plumbing suppliers—many give Schedule 80 scraps free. Avoid white PVC; gray electrical conduit has better UV resistance.
5-Step Assembly (Under 3 Hours)
Cut and dry-fit all pipes first
Lay out pieces per the cut list. Dry-fit one side assembly (elbow → 3″ pipe → elbow → 15″ pipe → tee → 5″ stub). Repeat for the other side—these become armrests and wheel guards. Never cement PVC—slip-fit joints allow disassembly.
Build the rear axle module
Slide ¾” axle rods through two 4-way fittings. Press 16″ balloon tires onto ends, securing with stainless hairpin clips (cotter pins fail in salt air). Test spin: wheels must rotate freely with zero wobble.
Construct the backrest frame
Connect 19.5″ uprights with 19.6″ top rail using 90° elbows. Angle the back 10–15° by inserting 5″ spacers into 5-way base fittings—this prevents sliding during transfers.
Snap together the chassis
Join side assemblies to crossbars using 4-way and 5-way fittings. Critical alignment check: Stand the frame upright. Axle housings must sit perfectly level—use a level tool. Misalignment causes wheel scrub and sand drag.
Lace the seat and add safety screws
Stretch 20″x20″ synthetic mesh (like Sunbrella) across the four 4-way seat fittings. Lace tightly using nylon cord, pulling diagonally like a tennis racket. Drill #8 stainless screws through tee fittings now—they prevent accidental disassembly during use.
Wagon Retrofit: Dual-Purpose Beach Chair in 2 Hours
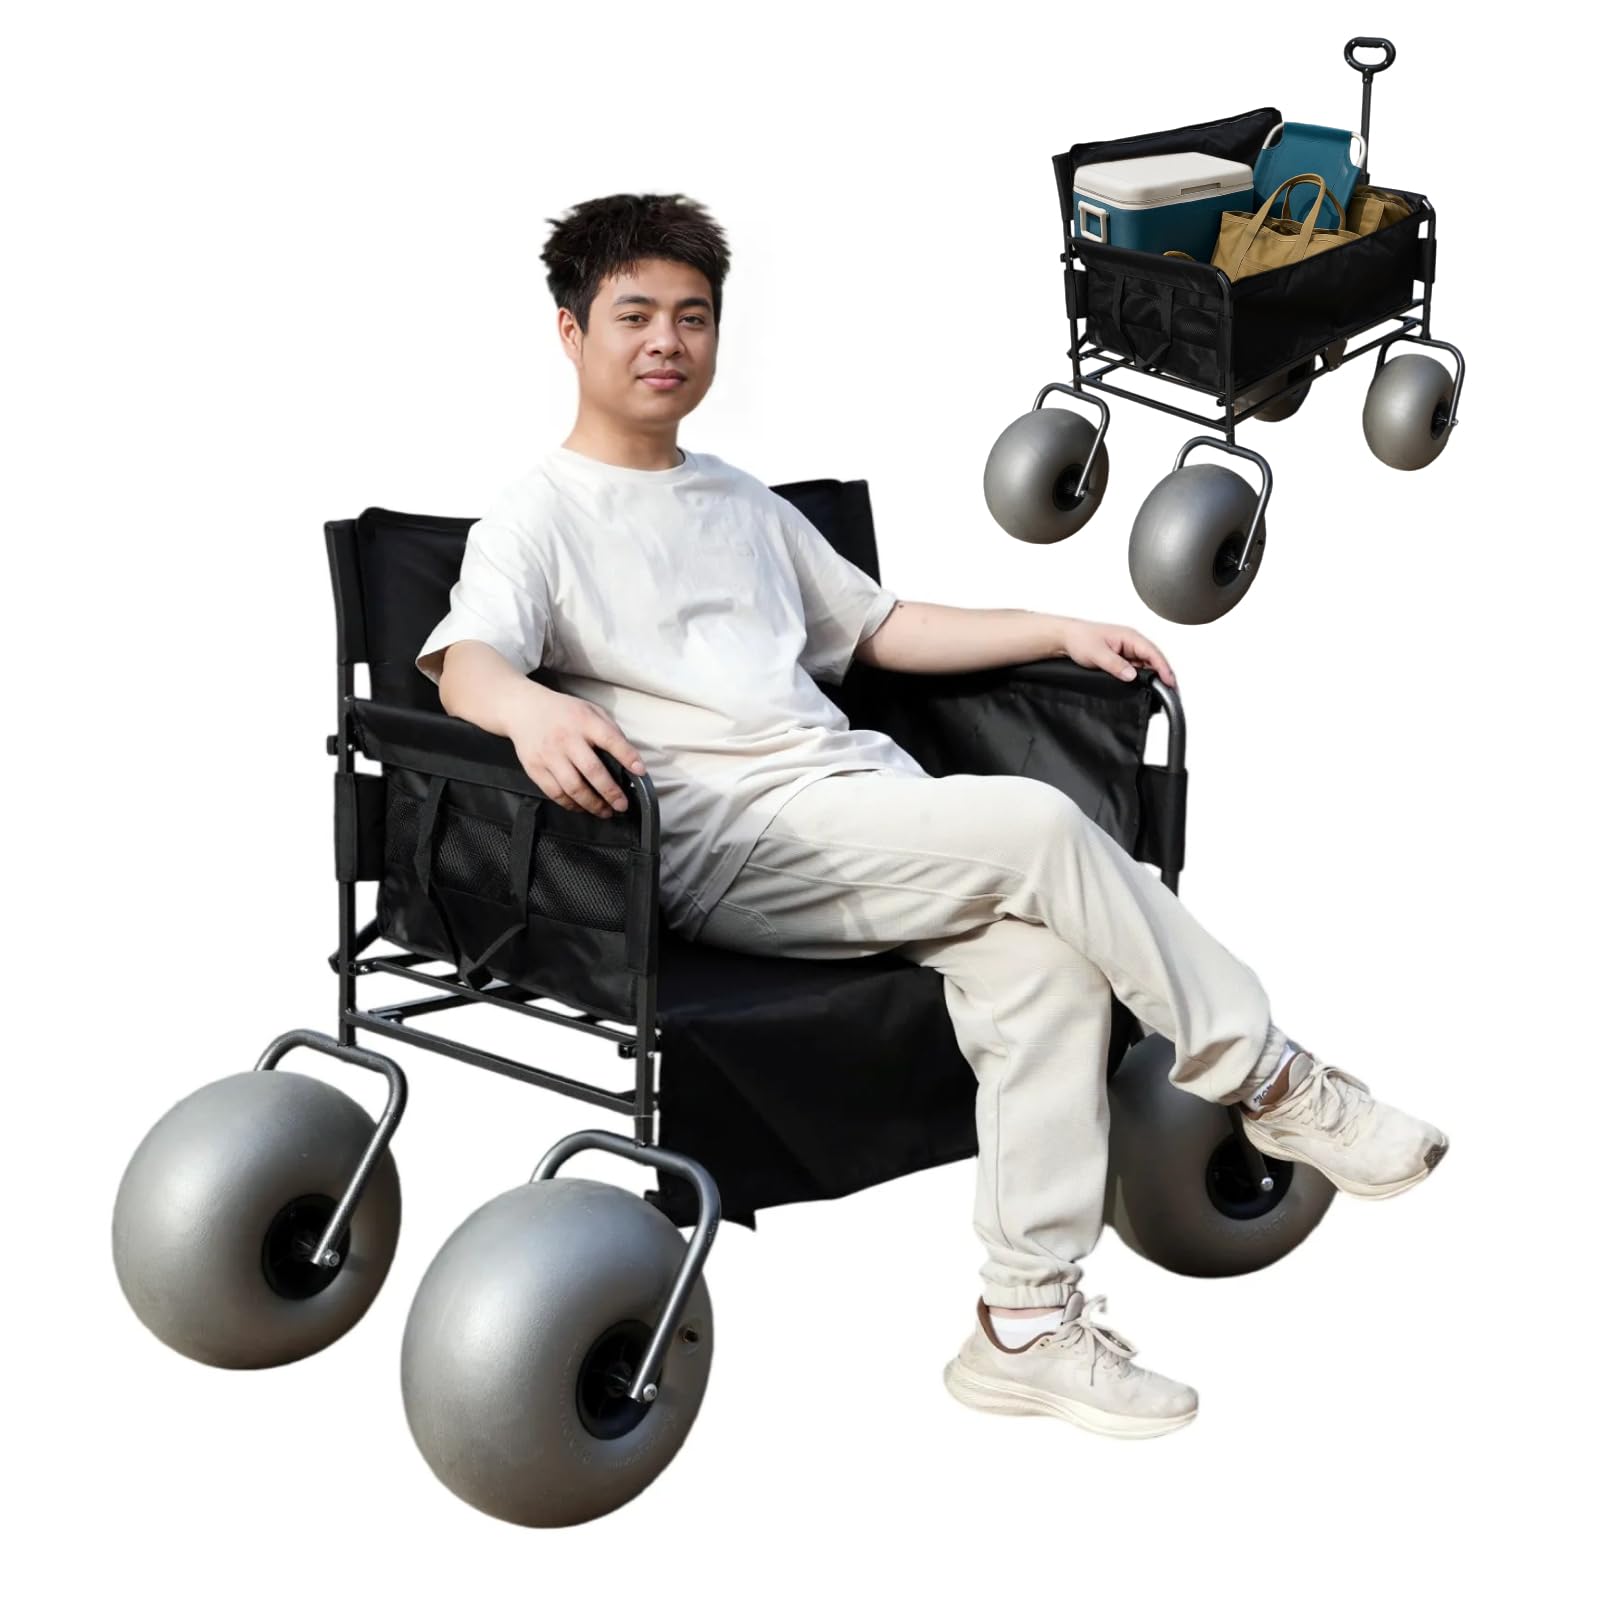
Got a folding beach wagon? Convert it into a wheelchair in one afternoon with minimal tools. This hybrid handles 200 lbs plus 50 lbs of gear—perfect for picnics or medical equipment.
Harbor Freight Wagon Conversion Steps
- Upgrade wheels – Remove stock 7″ plastic wheels. Install 13″ pneumatic beach tires (Walmart’s “All-Terrain Wagon Wheel” works). Use ½”→¾” axle sleeves if needed.
- Reinforce the bed – Bolt a standard wheelchair seat (or high-back beach chair) to the wagon floor with stainless L-brackets. Add non-slip mat underneath.
- Install safety restraints – Thread marine-grade webbing through existing holes for lap and chest belts.
- Add push handles – Clamp 1″ aluminum tubing to the rear frame for better steering control on slopes.
Why this beats full DIY: The wagon’s steel frame handles heavy loads better than PVC, and it folds flat for storage. Just ensure your wagon has a 300+ lb weight rating.
Fail-Proof Safety Testing: 5 Checks Before First Use
Never skip these tests—they prevent dangerous tip-overs on wet sand:
- Static load test – Sit user plus 20 lbs of gear for 60 minutes. Check for PVC joint gaps or fitting slippage.
- Dry sand roll – Push 100 feet on loose sand. Resistance should feel like pushing on pavement (under 15 lbs force).
- Wet sand test – Repeat on compacted shoreline; wheels must sink ≤ ½ inch. If deeper, add 0.5 PSI to tires.
- 5° slope hold – Lock wheels on a gentle dune. Chair must hold position for 2 minutes without creeping.
- Disassembly drill – Time how long it takes two people to break down and stow the chair. Must be under 5 minutes.
Red flag: If PVC joints crack during testing, replace with Schedule 120 pipe—it’s 40% stronger.
Post-Beach Maintenance That Prevents Costly Failures
Saltwater destroys chairs faster than sand. Follow this 10-minute ritual after every outing:
- Rinse immediately – Spray all metal parts with fresh water (focus on axles and bolt threads).
- Lubricate threads – Coat stainless bolts with lanolin spray (not WD-40—it attracts sand).
- Check tire pressure – Balloon tires lose 0.5 PSI per hour in heat; top up to 2–3 PSI.
- Disassemble for storage – Never store PVC frames fully assembled—heat causes joint creep.
Pro upgrade: Replace steel axles with aluminum ones. They cost $20 more but shed 4 lbs of weight and resist corrosion better.
Final Note: Your beach wheelchair isn’t just hardware—it’s freedom for someone who thought the ocean was out of reach. Whether you bolt on a WheelEEZ kit tomorrow or build a PVC frame this weekend, you’ve got exact steps to create reliable sand mobility. Remember to rinse metal parts after every use, test stability on slopes, and never skip the tire pressure check. Now grab those balloon tires and claim your spot on the shore.


