
Picture this: golden sand stretching to turquoise waves, kids building castles at the water’s edge—but your wheelchair user watches helplessly from the boardwalk as standard wheels sink instantly into soft terrain. Every beach day becomes an exercise in exclusion until you discover the solution hiding in plain sight: how to make a beach wheelchair that floats effortlessly on sand. This isn’t theoretical—thousands have transformed beach access using two proven methods that cost less than a fraction of commercial models. You’ll learn exactly how to create a sand-ready chair in 4-6 hours with basic tools, whether modifying an existing wheelchair or building from scratch. By the end, you’ll have actionable steps to conquer soft sand without breaking the bank.
Choose Your Build Method
Modify Existing Manual Wheelchair in 30 Minutes
Skip expensive $3,000+ specialty chairs by converting your current manual wheelchair with oversize balloon tires. The WheelEEZ® All-Terrain Conversion Kit (2019 revision) bolts directly onto most adult frames with zero drilling—attach front and rear sub-assemblies in under 30 minutes while preserving your chair’s indoor functionality. For tight budgets, the Beachwheels Australia DIY Kit ($250-$300) requires drilling axle bracket holes but delivers 75% savings. Install 49 cm rear wheels and 42 cm front wheels to distribute weight across sand’s surface. Critical warning: Never immerse metal-framed conversions in saltwater—rust will compromise structural integrity within months.
Pro Tip: Test fit before final assembly. Place your chair on concrete and position balloon tires against the frame. If wheels contact the seat base, trim 1-2 inches from mounting brackets—this prevents dangerous tipping during beach transitions.
Full PVC Construction for Saltwater Safety
Build an entirely new chair optimized for corrosive beach environments using schedule-80 PVC pipe. This method costs approximately $200 when sourcing materials strategically and creates a frame that snaps apart for transport. Unlike metal chairs, PVC won’t rust when splashed by waves, and its lightweight design (under 25 pounds) supports 250+ pounds when properly assembled. Opt for grey electrical conduit instead of white plumbing PVC—it contains UV inhibitors that prevent sun-induced brittleness. For pediatric users, scale down with 1″ PVC pipe and 30 cm wheels while maintaining 16″ seat width for stability.
Time Estimate: Allow 4-6 hours for first-time builders. Seasoned DIYers complete assembly in 3 hours using pre-cut pipes.
Gather Materials and Tools
Essential PVC Shopping List
Schedule-80 PVC pipe forms the structural backbone. Here’s your exact cut list for standard adult sizing:
- Critical Frame Pieces:
- 2 × 2.6″ tubes (wheel mounts)
- 3 × 19.6″ tubes (seat base)
- 2 × 19.5″ tubes (cross-bracing)
- 1 × 20.4″ 1″ tube (front axle)
- Connection Hardware:
- 12 × 1¼” 90° elbow slip fittings
- 2 × 1¼” 4-way outlet slip connectors
- 4 × ¾ × 1¼” bushing male slip adapters
Avoid Costly Mistakes: Never substitute schedule-40 PVC—it flexes dangerously under load. Verify all fittings are “slip type” (no threads) for tool-free assembly.
Smart Sourcing Strategies
PVC Components: Hit Habitat for Humanity ReStores for schedule-80 pipe remnants—many donate 3-4 foot sections for free. Plumbing contractors often discard cut-offs; call local shops with “I’m building accessibility equipment” for priority access. Balloon Wheels: Buy Wheeleez direct for best pricing, but monitor Walmart’s post-Labor Day clearance for $15 cart wheels that accept 16″ balloon tire upgrades. Hardware: Marine supply stores sell 316-grade stainless bolts in bulk bins at 40% below Home Depot prices—essential for saltwater resistance.
Build the Wheelbase Foundation
Rear Wheel Mounting for Sand Flotation
Start with the axle assembly: Slide ¾” black steel nipples 18″ apart onto your 36″ axle, add bushings and 1¼” couplers, then insert 4″ tubes as stabilizers. This floating mount prevents axle flex that causes wheel wobble in soft sand. Visual Cue: When complete, the axle should rotate freely within couplers—no binding indicates proper alignment. Drill ⅛” drainage holes through axle tubes immediately; sand-filled tubes add 8+ pounds of unnecessary weight and accelerate corrosion.
Common Error: Over-tightening axle brackets. Finger-tighten stainless pins first, then give a quarter-turn with pliers—overtightening cracks PVC during beach transitions.
Front Wheel Integration for Maneuverability
Mount 10″ cart wheels using similar bushing systems, maintaining 2-3 degrees of toe-out (front wheels angled slightly outward). Unlike rear wheels, front assemblies carry only 30% of total weight, so prioritize agility over flotation. Test spacing by rolling across dry sand: If wheels dig trenches instead of riding atop, increase track width by 1-2 inches. Properly configured, the chair leaves shallow, parallel impressions without veering.
Final Assembly and Safety Checks

Snap-Together Process with Zero Cement
- Position wheelbase level on ground
- Attach side arms to 5-way fittings—listen for click confirming full insertion
- Drop seat frame into place, ensuring tubes seat 1″ deep in fittings
- Add footrests at 110-degree leg angle for optimal pushing force
- Snap backrest into rear fittings
Critical Alignment Check: Sit a 150-pound person in the chair. Measure 2-3 inches between seat base and ground—less causes drag, more reduces stability. Adjust by trimming footrest tubes in ½” increments.
Load Testing Protocol
Before beach use, test with 150% of expected user weight (e.g., 225 lbs for 150-lb user). Push the chair 20 feet across packed sand while listening for creaking at joints—this indicates PVC stress points. Reinforce critical connections like seat-backrest junctions with 12″ steel sleeves inserted inside PVC tubes. Schedule-80 PVC supports 250+ pounds statically, but dynamic beach loads require this extra safeguard.
Transport and Storage Strategies
Disassembly for Compact Transport
PVC’s modular design enables 5-minute breakdown: Remove wheels via quick-pin axles, then separate frame into four sections. Storage Dimensions: Disassembled frame fits 36″ × 24″ × 12″—perfect for minivan cargo areas. Store wheels vertically to prevent deformation; never stack heavy items atop disassembled pipes. For frequent beachgoers, add bungee hooks to 5-way fittings for secure roof-rack transport on campers.
Budget Alternative: Retrofit an existing beach wagon ($80 solution). Replace stock wheels with 10-12″ balloon tires and secure a standard camp chair inside using ratchet straps. Ideal for independent transfer users seeking occasional sand access.
Maintenance and Longevity

Post-Beach Care Routine
Immediate Steps (within 2 hours of saltwater exposure):
1. Rinse entire frame with fresh water—focus on axle areas where sand accumulates
2. Dry with microfiber cloth; never air-dry in direct sun (accelerates UV damage)
3. Apply light machine oil to stainless components using cotton swab
4. Store disassembled in breathable fabric cover
Monthly UV Protection: Spray exposed PVC with automotive vinyl protectant—this creates a sacrificial layer that blocks 80% of damaging rays. Grey electrical conduit lasts 3x longer than white PVC in sunny climates; reapply protectant after every 5 beach trips.
Troubleshooting Common Problems
Sinking in Soft Sand
Symptoms: Wheels dig trenches, difficult pushing
Cause: Insufficient tire width or excessive pressure
Fix: Switch to 49 cm rear wheels and reduce pressure to 2 PSI. For extreme softness, widen axle track by 2-3 inches using extended brackets.
Rust on Hardware
Symptoms: Orange streaks on fittings, stiff wheel rotation
Cause: Saltwater exposure on non-marine-grade hardware
Fix: Disassemble immediately after beach use. Replace with 316-grade stainless bolts and apply waterproof grease. For severe cases, soak parts overnight in vinegar solution before reassembly.
Wheel Alignment Issues
Symptoms: Chair pulls to one side, uneven tire wear
Cause: Axle holes drilled off-center during conversion
Fix: Create drilling jig from scrap wood with pre-measured holes. Insert nylon bushings to tighten axle tolerances—this corrects minor misalignments without rebuilding.
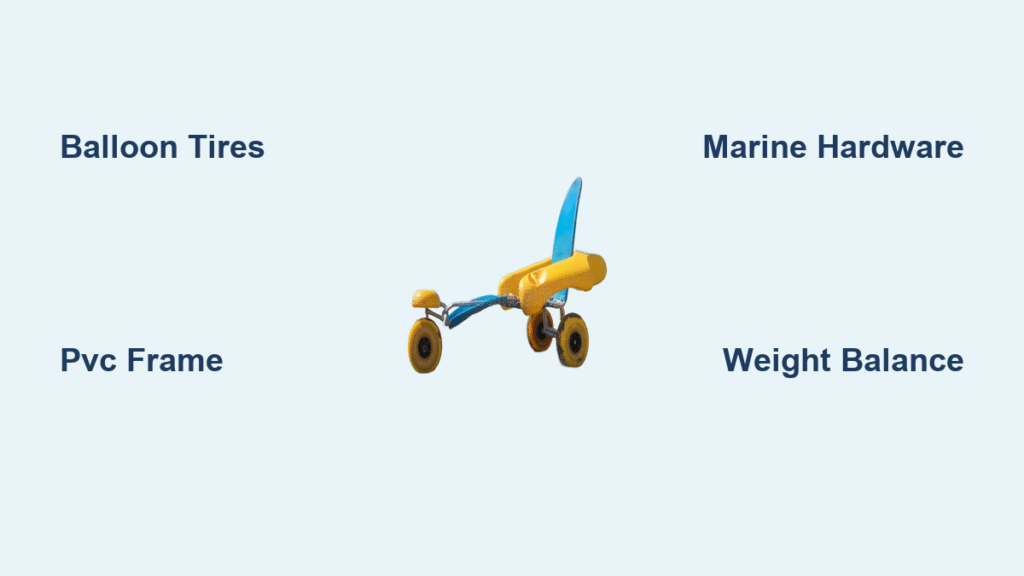
Final Takeaway: Master how to make a beach wheelchair by prioritizing three non-negotiable elements: balloon tires for flotation (minimum 16″ width), schedule-80 PVC or marine-grade hardware for corrosion resistance, and precise weight distribution (30% front/70% rear). Start with the WheelEEZ conversion kit for immediate results, or embrace the full PVC build for ultimate customization and saltwater safety. Either approach transforms “can’t” into “can” at the water’s edge—one push through soft sand at a time. Before your next beach trip, gather those PVC pipes: The waves won’t wait, but neither should your loved ones.


