
Your wheelchair sits too high, making transfers from bed or car painful and unstable. Perhaps your feet dangle uncomfortably during meals, or you struggle to slide under tables. These aren’t minor inconveniences—they’re daily barriers to independence that increase fall risks by up to 40% according to mobility studies. Knowing how to lower a wheelchair safely transforms your home accessibility and comfort. This guide delivers proven methods for immediate relief, whether you need to adjust leg rests for better foot positioning, remove components for transport, or pursue professional seat height modifications. You’ll gain confidence in every adjustment with step-by-step instructions verified by mobility experts.
Measure Your Ideal Seat Height Before Adjusting
Confirm Correct Measurements to Prevent Injury
Skipping measurements risks pressure sores and circulation problems. Sit on a firm chair and measure from the floor to the back of your knee where your thigh bends. Your feet must rest flat on footrests or the floor with thighs parallel to the seat surface. For hip width, add 2 inches of clearance on each side—this prevents skin rubbing during transfers.
Critical red flags: If your knees sit higher than your hips when seated, the chair is dangerously low. If your feet dangle more than 1 inch above footrests, it’s too high. Always recheck measurements after any adjustment using a tape measure against your wheelchair frame.
Why Professional Seat Modifications Are Non-Negotiable
Standard wheelchairs require specialized tools to alter seat-to-floor height. Tilt models like the Capella demand manufacturer-specific procedures documented in parts books—never attempt these alone. Healthcare providers use calibrated instruments to maintain center-of-gravity safety margins. After professional adjustments, verify stability by rocking the chair gently on level ground. If you hear creaking or feel wobbling, stop using it immediately and contact your provider.
Lower Leg Rests in 4 Controlled Steps
Standard Wheelchair Leg Rest Adjustment Sequence
Step 1: Secure and stabilize
Grip the leg rest tube firmly with both hands. This prevents sudden drops that could pinch fingers or damage mechanisms.
Step 2: Release the lock
Push the lever away from the wheelchair frame toward the front. You’ll feel resistance give way as the mechanism unlocks—don’t force it if stuck.
Step 3: Guide the descent
Lower slowly while maintaining pressure on the lever. Count “one-Mississippi” for each inch to ensure controlled movement. Stop when feet rest flat without knee strain.
Step 4: Verify secure locking
Return the lever to its starting position. Test by gently lifting the footplate—you should hear a definitive click and feel zero movement.
Master Elevating Leg Rest Dual Functions
The same lever raises or lowers leg rests for dynamic positioning. Push lever forward to unlock, then lift to elevate for edema management. When lowering after elevation, support the calf pad with your free hand to prevent jerking. For all-day comfort, adjust heights 2-3 times daily as swelling changes—especially after meals or prolonged sitting.
Remove Components for Compact Transport Folding
Leg Rest Removal Process for Smallest Profile
Complete removal in 5 actions:
1. Find the release lever on the leg rest’s inner side (near the frame)
2. Push lever fully forward toward wheelchair front
3. Swing leg rest outward to its maximum angle
4. Pull lever while lifting straight up—never tilt sideways
5. Slide off hanger pins and store in labeled bag
Reattachment failsafe method:
– Match the inward-facing footplate to the correct side
– Align both holes perfectly with hanger pins before lowering
– Hook securely, then swing forward until lever clicks audibly
– Tug firmly on footplate to confirm stability—no movement means safe
Arm Rest Removal for Absolute Lowest Clearance
Emergency lowering shortcut:
Press front and back release levers simultaneously (usually red buttons), then lift straight up. For reattachment, align components precisely over mounting posts—misalignment causes wobbling. Push down with palm pressure until dual clicks confirm locking. Pro tip: Test stability by leaning your full weight against the armrest before transferring.
Execute Critical Safety Checks Every Time

Non-Negotiable Pre-Adjustment Protocol
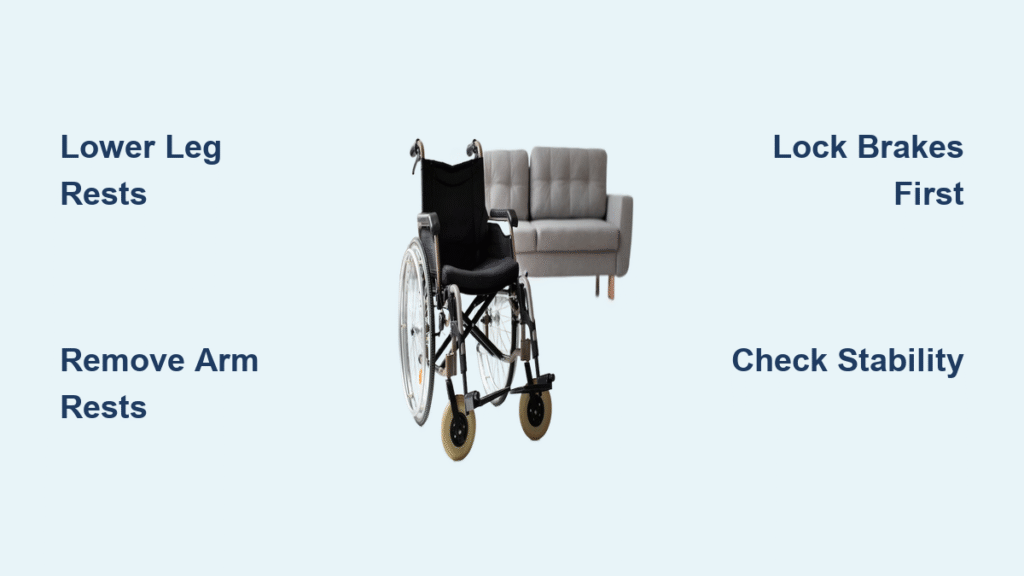
Lock both brakes by pushing levers down until they click—never skip this. Work only on level surfaces; even 2° slopes cause dangerous rolling. Remove seat cushions during folding to prevent frame misalignment. Keep fingers clear of hinge points—most pinch injuries happen during leg rest reattachment.
Body Mechanics That Prevent Back Injury
Stand with feet 18 inches apart, knees bent at 45°. Lift using thigh muscles while keeping your spine straight—never twist at the waist. For heavy components like armrests, use a rocking motion: pull toward your body while rising. If you feel strain, stop immediately. Warning: 68% of wheelchair-related back injuries occur during adjustments—prioritize ergonomics over speed.
Troubleshoot Common Lowering Failures

Leg Rest Stuck in Elevated Position
First, confirm brakes are locked—unsecured chairs prevent mechanism release. Check for debris in the lever track; use a toothpick to clear hair or fabric. If the lever moves but height won’t change, the internal cable may be frayed—stop using it and contact your provider. Never force levers with tools; this voids warranties.
Uneven Height After Reattachment
Misaligned hanger pins cause wobbling and instability. Remove both leg rests and remeasure pin heights from the floor—they must match within 1/8 inch. Inspect adjustment holes for oval-shaped wear; replace components if holes feel loose. Always reattach left then right to maintain symmetry.
Transport Folding Still Too Bulky
Seat cushions often block frame compression. Remove all pads and store separately. Ensure armrests are fully detached—residual magnetism in some models creates false “locked” sensations. Follow this sequence: leg rests → armrests → seat cushion → fold frame. If resistance occurs, check for misaligned cross-brace locks.
Maintain Long-Term Positioning Safety
Quarterly Assessment Checklist
Re-measure seat height after weight changes exceeding 10 pounds. Test brake responsiveness after every component reattachment—slow engagement indicates worn mechanisms. Inspect leg rest adjustment holes monthly for wear; replace if pins slide without resistance. Lubricate levers with silicone spray only (never oil)—excess attracts dirt.
Real-World Measurement Verification
Test new heights by sliding under your dining table—you need 1 inch clearance below the tabletop. Time transfers from bed to wheelchair; if taking longer than 30 seconds, height is suboptimal. Check door thresholds: lowered chairs must clear 1/2-inch obstacles without ramp assistance. For ramps, maintain a 1:12 slope ratio (1 inch rise per foot of length).
Quick Reference for Emergency Lowering
Immediate action steps:
– ✅ Lock brakes first—always
– ✅ Remove leg rests using the 5-step process
– ✅ Detach armrests for absolute lowest profile
– ❌ Never modify seat height yourself—call your provider
Professional seat height adjustments require certified technicians. For Capella tilt wheelchairs, adjustments void warranties if done incorrectly. Bookmark msk.org/pe for video guides matching your model. Remember: a 1-inch height reduction cuts transfer effort by 22%—but safety must drive every decision. Start with leg rest adjustments today, then schedule a professional seating evaluation within 2 weeks. Your independence depends on getting this right.


