Sliding forward in a wheelchair isn’t just uncomfortable—it can lead to serious injuries, pressure sores, and reduced independence. Whether you’re a caregiver, therapist, or wheelchair user yourself, understanding why sliding happens and how to prevent it can dramatically improve safety and quality of life. This guide covers everything from quick fixes you can implement today to long-term solutions that address the root causes of sliding. You’ll learn practical techniques, equipment options, and professional strategies that work for different types of users and situations.
Why Your Wheelchair User Constantly Slides Forward
Poor torso control creates the perfect storm for sliding. When core muscles can’t maintain upright posture against gravity, users naturally seek more stable positions—often sliding forward. This creates a dangerous cycle where the user slides to feel more secure, but actually becomes less stable. Weak abdominal and back muscles can’t counteract the forward gravitational pull, especially during movement or transfers.
Tight hamstrings force the pelvis into a posterior tilt, making users appear to be “slouching.” This tilt creates a natural tendency to slide, as the body weight shifts forward. Many users have limited hip flexibility, forcing them to compensate by repositioning in ways that increase sliding risk. The resulting forward slide creates shear forces that can cause skin breakdown and pressure sores within just 15-20 minutes of continuous sliding.
Wheelchair configuration problems are often overlooked. A seat that’s too deep prevents users from touching the backrest, encouraging them to slide forward to find support. Similarly, seats that are too wide allow lateral leaning, reducing overall stability. Incorrect footplate positioning affects thigh angle and pressure distribution, making it harder to maintain proper position. These seemingly minor fit issues compound over time, leading to serious positioning problems.
Three-Minute Safety Checks to Prevent Sliding Today
Immediate Risk Assessment
Start with a simple visual inspection. Look for these warning signs:
– User’s hips positioned more than 2 inches from backrest
– Feet dangling or footplates positioned too high/low
– Obvious posture changes throughout the day
– Red marks or pressure areas on thighs or hips
Check if the user’s pelvis is in neutral position or tilted backward. A quick test involves having the user sit fully back against the backrest, then verifying if you can fit two fingers between the back of the knee and seat edge. If space is greater, the seat depth is too long and needs adjustment.
Quick Positioning Fixes
Lower footplates until thighs are parallel to the seat surface—this creates optimal weight distribution and reduces forward sliding tendency. For users with tight hamstrings, slightly elevating footplates can reduce posterior pelvic tilt. Adjust armrest height so elbows rest comfortably at 90 degrees with shoulders relaxed. Proper armrest height supports natural shoulder position and reduces trunk fatigue that contributes to sliding.
Fix Seat Depth Problems Causing Forward Sliding

Shorten seat depth by adding a firm back cushion or adjusting the backrest forward. This simple change prevents the “hammock effect” where users slide forward to reach back support. Most manual wheelchairs allow backrest adjustment through simple bolt modifications—consult your equipment manual for specific instructions.
If your wheelchair lacks adjustable backrest features, consider custom seating solutions like contoured foam inserts that fill excess space while maintaining proper pelvic alignment. Measure the distance between the user’s back and the backrest after sitting fully back—this measurement determines how much depth adjustment is needed. Remember that proper seat depth should allow the user to sit with hips touching the backrest while maintaining 1-2 inches of space behind the knees.
Anti-Thrust Cushions That Stop Forward Movement

Cushion Selection Guide
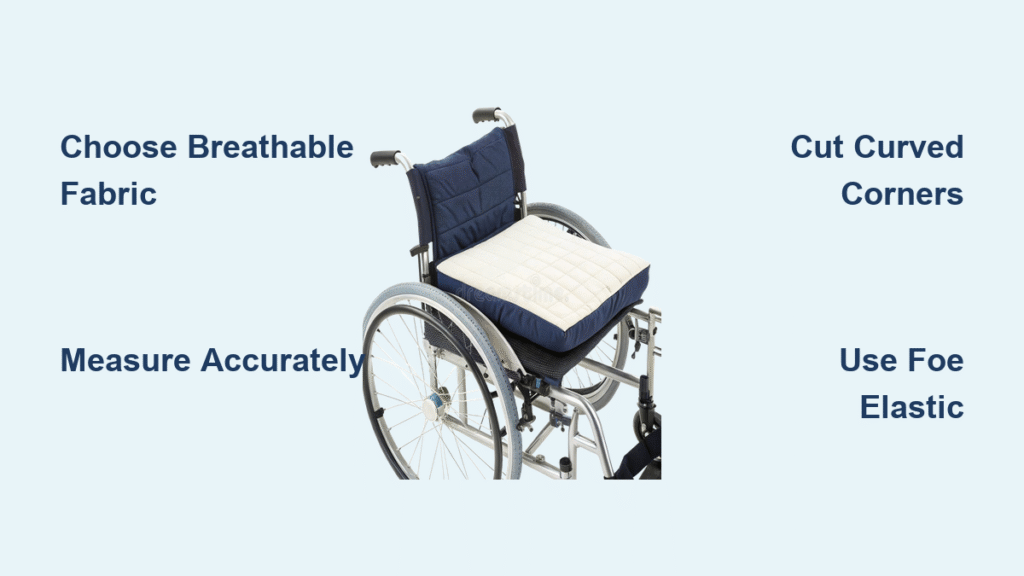
For daily users: Air cell cushions provide excellent pressure redistribution but require regular maintenance. Check inflation levels daily and adjust as needed to maintain proper support. For high-activity users: Liquid gel cushions offer maximum stability with minimal adjustment needs, though they tend to be heavier. For budget-conscious: High-density foam cushions with non-slip base provide good value while effectively preventing sliding.
Key features to prioritize:
– Non-slip bottom surface that grips wheelchair seat
– Contoured design matching body shape for anterior pelvic support
– Breathable cover material to prevent overheating
– Machine-washable components for easy maintenance
Look for cushions specifically designed as “anti-thrust” models, which feature a raised front edge that blocks forward movement while maintaining comfort. These specialized cushions use contoured foam or gel to create anterior pelvic support, keeping hips properly positioned throughout the day.
Proper Pelvic Belt Placement to Prevent Sliding
Belt Positioning That Works
Position the belt across the pelvic bones (hip bones), never across the abdomen. Maintain one finger-width between belt and user to prevent pressure while ensuring security. Always fasten belts with user sitting fully back against backrest—this ensures proper positioning from the start.
Installation tips:
– Use swivel buckles for easy adjustment throughout the day
– Choose aircraft-grade aluminum hardware for durability during transfers
– Select padded belts for extended comfort during long sitting periods
– Ensure quick-release mechanisms function properly for emergency situations
Remember that positioning belts should stabilize the pelvis AFTER optimal seating configuration is achieved—they’re not a substitute for proper wheelchair fit. Using belts without addressing underlying causes can actually increase the risk of sliding under the belt.
Dycem Sheets: Immediate Non-Slip Solution Under $20

Quick Material Fix for Wheelchair Sliding
Dycem sheets create super-grippy surfaces that prevent sliding while allowing position adjustments. Cut to fit seat dimensions and place under existing cushion. These reusable, washable sheets cost under $20 and work immediately—simply peel and stick to the wheelchair seat.
For users who need less aggressive grip, silicone gel sheets similar to phone holders provide moderate friction without excessive stickiness. Specialized wheelchair clothing with Calcutta fabric panels offers another solution, providing traction where it matters most without restricting movement. Avoid materials that trap heat or retain odors, as these can create additional comfort issues.
When to Call an Occupational Therapist Immediately
Professional Help Red Flags
Contact an occupational therapist immediately if you notice:
– Repeated sliding despite adjustments over 2-3 days
– Skin breakdown or pressure sores developing within 24 hours
– Increased agitation or discomfort when positioned properly
– Difficulty with transfers or daily activities due to positioning
– Medication changes affecting muscle tone or alertness
An OT evaluation identifies specific positioning needs and capabilities, while a PT assessment focuses on mobility considerations. These professionals measure range of motion, strength, and functional abilities to determine the root causes of sliding and recommend appropriate solutions.
Daily Prevention Routine That Actually Works
Morning Setup Checklist
Create a simple daily routine to prevent sliding:
– Morning: Check positioning and belt fit before starting daily activities
– Midday: Verify cushion inflation and placement during lunch break
– Evening: Inspect skin for pressure areas during routine care
– Weekly: Evaluate wheelchair fit and adjustments as part of regular maintenance
Monthly tasks should include checking cushion inflation, inspecting non-slip surfaces for wear, and verifying belt function. Quarterly reassessments with a therapist ensure continued effectiveness as needs change—especially important after weight fluctuations or medical events.
Cost-Effective Sliding Prevention Solutions
Budget-Friendly Implementation
Start with $20-50 solutions like Dycem sheets and basic anti-thrust cushions. Progress to $200-500 options including professional positioning belts and tilt accessories. Advanced systems like tilt-in-space wheelchairs range $2,000-8,000 but may be covered by insurance when properly documented.
Document medical necessity through physician prescription and therapy evaluations—many insurance plans cover positioning devices when prescribed for specific medical conditions. Work with durable medical equipment suppliers who understand coverage requirements and can help navigate the approval process.
Quality of Life Impact: Why Proper Positioning Matters
Proper positioning reduces caregiver burden by minimizing repositioning needs throughout the day. Users report improved breathing, better digestion, and enhanced social engagement when positioned correctly. Most importantly, effective sliding prevention restores independence and dignity while significantly reducing the risk of serious injuries.
When you know how to keep someone from sliding out of wheelchair properly, you’re not just solving a positioning problem—you’re improving overall health outcomes, increasing functional abilities, and enhancing quality of life for wheelchair users. The right combination of equipment adjustments, proper cushion selection, and professional guidance creates a stable foundation for daily activities and long-term wellness.
Key takeaway: Preventing wheelchair sliding requires addressing both immediate safety needs and underlying causes. Start with quick wins like proper belt placement and non-slip surfaces, then work toward professional solutions for long-term stability. Regular reassessment ensures continued effectiveness as needs change.

