You’re rolling through your day when suddenly your wheelchair feels off—maybe it’s pulling to one side, making strange noises, or the tire looks suspiciously flat. Wheel problems can bring your independence to a grinding halt, but most issues are fixable with the right knowledge and tools. Whether you’re dealing with a punctured pneumatic tire or a worn solid wheel, this guide walks you through every repair scenario you’ll encounter. Knowing how to fix wheelchair wheel issues saves time, money, and keeps you mobile when unexpected problems arise.
Most wheelchair wheel problems fall into three categories: flat tires, wear damage, or structural issues. The good news is that with basic tools and this guide, you can handle 90% of common wheel problems yourself. By the end of this article, you’ll know exactly how to diagnose, repair, and prevent wheelchair wheel issues—keeping you rolling smoothly through your daily routine.
Identify Your Wheel Type Before Repairing
Before grabbing tools, determine what you’re working with. Solid rubber wheels require complete replacement when damaged—they’re maintenance-free but unforgiving. Pneumatic tires offer the smoothest ride but demand regular pressure checks and occasional patching. Flat-free tires split the difference: no air pressure worries, but you’ll replace them entirely when worn.
Quick Visual Check
- Solid wheels: Uniform rubber surface, no valve stem
- Pneumatic: Visible valve stem for air, tire sidewalls flex when pressed
- Flat-free: Valve stem present but won’t compress when pressed
Diagnose Wheel Problems in Under 5 Minutes
Flat Tire Symptoms
Difficulty pushing feels like you’re fighting the chair with each rotation. Visible sag shows as the wheel appearing lower on one side when viewed from behind. Uneven sitting occurs when the chair tilts noticeably, making transfers difficult and uncomfortable.
Wear Warning Signs
Tread depth less than 1/16 inch means replacement time—use a penny to check (Lincoln’s head should be covered). Cracks that worsen over time compromise structural integrity. Peeling where rubber separates from the rim creates dangerous weak spots.
Structural Red Flags
Wobbling during rotation indicates either a bent rim or loose spokes. Grinding sounds suggest bearing problems that will worsen without attention. Loose spokes (on spoked wheels) create immediate safety hazards—stop using the wheelchair until fixed.
Fix Pneumatic Tire Flats in 30 Minutes
Remove Wheel Safely
Quick-release wheels: Press the center button and slide straight off. Fixed wheels: Use a wrench to remove axle bolts—note their positions for reassembly. Always secure your wheelchair on a level surface before starting.
Tire Removal Process
- Deflate completely: Press valve core to release all air
- Insert tire levers: Hook first lever under tire bead, clip to spoke
- Work around: Use second lever to pop bead over rim gradually
- Extract tube: Pull one tire side off rim, then remove inner tube
Find the Leak
Visual scan for obvious punctures or embedded objects like glass or thorns. Try the water test: submerge tube sections in a bucket, watch for bubbles. Mark all leaks with a marker before patching—many flats have multiple punctures.
Patch Like a Pro
- Roughen area: Sand around puncture until dull
- Apply glue: Thin layer from patch kit, wait 2-3 minutes until tacky
- Press patch: Firm pressure for 30 seconds, no air bubbles
- Test seal: Inflate slightly, check for leaks before full assembly
Reinstall Without Pinching
Valve first: Insert through rim hole, align tube properly. Progressive seating: Work tire back onto rim in small sections. Final check: Ensure no tube edges trapped between tire and rim—pinched tubes cause immediate re-flats.
Replace Solid and Flat-Free Tires Properly

Since these can’t be repaired, replacement is your only option when damaged.
Removal Steps
- Remove wheel following earlier instructions
- Break bead: Use tire levers to pop tire off rim—solid tires require more force
- Clean rim: Remove debris, check for damage before installing new tire
Installation Tips
Lubricate the rim with soapy water to help the tire slide over. Lever carefully working gradually to avoid rim damage—apply even pressure around the circumference. Check seating by ensuring the tire bead sits evenly in the rim channel all the way around.
Handle Bearing and Hub Issues Before They Worsen
Warning Signs
Grinding sensation creates rough rotation when spinning the wheel by hand. Excessive play shows as wheel wobble on the axle when you grip the hub. Squeaking indicates dry or damaged bearings needing immediate attention.
Quick Bearing Check
- Remove wheel from axle
- Spin by hand: Should rotate smoothly, no grinding
- Check for play: Grab hub, test for movement beyond 1-2mm
Cleaning Solution
Degrease bearings with isopropyl alcohol using a clean cloth. Dry thoroughly—compressed air speeds the process. Relubricate with light machine oil or bearing-specific grease. Reinstall ensuring proper seating on axle—improper installation causes premature failure.
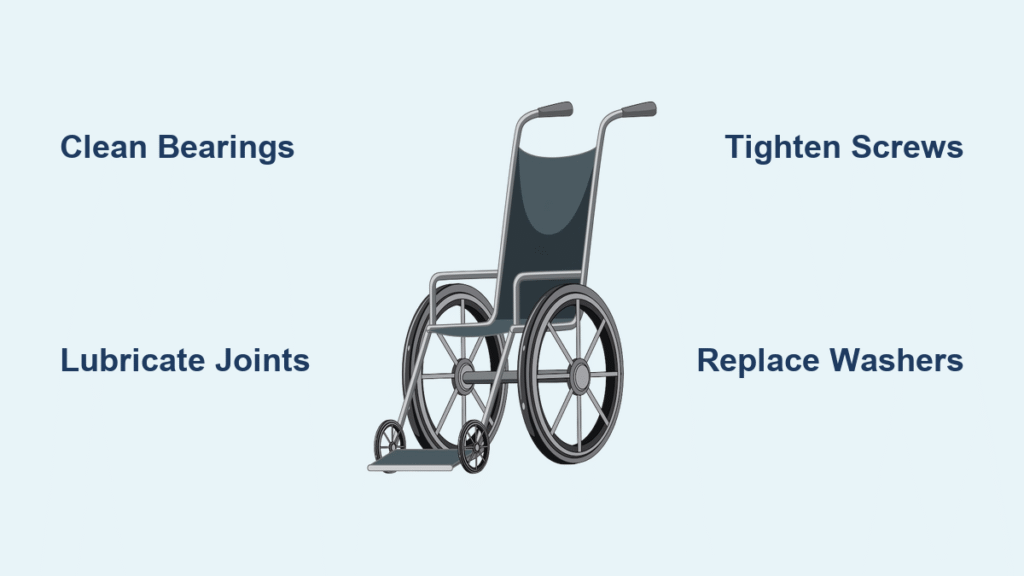
Prevent Future Problems with Simple Maintenance
Weekly Maintenance
Pressure check pneumatic tires—they lose 1-2 PSI weekly even without punctures. Visual scan for debris like hair or string wrapped around the axle. Quick clean with damp cloth removes dirt that accelerates wear.
Monthly Deep Check
Tread measurement with a gauge ensures replacement before safety becomes compromised. Bolt tightening prevents wheels from working loose during use. Bearing test by rotating wheels while listening for unusual sounds catches problems early.
Proper Storage
Cool, dry place prevents rubber degradation—garages and basements often have damaging humidity. Avoid sunlight which causes cracking and peeling through UV exposure. Elevate chair during long storage to prevent flat spots on pneumatic tires.
Build Your Essential Repair Kit
Must-Have Tools
Tire levers (2-3 plastic) prevent rim damage during removal. Adjustable wrench fits most axle bolts. Pump with pressure gauge ensures proper inflation. Patch kit with patches, glue, and sandpaper handles most flats. Spare tube matching your tire size provides immediate solution.
When to Call Professionals
Seek expert help for bent rims requiring specialized truing equipment. Structural damage like cracked spokes or hub damage compromises safety. Warranty work should always go through authorized service to maintain coverage. Specialized wheels on power chairs need manufacturer-trained technicians.
Emergency Roadside Fixes That Work
Temporary Puncture Seal
Sealant spray creates immediate fix for small punctures—inject through valve stem. CO2 cartridges provide rapid inflation without a pump when you’re stranded. Tube replacement takes just 10 minutes if you carry a spare—practice at home first.
Quick Wheel Removal
Know your release: Practice quick-release mechanism until it’s second nature. Carry tools: A small wrench for fixed wheels fits in any pouch. Spare parts: Tubes weigh little but restore full mobility immediately.
Replacement Wheel Selection Guide

Size Matters
Measure these before buying: Wheel diameter (22″, 24″, or 26″ most common), Tire width (must match rim), Axle diameter (ensures proper fit), Hub spacing (distance between bearings).
Choose Right for Your Life
Indoor living: Solid tires with smooth tread minimize rolling resistance. Outdoor adventurer: Pneumatic tires with aggressive tread handle uneven terrain. Mixed use: Flat-free tires with moderate tread pattern offer best compromise.
Safety First—Every Time You Roll
Pre-Ride Check
Quick squeeze: Pneumatic tires should feel firm but yield slightly under thumb pressure. Visual once-over takes 15 seconds but prevents accidents. Test brakes ensure they engage properly before each outing.
Replacement Triggers
Large cracks exposing inner layers require immediate replacement. Severe wear where tread disappears or cords show creates dangerous blowout risk. Repeated flats in the same tire indicate structural weakness—better to replace than patch repeatedly.
Your wheelchair wheels are literally where rubber meets road. Master these repairs, and you’ll keep rolling smoothly through whatever life throws your way. Remember: regular maintenance prevents 80% of wheel problems, but when issues arise, you now have the knowledge to fix them confidently. Keep this guide handy, build your repair kit today, and never let a flat tire stop your independence.