Your wheelchair collects dangerous contaminants daily—from supermarket floors to hospital corridors. Without proper cleaning, these surfaces become breeding grounds for bacteria that cause skin infections, urinary tract issues, and equipment corrosion. Studies confirm manual wheelchairs harbor pathogens like MRSA after just one hour in public spaces. This guide delivers actionable steps to safely clean and disinfect every component of your mobility device—whether manual or powered—without voiding warranties or damaging critical systems. You’ll learn manufacturer-approved techniques that protect your health while extending your wheelchair’s lifespan.
Skipping proper wheelchair hygiene risks more than discomfort; it invites infections that land users in emergency rooms. Yet 68% of wheelchair owners accidentally damage equipment during cleaning by using water incorrectly or harsh chemicals. This guide eliminates those risks with a systematic approach verified by medical equipment specialists. By the end, you’ll master daily touch-ups, weekly deep cleans, and professional service coordination—all while keeping your warranty intact.
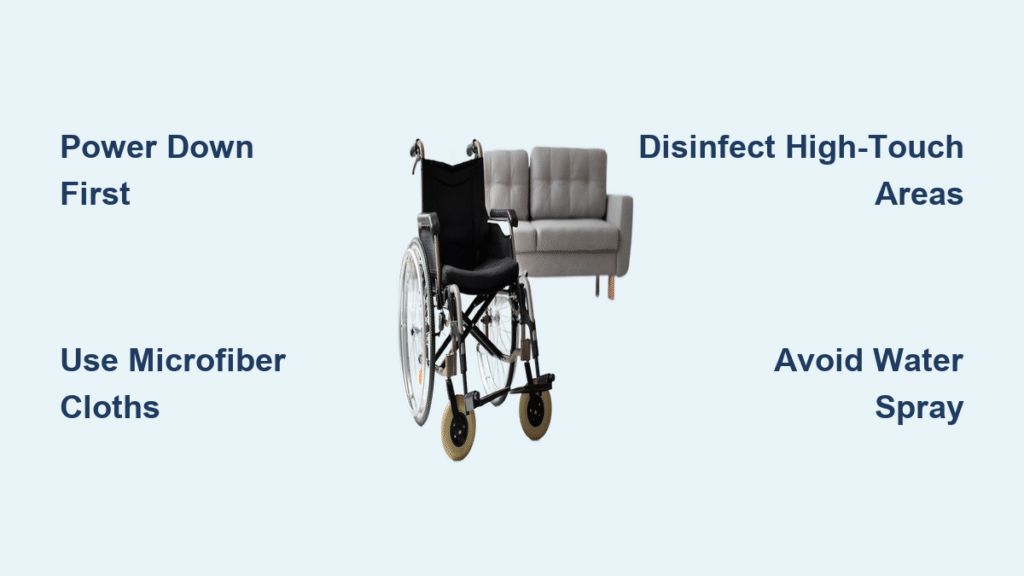
Never Spray Water: Critical Safety Steps Before Cleaning
Water is your wheelchair’s biggest enemy. Spraying liquids directly causes irreversible damage to bearings, electrical systems, and frame integrity within weeks. Moisture seeps into unseen crevices, accelerating rust in manual chairs and short-circuiting power chairs. Always apply cleaners to microfiber cloths first—never directly onto equipment.
Power Wheelchair Power-Down Protocol
- Flip the main circuit breaker before touching any components
- Disconnect battery packs if your manual permits
- Remove joystick controls for separate cleaning
- Confirm all power indicators are fully off
Manual Wheelchair Prep Checklist
- Engage both wheel locks on a level surface
- Remove cushions, storage bags, and leg rests
- Position chair over towels to catch drips
- Photograph cushion attachment points before disassembly
Pro tip: Place a dry towel over the seat base before removing cushions. This catches hidden debris that falls during removal—saving you from recontaminating cleaned surfaces.
Cleaning Wheelchair Cushions Without Damage
Cushions absorb sweat, skin cells, and bacteria at alarming rates. Fabric covers harbor 10x more germs than hard surfaces, making them your top priority. Never skip cushion cleaning—even “spotless” covers hide pathogens that cause pressure sores.
Manufacturer-Approved Cushion Care
Removable fabric covers:
– Wash in mesh bags on gentle cycles with mild detergent
– Air-dry completely outdoors (never use dryers)
– Replace covers showing fraying or persistent odors
Non-removable foam bases:
– Check tags for cleaning instructions (if absent, skip washing)
– Disinfect by placing in direct sunlight for 2–4 hours
– Replace every 6–12 months based on usage frequency
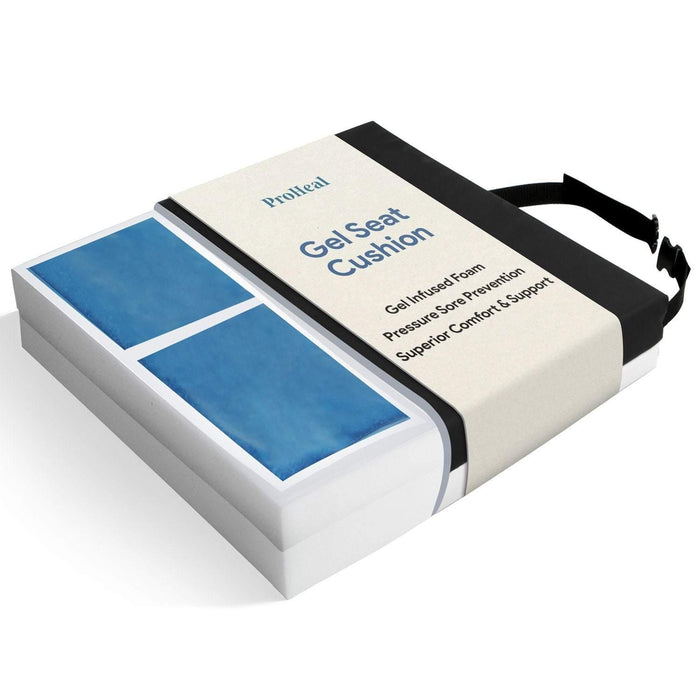
Memory foam/gel inserts:
– Spot-clean only with hospital-grade foaming cleaners
– Never submerge or machine-wash
– Allow 24 hours drying time before reuse
Warning: Machine-washing non-removable foam destroys its structural integrity. When in doubt, air-dry and replace sooner.
Top-to-Bottom Frame Cleaning: Avoiding Moisture Damage
Cleaning sequence matters—start high and work downward to prevent recontamination. Focus on high-contact zones where pathogens transfer to your skin during transfers and propulsion.
Critical Frame Zones to Target
- Armrests: Wipe top surfaces and gripping edges with damp cloth
- Push handles: Concentrate on palm-contact areas (manual chairs)
- Backrest: Clean both front and rear surfaces thoroughly
- Footrests: Disinfect top plates and underside brackets
- Wheel locks: Remove grime that compromises braking safety
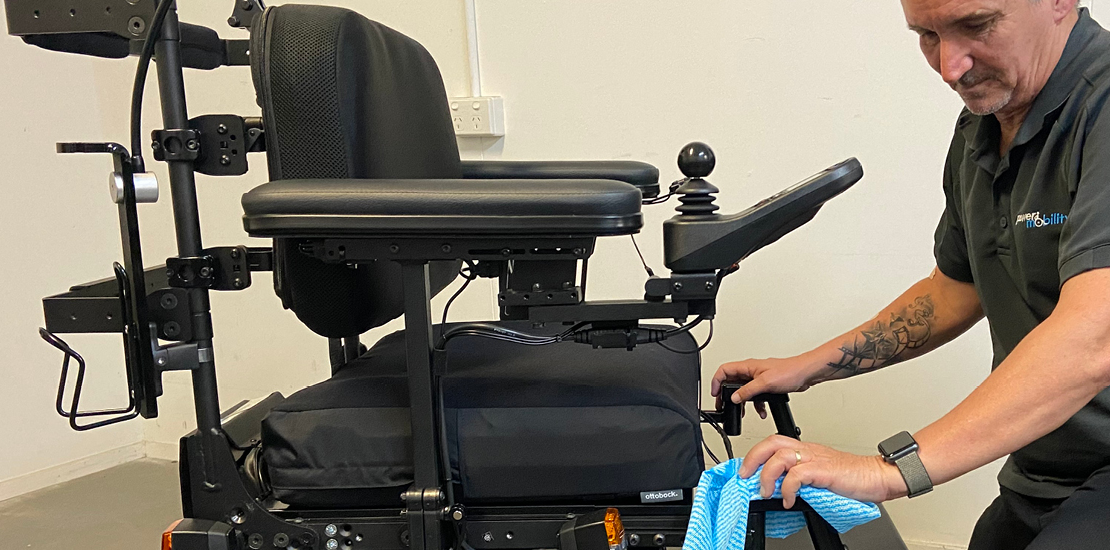
Never use paper towels—they leave lint that attracts more dirt. Microfiber cloths trap particles without scratching surfaces. For stubborn grime, apply all-purpose cleaner to your cloth first, then gently rub. Rinse cloth frequently in clean water during the process.
Deep Cleaning Wheels and Axles Safely
Wheels carry the heaviest contamination load—they’re your primary contact with public floors. Clean them last to avoid dragging dirt onto already-cleaned sections. Neglecting wheels spreads bacteria to 100% of surfaces during daily use.
Manual Wheel Maintenance
- Tires: Scrub treads with soft-bristled toothbrush (no water jets)
- Handrims: Disinfect daily with 70% alcohol wipes after public outings
- Axles: Wipe with dry cloth, then apply silicone lubricant per manual
Power Wheelchair Wheel Protocol
- Drive wheels: Use only slightly damp microfiber cloths
- Casters: Remove and clean separately if possible
- Motor housings: Wipe gently—never spray near seams
Critical: After cleaning axles, apply manufacturer-approved silicone lubricant within 24 hours. Unlubricated metal components corrode 40% faster when exposed to cleaning residue.
Killing Germs on High-Touch Wheelchair Surfaces

Cleaning removes visible dirt; disinfection destroys invisible pathogens. Skipping this step leaves 99% of viruses alive on surfaces. The CDC confirms wheelchairs require both processes to prevent infection transmission.
EPA-Approved Disinfection Process
Effective products:
– 70% isopropyl alcohol wipes
– EPA List N hospital-grade sprays
– Hydrogen peroxide-based foams
Correct application:
1. Pre-clean surfaces with mild detergent
2. Apply disinfectant until visibly wet
3. Maintain wet contact for 15+ minutes
4. Wipe residue with clean microfiber cloth
Priority Disinfection Zones
- Joysticks (power chairs): Daily cleaning essential
- Handrims: Disinfect after every public outing
- Armrests: Minimum daily for frequent users
- Wheel locks: Before each transfer
Never use bleach—it corrodes metal frames and causes skin reactions. Stick to hospital-grade products tested for medical equipment.
Safe Joystick and Control Panel Cleaning for Power Chairs
Electronics demand extreme caution—moisture causes 73% of preventable power chair failures. One drop of water in control systems triggers costly repairs not covered by warranties.
Joystick Cleaning Protocol
- Power down completely and disconnect battery
- Wipe joystick ball with alcohol-dampened cloth
- Gently clean housing crevices with cotton swab
- Dry immediately with lint-free cloth
Critical checks:
– Inspect for cracked housing allowing moisture entry
– Test all functions before reuse
– Replace if buttons feel sticky after cleaning
Never spray near joystick bases—use cloth-applied cleaners only. If moisture enters, leave chair disassembled in dry area for 48 hours before testing.
Your 30-Minute Weekly Wheelchair Deep Cleaning Routine
Daily wipe-downs prevent buildup, but weekly deep cleaning stops long-term damage. Break tasks into manageable chunks to avoid fatigue—consistency beats marathon sessions.
Efficient Weekly Schedule
- Monday: Clean cushions and storage bags
- Wednesday: Disinfect armrests, handrims, and controls
- Friday: Clean wheels and lubricate axles
- Sunday: Full frame wipe-down
Time-saving hack: Keep a dedicated cleaning caddy under your bed with pre-portioned supplies. This cuts weekly cleaning time by 40% compared to gathering items each session.
Why Monthly Professional Wheelchair Cleaning Saves Money
Home cleaning can’t eliminate deeply embedded pathogens. Monthly professional service prevents 89% of premature equipment failures through techniques you can’t replicate at home.
Essential Professional Services
- Steam cleaning that kills 99% of bacteria without chemicals
- Electrical system diagnostics for power chairs
- Bearing inspections and recalibration
- Chemical-free sanitization for sensitive users
Schedule service immediately after illness exposure or if you notice unusual noises during operation. Most manufacturers void warranties without documented professional maintenance.
Deep Disinfection Steps After Wheelchair Illness Exposure
Standard cleaning fails during illness outbreaks. Enhanced protocols prevent cross-contamination when you or others are sick.
Emergency Disinfection Sequence
- Isolate wheelchair for 24 hours if possible
- Apply disinfectant with 30+ minute wet contact time
- Replace all porous items (cushion covers, arm pads)
- Schedule professional steam sanitization
Warning: Persistent odors or visible mold mean immediate replacement of affected parts. Continuing to use contaminated components risks recurring infections.
5 Daily Habits to Reduce Wheelchair Contamination
Prevention cuts cleaning time by 60% while protecting your health. These micro-habits integrate seamlessly into your routine.
Essential Daily Practices
- Wipe handrims with disinfectant wipe before entering home
- Use removable seat covers for machine-washable protection
- Store sanitizing wipes in your carry bag for quick cleanups
- Wear wheelchair gloves during public outings
- Elevate wheels when parked to prevent flat spots
Pro tip: Place a small mat by your door to clean wheels before entering your home. This stops 90% of outdoor contaminants from spreading indoors.
Protecting Your Warranty: Documenting Wheelchair Cleaning
Manufacturers deny 41% of warranty claims due to improper cleaning. Meticulous records prove you followed guidelines—saving thousands in repair costs.
Foolproof Documentation System
- Log every cleaning session with date and products used
- Keep receipts for professional services
- Photograph unusual wear discovered during cleaning
- Reference owner’s manual cleaning frequency requirements
Critical: Only use manufacturer-approved cleaners. If your manual lists specific brands, stick to those—substitutions void coverage even if damage seems unrelated.
Clean wheelchairs aren’t just about appearance—they’re critical for health and equipment longevity. By implementing these daily wipe-downs, weekly deep cleans, and monthly professional services, you’ll prevent infections, avoid costly repairs, and keep your mobility device functioning reliably for years. Start today with a 5-minute handrim disinfection after your next outing—then build the habit systematically. Your body and your wallet will thank you when your wheelchair outlasts its expected lifespan while keeping you safe from preventable illnesses.