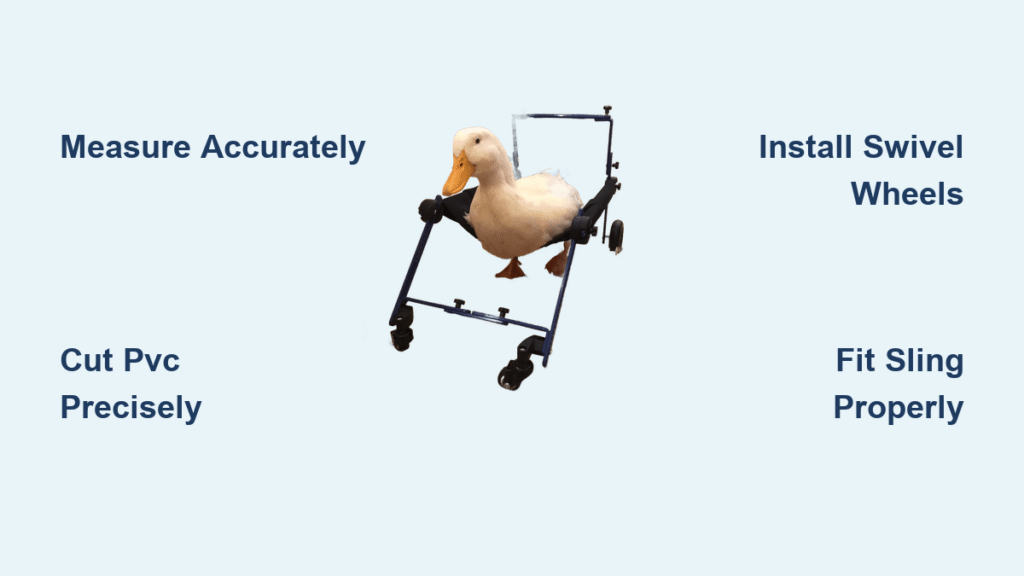
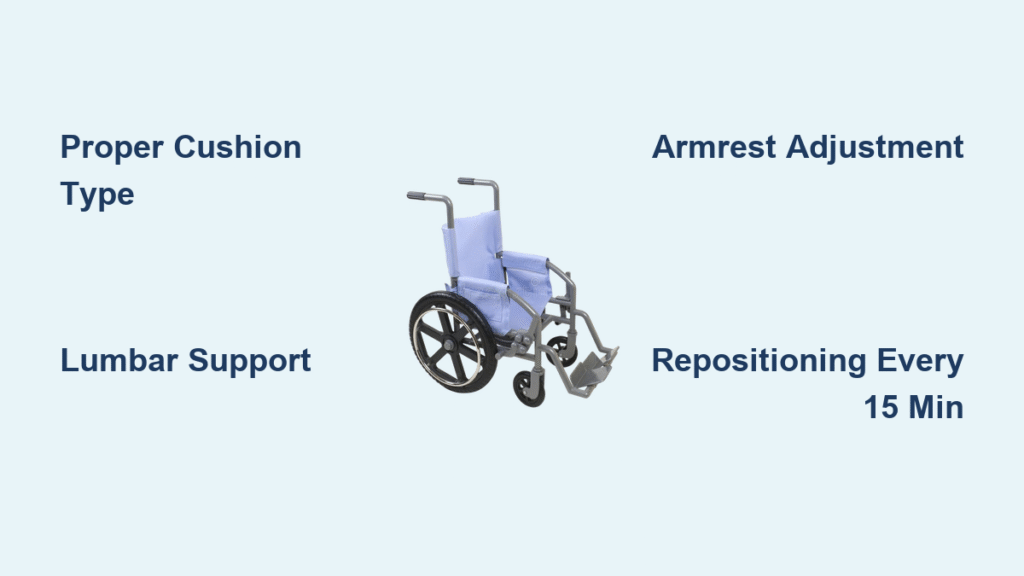
Watching your duck drag its body across the yard while wings flap helplessly breaks your heart. When arthritis, a broken leg, or neurological damage steals their ability to walk, your feathered friend faces isolation and painful pressure sores within days. But here’s the hope: building a duck wheelchair takes just 3 hours with $25 in PVC pipes and mesh fabric. You’ll transform your duck from a motionless bird into a social, paddling companion again—no vet bills or fancy equipment needed.
This isn’t a temporary fix. Ducks using properly fitted wheelchairs regain normal social behaviors within 48 hours, preventing deadly complications like keel ulcers. I’ll show you exactly how to measure your specific duck breed, avoid dangerous fitting mistakes, and build a wheelchair that grows with your bird. By the end, you’ll have a mobility solution so comfortable, your duck will nap while rolling across the lawn.
Measure Your Duck Before Cutting PVC (Critical First Step)
Skipping precise measurements causes 90% of wheelchair failures. Your duck’s feet must clear the ground by exactly ½ inch—any less causes dragging injuries; any more strains their chest. Grab your duck, a flexible measuring tape, and note these three numbers:
- Width (W): Measure across your duck’s widest rib point while standing. Add 2 inches for movement clearance.
- Length (L): From breastbone tip to tail base. Add 2 inches so the tail doesn’t hang off.
- Height (H): Floor to top of back while standing. This sets vertical post length.
Breed-Specific Shortcuts:
– Pekin ducks (8 lbs): Start with W=11″, L=14″, H=10″
– Call ducks (1.5 lbs): Use W=6″, L=8″, H=6″
– Mallards: W=7″, L=9″, H=7″
Pro Tip: Place your duck on newspaper, trace its outline, and measure the paper. Ducks squirm—this avoids inaccurate live measurements.
Cut PVC Pipes to Exact Duck Dimensions (No Guesswork)
Your measurements dictate every cut. Using a PVC cutter or hacksaw, create these pieces from ½-inch Schedule-40 pipe:
- 4 vertical posts: Cut to your Height (H) measurement
- 2 width rails: Cut to Width (W)
- 2 length rails: Cut to Length (L)
- 2 rear axle stubs: 1.5 inches long
- 2 front caster stems: 1 inch long
Why precise cuts matter: A Pekin duck with 10-inch posts but 9-inch rails creates a wobbly frame that tips sideways. Sand all cut edges with fine-grit paper—rough PVC shreds sling fabric during use.
Assemble the Base Frame That Won’t Wobble
Start with the foundation where stability begins. Insert width rails into two 3-way PVC connectors, then connect length rails to form a rectangle. Critical test: Place the frame on a flat floor. If it rocks, your cuts aren’t square—sand the ends until all four corners touch the ground simultaneously.
Avoid this mistake: Using T-connectors instead of 3-ways at base corners. T-connectors can’t accept vertical posts and wheels simultaneously. Your frame needs six 3-way connectors to create attachment points for wheels, posts, and rails.
Install Wheels to Prevent Dangerous Tripping

Rear wheels (fixed): Insert 1.5-inch axle stubs into the rear lower 3-way ports. Slide on wheels and secure with stainless steel hose clamps. Tighten until wheels spin freely but don’t wobble.
Front wheels (swivel): Attach to the front lower 3-way ports. Position so casters swivel 360° but don’t tilt sideways. Test: Roll the empty frame across linoleum. If it veers left or right, loosen clamps and realign wheels parallel to the frame.
Grass solution: Swap standard 2-inch casters for 3–4 inch pneumatic lawn wheels. Ducks on gravel or grass need wider tires to prevent sinking.
Build the Sling That Prevents Keel Sores
Your duck’s chest rests here—get this wrong and pressure sores develop in 24 hours. Use breathable mesh from a $3 pop-up laundry sorter (cut to size) or soft fleece. Never use cotton—it retains moisture against skin.
Create a Custom Sling in 4 Steps:
- Place duck on paper, trace body outline, and add 1 inch around all edges
- Cut two identical fabric pieces (double-layer prevents sagging)
- Sew right sides together, leaving a 2-inch gap to turn inside out
- Top-stitch closed and attach 1-inch webbing loops at all four corners
Sizing check: When your duck sits in the sling, their breastbone should rest level—not tilted forward or backward. Adjust by shortening front or rear straps.
Safety Checks That Prevent Emergency Vet Visits
Before your duck touches the wheelchair, perform these non-negotiable tests:
- Stability push test: Press down hard on one corner. Frame shouldn’t flex or rack sideways
- Height verification: Duck’s feet must clear ground by exactly ½ inch (place ruler under feet)
- 5-second release: Unclip all buckles within 5 seconds—critical if duck panics
- Edge inspection: Run fingers over all PVC. Sand any rough spots that could cut fabric
Warning: If your duck’s breathing labors when strapped in, the sling is too high. Lower it immediately.
First Fitting Session: Avoid Panic and Injury
Introduce the wheelchair in stages to prevent trauma:
- Day 1: Place duck in sling for 3 minutes only. Watch for:
– Flared wings (indicates chest pressure) → Loosen front straps
– Tail dragging → Raise rear sling attachment points
– Labored breathing → Shorten all straps by ¼ inch - Day 2: Increase to 8 minutes
- Day 7: Most ducks tolerate 30-minute sessions
Pro Tip: Distract your duck with mealworms during fittings. Positive association = faster adaptation.
Fix Common Problems in Under 10 Minutes
Duck tips forward constantly
Cause: Front caster stems too short or sling too low
Fix: Add ½-inch PVC spacers under front casters or shorten front sling straps by 1 inch
Sling fabric sags after washing
Cause: Mesh stretching under duck’s weight
Fix: Sew a second layer of mesh to the original or switch to heavier laundry-bag fabric
Wheels wobble on uneven ground
Cause: Loose hose clamps or bent caster stems
Fix: Replace casters with sealed-bearing lawn wheels (3+ inches) for outdoor use
Daily Safety Protocol Save Lives
Never leave your duck unattended in the wheelchair—even for “just a minute.” Follow this routine:
- Before use: Check hose clamps for tightness and PVC cracks
- During use: Limit sessions to soft surfaces (carpet, short grass)
- After use: Examine keel and foot webs for redness (sores develop fast!)
- Weekly: Machine-wash sling, hose down PVC frame, disinfect wheels
Critical rule: Stop immediately if your duck tries to flap violently. They need rest—not more time in the chair.
Fast Build Option: Laundry Sorter Wheelchair in 45 Minutes
When your duck can’t wait, skip PVC entirely:
- Buy a pop-up mesh laundry sorter ($8 at Target)
- Cut mesh to fit your duck’s measurements (add 1 inch perimeter)
- Sew 6 side-release buckles at corners and midpoints
- Attach straps to buckles and adjust for ½-inch foot clearance
This version costs under $15 and works for temporary injuries like sprains. Downside: Less durable than PVC for heavy breeds like Muscovies.
Your duck’s journey back to mobility starts with precise measurements and a stable frame. Within days of proper fitting, you’ll see them paddling joyfully toward the pond again—no longer isolated, no longer in pain. The wheelchair isn’t just hardware; it’s a lifeline that restores their dignity and social bonds.
Begin with the PVC design for lasting support, then add custom touches like a food station or diaper system as needed. Check sling fit weekly as your duck adjusts, and never skip the daily skin inspection. In 72 hours, you’ll witness what every duck owner dreams of: your feathered friend rolling confidently across the yard, finally free.

