Struggling to reach your wheels comfortably or finding your feet dragging on the ground? Your wheelchair seat height might be the culprit. Research shows 80-90% of wheelchair users have improperly fitted chairs, leading to discomfort, reduced mobility, and even health complications. Whether you’re new to wheelchair use or experiencing changes in your mobility needs, getting the seat height right transforms your daily experience from frustrating to effortless. This guide walks you through exact measurements, adjustment techniques, and troubleshooting tips that work for every wheelchair type.
Measure Your Ideal Seat Height Before Making Changes
Start with your body, not your chair. The perfect seat height begins with two simple measurements that ensure optimal posture and propulsion efficiency. These numbers become your target before you touch any adjustment mechanisms.
Find Your Baseline Measurement
Sit naturally on a firm surface with feet flat on the floor. Measure from the ground to the crease behind your knee—this number becomes your target seat height. Add 2 inches if you’ll use footrests to prevent dragging. This baseline accounts for your unique body proportions rather than guessing based on average heights. For those using foot propulsion, consider lowering this measurement by 1-2 inches to maximize push rim access while maintaining stable foot placement.
Check Current Settings First
Before making changes, measure your existing seat height at all four corners. Place your measuring tape at the seat surface (not cushion) and note any discrepancies. Uneven measurements often reveal bent frames or worn components that affect stability more than height alone. If you find differences greater than 1/4 inch between corners, address this imbalance before proceeding—otherwise, your adjustments won’t solve the underlying problem causing discomfort.
Adjust Standard Manual Wheelchairs Using Axle Positioning
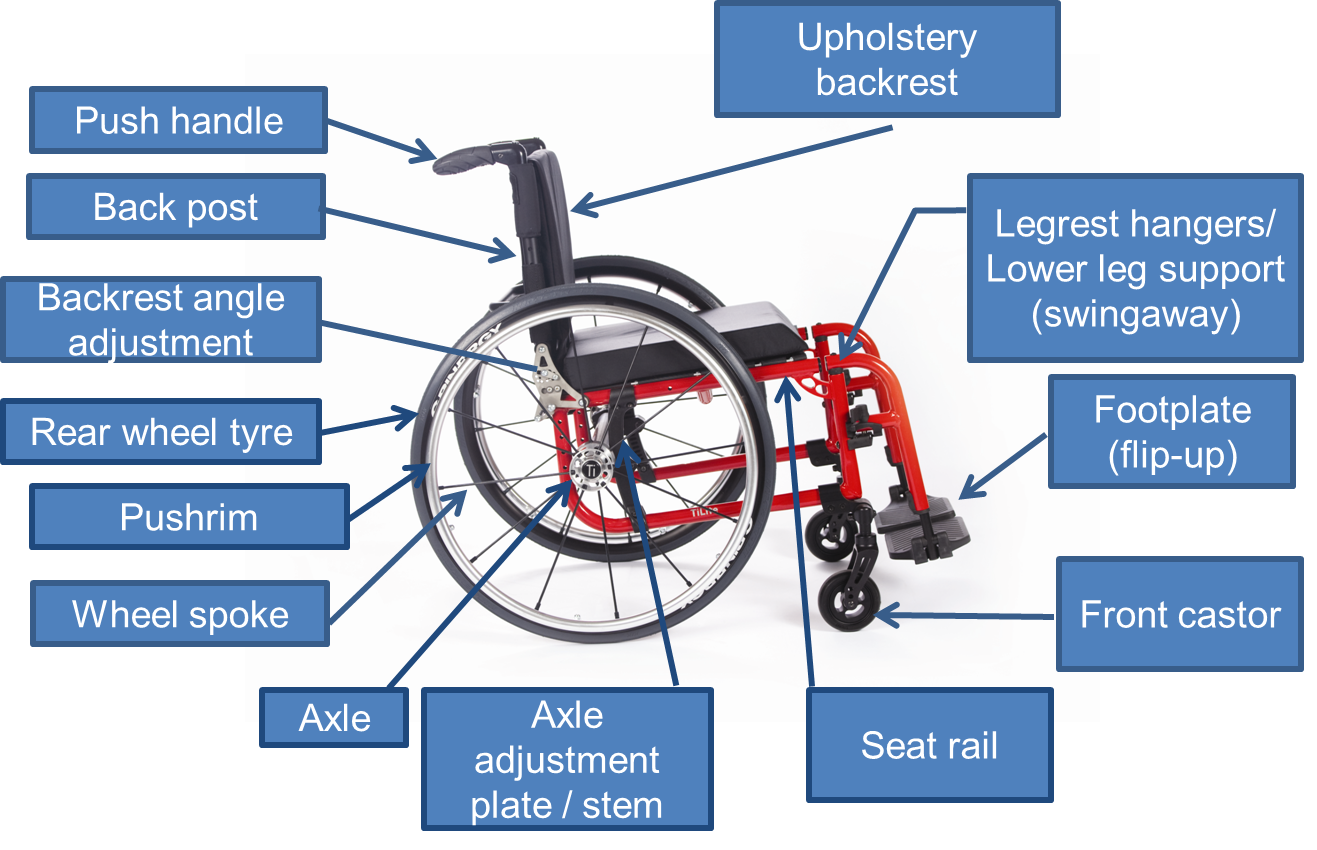
Most manual wheelchairs use rear axle positioning to control seat height. This method provides the widest adjustment range and maintains wheel access for self-propulsion. Unlike cushion modifications, axle adjustments preserve your chair’s structural integrity and safety features.
Axle Plate Adjustment Steps
Tools needed: 5/16″ wrench or quick-release pins, measuring tape, level surface
- Lock brakes by pushing levers down until they click—never adjust while the chair could roll
- Remove axle plate bolts on both sides using your wrench; some chairs use quick-release pins instead
- Slide axle upward to lower seat height (each notch typically changes height by 1/2″)
- Count clicks or notches to ensure both sides match exactly—this prevents dangerous instability
- Reinstall hardware tightly—loose bolts create dangerous wobbling that compromises safety
- Test stability by pressing down firmly on armrests before sitting in the chair
Pro tip: Mark your original position with tape before starting. This safety net prevents guesswork if adjustments feel wrong and helps maintain warranty compliance.
Caster Fork Modifications for Fine-Tuning
When axle adjustment reaches its limit, caster height provides fine-tuning without compromising structural integrity:
- Access adjustment bolts at the fork base—these typically require a 10mm wrench
- Loosen bolts 1-2 turns maximum to avoid component misalignment
- Raise or lower caster stem in 1/4″ increments to prevent over-adjustment
- Retighten bolts securely—finger-tight plus 1/4 turn ensures proper tension
- Spin wheels to check for wobbling or binding that indicates improper alignment
Modify Transport and Hybrid Chairs with Limited Adjustment

Transport wheelchairs offer minimal height control, but you still have options beyond replacing the entire chair. These solutions maintain portability while addressing critical height issues that affect comfort and function.
Cushion-Based Adjustments for Non-Adjustable Chairs
For chairs without axle adjustment:
– Remove existing cushion and measure thickness with calipers for accuracy
– Add or subtract foam layers to achieve target height—3/4″ increments work best
– Consider pressure-relief cushions that add 1-3 inches while improving circulation
– Test foot positioning with new cushion height before finalizing
– Verify transfer clearance to beds and toilets—cushion changes affect multiple functions
Hybrid Chair Solutions for Poly-Fly Models
These chairs combine transport convenience with moderate adjustment flexibility:
- Use caster adjustments for minor changes (approximately ±1″)
- Consider axle plate swaps for major modifications—some manufacturers offer different height plates
- Evaluate aftermarket kits from mobility suppliers that add adjustment capabilities
- Document all changes thoroughly for warranty compliance and future reference
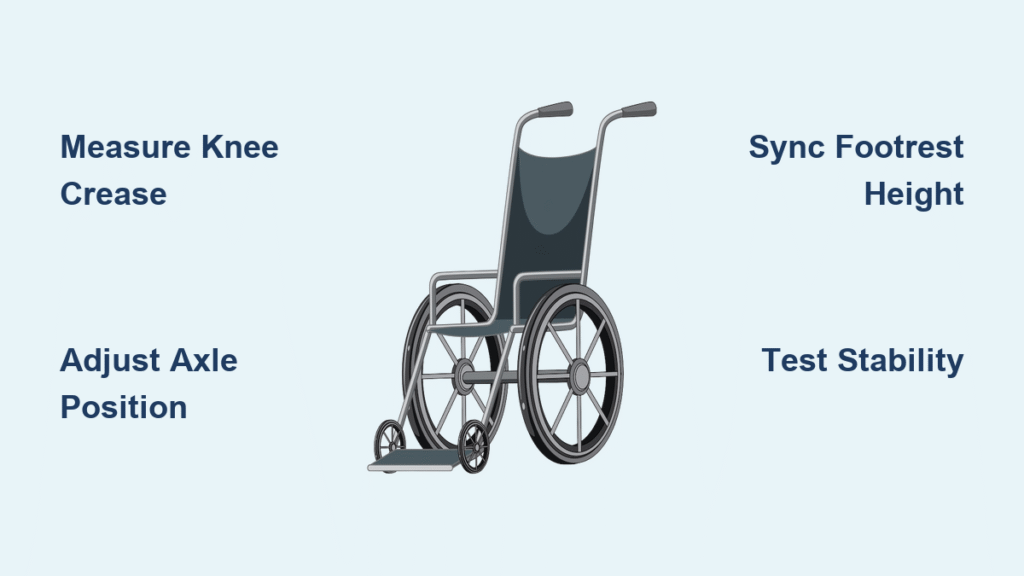
Synchronize Footrest Height After Seat Adjustments
Seat height changes require matching footrest adjustments to maintain proper leg positioning and prevent circulation issues. Ignoring this synchronization causes more problems than the initial height issue.
Measure and Adjust Footrests Precisely
With the user seated in the adjusted chair:
– Measure from seat edge to sole of foot while maintaining natural posture
– Adjust footrest length using side levers—pull out to extend, push in to shorten
– Maintain 2-3 finger widths between seat edge and back of knees to prevent vascular constriction
– Check both footrests match exactly—uneven footrests create hip and spine stress over time
Elevating Leg Rest Features Require Special Attention
For elevating leg rests:
– Push lever away from chair body to unlock—never force if stiff
– Lift to desired angle (30-70 degrees for most users, depending on medical needs)
– Return lever to locked position—listen for the distinct click confirming security
– Lower carefully while supporting the leg rest weight to prevent sudden drops
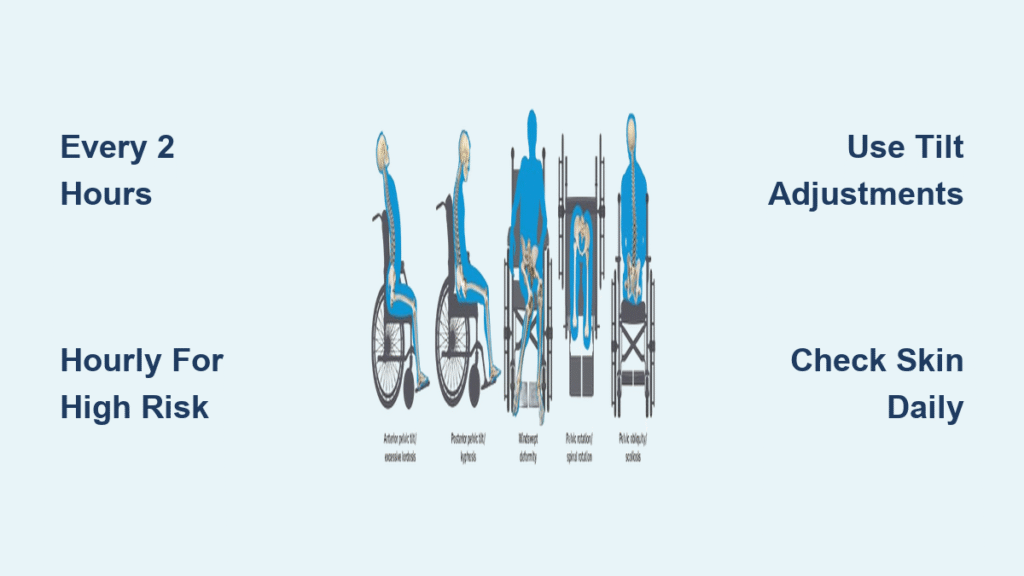
Diagnose Height-Related Problems Before Adjusting
Recognize when seat height issues masquerade as other problems. Quick diagnosis prevents unnecessary part replacements or medical interventions that waste time and money.
Feet Don’t Reach Floor Properly
Symptoms: Legs dangle, difficulty with foot propulsion, sliding forward in seat
Solutions:
– Lower seat height via axle adjustment if possible
– Shorten footrests by 1-2 notches incrementally
– Switch to thinner seat cushion—measure before replacing
– Consider heel loops for better foot positioning during propulsion
Legs Feel Cramped or Elevated
Symptoms: Knees pushed upward, thigh pressure, difficulty transferring
Solutions:
– Raise seat height incrementally using available adjustment points
– Extend footrest length while maintaining proper knee angle
– Check seat depth measurement to rule out multiple fitting issues
– Evaluate cushion compression over time—many users overlook this factor
Safety Testing Protocol After Every Adjustment
Height adjustments directly affect stability and transfer safety. Never skip these critical checks before considering your adjustment complete.
Essential Stability Verification
After every adjustment:
1. Engage brakes firmly and confirm they hold on a slight incline
2. Sit in chair with feet on footrests to test real-world stability
3. Shift weight side-to-side—any tipping indicates unsafe height configuration
4. Lean forward slightly—anti-tip bars should prevent forward fall without restricting movement
5. Test push rim access—wheels should spin freely without shoulder strain during propulsion
Transfer Surface Alignment Is Critical
Seat height must align with your primary transfer surfaces within 1-2 inches:
– Bed height: Measure from floor to top of mattress with you lying on it
– Toilet height: Standard is 15-17″, ADA-compliant is 17-19″
– Car seat: Measure with cushion compressed to simulate actual use
– Shower chair: Account for wet, slippery conditions requiring extra stability
Professional Fitting When DIY Isn’t Enough
While most height issues can be solved with careful adjustment, certain situations demand professional assessment to prevent serious health consequences.
When to Seek Expert Help Immediately
Consult a seating specialist when:
– Experiencing persistent pain or pressure sores after adjustments
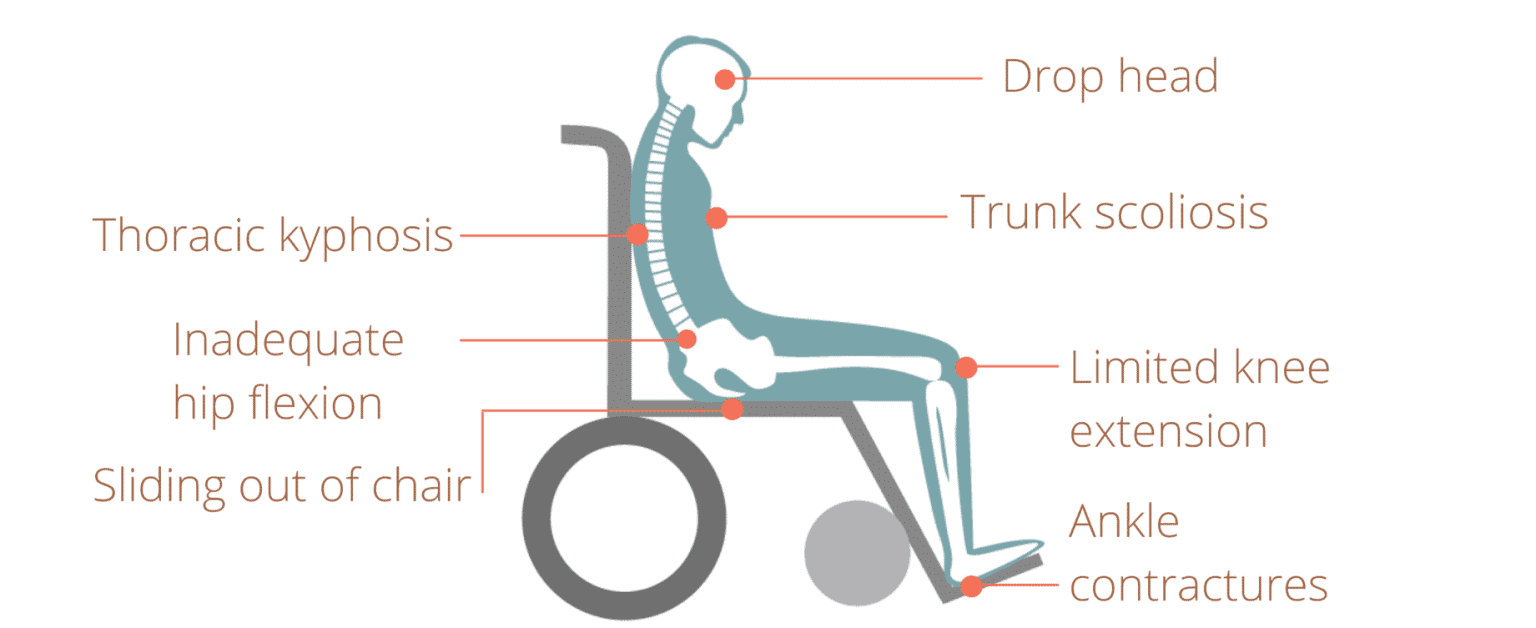
– Noticing visible postural changes like spinal curvature
– Undergoing significant weight changes (more than 20 lbs)
– Transitioning to a new wheelchair model with different geometry
– Dealing with progressive conditions that alter your physical needs
What Professionals Provide Beyond Basic Measurements
Comprehensive assessment includes:
– Anthropometric measurements using calibrated tools for precision
– Pressure mapping to identify risk areas before problems develop
– Functional mobility testing in your actual home and work environments
– Environmental factor evaluation including vehicle transfers and doorway clearance
– Documentation for insurance coverage of necessary modifications
Maintain Optimal Height Settings Through Regular Checks
Height adjustments drift over time through daily use and component wear. Establish a simple maintenance routine that preserves your settings and catches problems early.
Simple Monthly Review Checklist
- Measure seat height at all four corners before daily use
- Check axle hardware for looseness while performing routine maintenance
- Inspect caster forks for smooth rotation during cleaning
- Document measurements in your user manual for trend tracking
- Verify footrest match using measuring tape before extended outings
Getting your wheelchair height right transforms daily mobility from struggle to freedom. Measure carefully, adjust incrementally, and test thoroughly after each change. Remember that optimal height balances propulsion efficiency with safety—when in doubt, slightly lower positions offer better stability than raised ones. Keep these measurements handy and review them quarterly to maintain peak performance and comfort while preventing long-term health issues.