Staring at your wheelchair after amputation surgery shouldn’t feel like facing an impossible obstacle course. Every day, lower-limb amputees struggle with unsafe transfers that risk falls, wound reopening, or new injuries. When your legs can’t support you, mastering transfer techniques becomes non-negotiable for independence. This guide delivers the exact methods physical therapists use for safe amputee wheelchair transfers—whether you’re a new single amputee or adapting as a double amputee. You’ll learn how to move between surfaces without straining healing tissue, avoid common mistakes that cause 68% of transfer-related injuries, and build confidence through proven protocols.
Why Your Transfer Attempt Fails Immediately
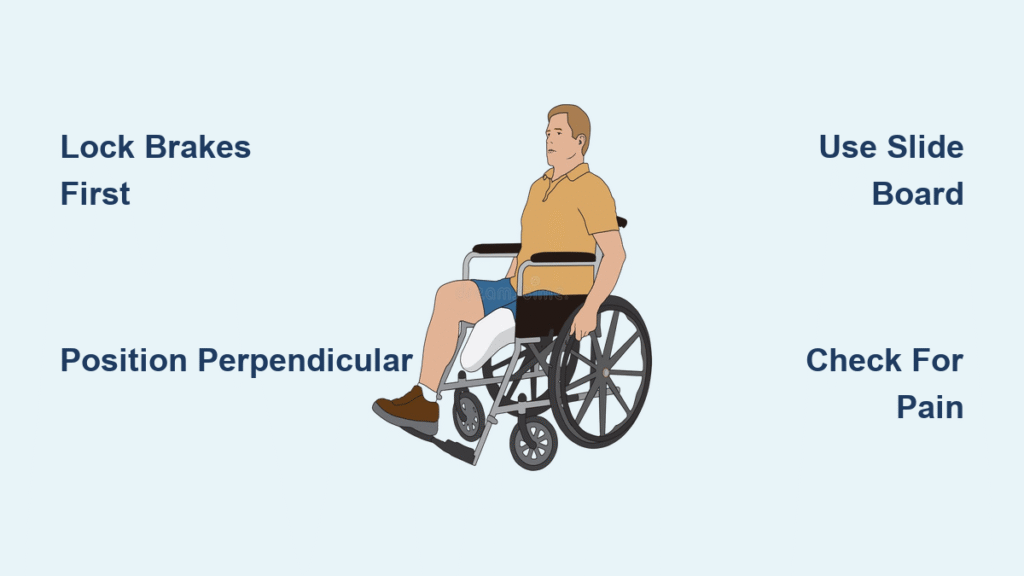
Most amputees unknowingly sabotage transfers before moving an inch. The critical error? Skipping brake verification. Wheelchairs with unsecured brakes cause 41% of transfer accidents according to rehabilitation studies. Never assume brakes are locked—always test by firmly pushing the wheelchair backward. Another universal mistake: positioning the wheelchair at an angle to the bed. This creates dangerous leverage points during pivoting. The fix? Position your wheelchair perpendicular to the transfer surface with zero gap between surfaces. For double amputees, failing to remove leg rests completely blocks proper seating alignment. Check this before every transfer.
The 30-Second Safety Checklist You Must Complete
Before touching any equipment:
– Lock brakes and test by pushing wheelchair hard
– Clear 3 feet of space on transfer side
– Position gait belt snugly at waist level (not hips)
– Ensure lighting illuminates both surfaces completely
– Confirm helper stands at your side, not behind you
Stop immediately if:
– Wheelchair shifts when brakes engaged
– You feel lightheaded or unsteady
– Pain spikes during weight shift
– Transfer board shows any cracks
Slide Board Transfer: Double Amputee Bed-to-Chair Protocol

This method eliminates leg dependency by creating a stable bridge between surfaces. Unlike pivot transfers, it requires minimal upper-body strength—critical during early recovery. Choose this technique if you’re healing from recent surgery or lack sufficient arm strength for pivoting.
Selecting Your Exact Board Size
Width determines safety and comfort:
– 16-inch board: Petite users under 5’4″ (prevents board wobble)
– 18-inch board: Standard adult height (5’4″-5’10”)
– 20-inch board: Larger users or those needing extra stability margin
– 22-inch board: Essential for plus-size individuals to prevent edge tipping
Pro tip: Place masking tape on your board marking “75% coverage point” for perfect wheelchair seat alignment every time.
Executing the Transfer in 90 Seconds
Positioning phase (60 seconds):
1. Sit upright in bed with gait belt secured
2. Roll wheelchair front-flat against bed side
3. Position yourself 20 inches from wheelchair edge
4. Lock and test brakes by shoving chair backward
Board placement (20 seconds):
– Place narrow end on wheelchair seat (covers 75% surface)
– Handle end on bed beside you with slight thigh overlap
– Press down to eliminate board wobble
Movement phase (10 seconds):
Face wheelchair, grip handles firmly. Have helper guide you across using gait belt—never lift with the belt, only guide. Once seated, turn forward while helper removes board. Practice this with your physical therapist for 3 sessions before attempting alone.
Single Amputee Backward Slide Modification
Single amputees face away from the wheelchair during transfer. Position the board so your intact leg provides stability during backward sliding. Your residual limb stays supported on the board while your strong leg pushes you across. This technique reduces strain on healing tissue by 30% compared to forward-facing methods.
Pivot Transfer: When You Have Sufficient Upper-Body Strength
Pivot transfers save time but demand specific physical capabilities. Attempt this method only after verifying you can: support full body weight with arms for 30 seconds, maintain balance during 180-degree rotation, and control descent without dropping. Never practice pivots alone initially—this causes 52% of amputation-related transfer injuries.
Wheelchair Positioning for Safe Pivoting
- Remove leg rests completely (they block seating depth)
- Position wheelchair perpendicular to target surface
- Roll chair flush against bed (maximum 2-inch gap)
- Lock brakes and test by violently shaking chair
Solo Bed-to-Chair Pivot Execution
Sit on bed edge with back to locked wheelchair. Reach backward for armrests, placing palms flat. Shift weight to arms while lifting hips. Rotate your body 90 degrees as you lower into the seat. Critical: Keep your residual limb elevated throughout—never let it drag. If arms shake during descent, return to slide board transfers until strength improves.
Board-Free Double Amputee Transfers: The Controlled Walk Method
When no board is available, this technique uses upper-body strength to “walk” across surfaces. Only attempt if you have strong arms and no shoulder injuries.
Chair-to-Bed Transfer Without Equipment
- Position wheelchair facing bed head-on (zero gap)
- Remove leg rests and lock brakes
- Place hands on armrests, supporting full body weight
- Shift weight left, slide right hip toward bed
- Shift weight right, slide left hip forward
- Repeat “walking” motion until fully on bed
This method takes 45-60 seconds but prevents dangerous free-falling into surfaces. Warning: Stop immediately if you feel your wheelchair moving—recheck brake engagement.
Transfer Board Maintenance That Prevents Catastrophic Failure

A cracked board causes 22% of transfer accidents. Implement this care routine:
Weekly inspection protocol:
– Run fingers along edges checking for hairline cracks
– Test handle strength by applying downward pressure
– Verify smooth sliding surface (no splinters or warping)
– Confirm weight capacity markings are legible
Cleaning after every use:
1. Wipe with hospital-grade disinfectant
2. Air-dry completely before storage
3. Store vertically against wall (never under bed)
4. Replace immediately if any compromise detected
Home Environment Upgrades for Transfer Safety
Your space must accommodate amputation-specific transfer needs. Install these critical modifications:
Non-negotiable clearances:
– 36-inch minimum doorway width
– 3 feet clearance on transfer side of bed
– 2 feet behind wheelchair for helper positioning
– 4-foot radius around toilet for pivot transfers
Height matching solutions:
– Use bed risers to match wheelchair seat height (within 2 inches)
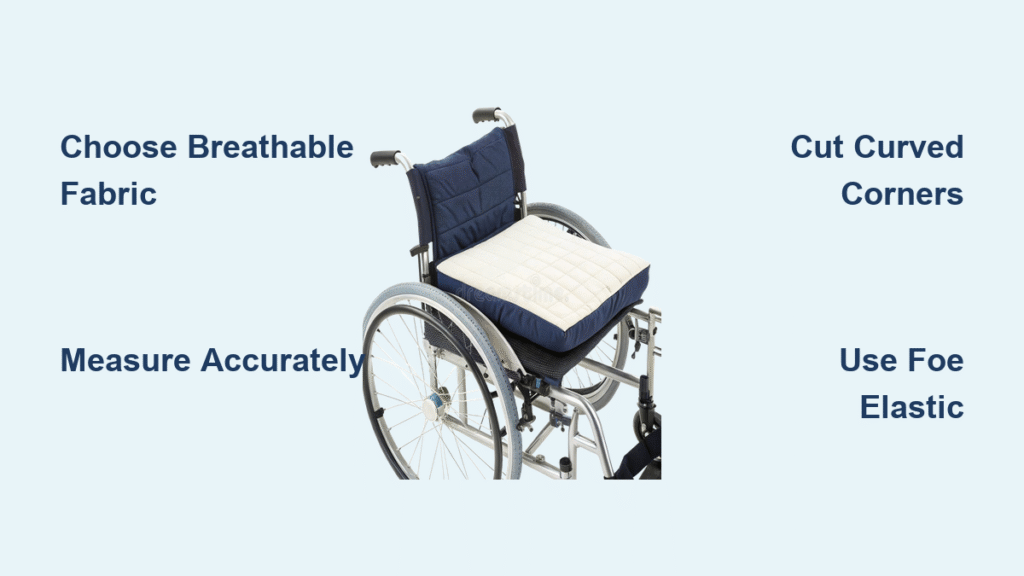
– Add 1-inch cushion to wheelchair if bed is too high
– Install transfer poles within arm’s reach of all surfaces
Nighttime safety essentials:
– Motion-activated floor lighting along transfer paths
– Glow-in-the-dark tape on wheelchair armrests
– Bedside transfer board within immediate reach
Physical Therapy Assessment: What Determines Your Transfer Method
Your therapist evaluates five critical factors before clearing transfers:
- Upper-body strength test: Can you push up from armrests 10x?
- Balance screen: Hold seated position with eyes closed for 15 seconds
- Wound assessment: No redness/swelling during weight shifts
- Cardiovascular check: Heart rate stays under 120 BPM during practice
- Pain threshold: Rating below 3/10 during technique attempts
Progression timeline:
– Weeks 1-2: Supervised slide board transfers only
– Weeks 3-4: Attempt pivots with standby assistance
– Week 5: Solo transfers with emergency call system nearby
– Ongoing: Quarterly technique reviews as strength improves
Troubleshooting Immediate Transfer Dangers
When arms shake during pivoting:
– Return to slide board transfers immediately
– Add 2 sets of arm push-ups daily (5 reps each)
– Use gait belt with helper for 2 more weeks
If wheelchair moves during transfer:
– Replace worn brake pads immediately
– Place non-slip mat under wheelchair casters
– Test brakes by shoving chair with full body weight
For increasing pain during transfers:
– Stop all pivoting for 72 hours
– Apply ice to residual limb 20 minutes pre-transfer
– Schedule PT appointment within 24 hours
Building Transfer Confidence Through Targeted Practice
Start with slide board transfers for the first 30 days post-amputation—this builds foundational safety awareness. Practice 5 minutes daily under supervision, focusing on smooth weight shifts rather than speed. Record yourself transferring to spot subtle balance errors. When cleared for pivots, begin with 90-degree rotations before attempting full turns. Never rush transfers: A safe 90-second transfer beats a risky 30-second attempt every time. Consistent practice under professional guidance transforms transfers from feared obstacles into confident daily routines that protect your healing body while reclaiming independence.

