

That frustrating thump-thump-thump as you push your wheelchair across the floor means it’s time for action. When your rubber tire wears thin or develops a puncture, knowing how to replace rubber tire on wheelchair yourself saves costly service calls and keeps you mobile. Most wheelchair tire replacements take just 30-45 minutes with basic tools, and this guide walks you through every critical step—from identifying your exact tire size to preventing common installation errors that cause persistent flats.
Unlike car tires, wheelchair tires come in precise imperial measurements that must match your wheel rim exactly. Getting this wrong means wasted time and money. By following this guide, you’ll avoid mismatched tires, improper seating issues, and dangerous wobbles after installation. Let’s get your wheels rolling smoothly again.
Match Your Wheelchair Tire Size Exactly

Decode Sidewall Markings Correctly
Check your existing tire’s sidewall for stamped codes like “24×1 3/8” or “22×1 3/4″—these indicate diameter and width. Common wheelchair specifications include 20×1 3/8″ for compact transport chairs, 22×1 3/8″ for standard manual chairs, 24×1 3/8″ as the most prevalent size, and 24×1 3/4″ for wider stability tires. Never guess your size; mismatched tires won’t seat properly and create dangerous riding conditions.
Measure When Markings Are Missing
If your tire lacks visible markings, measure diameter by stretching a tape from the outer rim edge across to the opposite side. For width, measure the tire’s broadest point. Always use inches—wheelchair tires exclusively use imperial sizing. Double-check measurements against manufacturer codes like T24183 (24″ x 1 3/8″) or T24134 (24″ x 1 ¾”) to ensure compatibility.
Select the Right Material for Your Needs
Your replacement options significantly impact performance: Standard rubber tires (T241) offer affordable grip but require inner tubes; PU (polyurethane) tires (TIRE-PU-24) resist punctures better while maintaining cushion; Urethane tires (URETHANE-24) eliminate flats entirely but provide a firmer ride. Consider your terrain—rough surfaces demand puncture-resistant options.
Assemble Your Wheelchair Tire Replacement Kit
Non-Negotiable Tools You Must Have
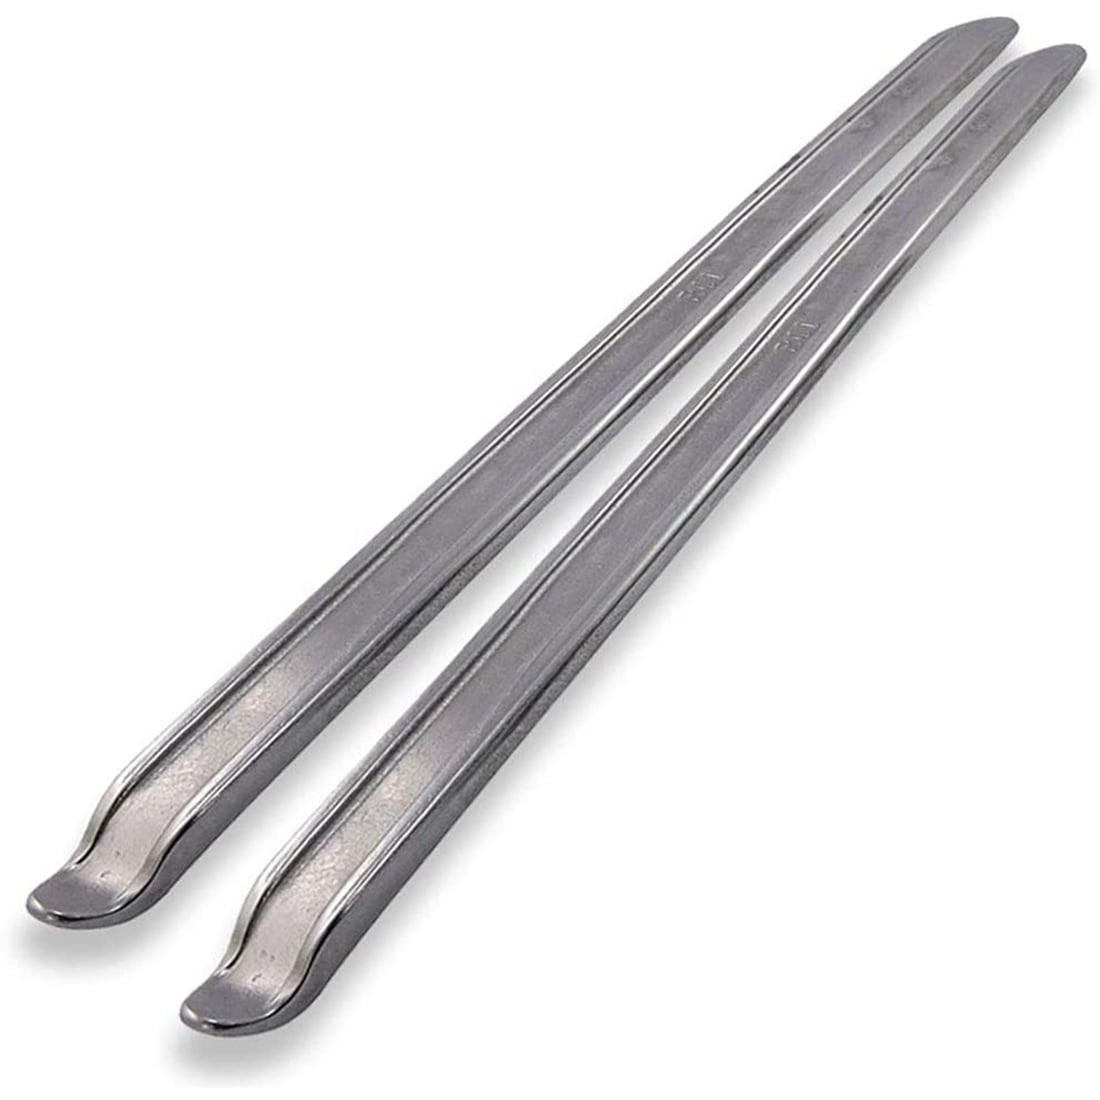
Gather two plastic tire levers to prevent rim damage during removal, your correctly sized replacement tire, a matching inner tube (like TU24183 for 23″ tires), a bicycle pump with pressure gauge, and an adjustable wrench for axle nuts. Skipping tire levers risks bending rims, especially on spoked wheels (WHEEL22SPOKE). Always deflate completely before starting—working with pressurized tires causes sudden slippage.
Smart Upgrades Worth Considering
For frequent replacements, invest in a tire changer tool (currently $199.99) that simplifies bead removal without rim scratches. Rim protectors prevent lever-induced damage during installation, while quick-release wheels (WHEEL24SPOK-QR) let you swap tires without tools. These pay off after just 3-4 replacements for active users.
Remove Wheel Without Damaging Components
Quick-Release Wheel Removal
Engage wheelchair brakes first to prevent rolling. Locate the quick-release button on the hub (WHEEL24SPOK-QR models), press it firmly while pulling the wheel straight outward. You’ll hear a distinct click when disengaged. Never yank sideways—this damages the axle mechanism. Hold the wheel securely as it releases to avoid dropping.
Fixed Axle Wheel Removal
Lock both wheelchair brakes and position the chair on level ground. Support the wheel’s weight with one hand while loosening the axle nut with your wrench. Remove the final nut slowly—wheels drop unexpectedly once free. For mag wheels (WHEEL24MAG), note that their solid construction makes removal slightly easier than spoked alternatives.
Remove Old Tire Without Rim Damage
Fully Deflate Before Starting
Press the valve core stem with a tire tool to release all air. A partially inflated tire creates dangerous resistance during removal and can pinch fingers. Confirm complete deflation by checking for zero tube rigidity—a critical step many skip when learning how to replace rubber tire on wheelchair.
Break the Bead Safely
Insert a tire lever between the tire bead (edge) and rim. Hook it around a spoke to hold position. Work a second lever 3-4 inches away, gradually prying the bead over the rim edge. Rotate the wheel as you go—never force levers more than 1 inch apart. For stubborn beads on urethane tires (URETHANE-24), apply soapy water as lubricant.
Extract and Inspect the Inner Tube
Once one bead side is free, pull out the inner tube starting at the valve stem. Examine it for puncture locations—this reveals what caused your flat (e.g., glass shards near the valve). Check the rim strip for exposed spoke holes that could damage your new tube.
Install New Tire to Prevent Future Flats
Inspect Rim for Hidden Hazards
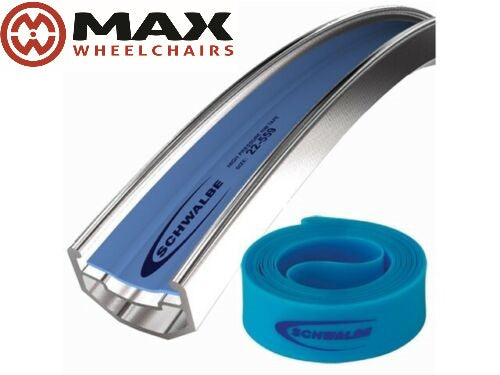
Run your fingers along the rim’s inner channel, feeling for sharp edges, debris, or damaged rim tape. Clean thoroughly with a damp cloth—any foreign object causes immediate punctures. Pay special attention to spoke holes on spoked wheels (WHEEL22SPOKE), where frayed rim tape is common.
Mount First Bead by Hand
Position the new tire with directional arrows facing rotation direction. Press one entire bead onto the rim using only your palms—this should require minimal force. If resistance is high, the tire size is wrong. Never use levers for the first bead; this stretches and misaligns the tire.
Insert Inner Tube Properly
Slightly inflate the new tube until it holds shape (not firm). Insert the valve stem through the rim hole first, then tuck the tube evenly inside the tire cavity. Pinch the tube between tire and rim to prevent pinching during installation—a leading cause of immediate flats.
Complete Second Bead Installation
Starting opposite the valve, work the remaining bead onto the rim. Pro tip: Push the mounted bead into the rim’s center channel to create slack. Use tire levers only where necessary—excessive lever use damages the bead. If stuck, apply soapy water to the bead edge as temporary lubricant.
Inflate to Perfect Pressure and Seat
Achieve Proper Bead Seating
Inflate slowly to 20 PSI while checking both tire beads seat evenly around the rim. Listen for an audible “pop” as the bead snaps into place. Spin the wheel to verify the tire sits straight without wobbles. Under-seated beads cause dangerous blowouts at higher pressures.
Set Final Pressure for Safety
Inflate to the PSI specified on your tire’s sidewall (typically 40-60 PSI for wheelchair tires). Never guess: Under-inflation increases rolling resistance by 30%, straining your shoulders; over-inflation risks sudden blowouts. Use a digital gauge—pump gauges are often inaccurate.
Reinstall Wheel for Smooth Operation
Secure Quick-Release Wheels Correctly
Slide the wheel onto the axle until you hear the engagement click. Pull firmly to confirm attachment. The release button should spring back fully when pressed—never force it closed. Test wheel rotation before releasing brakes.
Tighten Fixed Axle Wheels Properly
Align the wheel with the axle and slide into position. Hand-tighten the nut first, then fully tighten with your wrench to manufacturer specs. The wheel should spin freely without wobble or grinding. For mag wheels (WHEEL24MAG), check for even nut tension on both sides.
Fix Common Installation Problems Immediately
Correct Uneven Tire Seating
If the tire wobbles after inflation, deflate completely and reinflate slowly while checking bead position. Apply soapy water to stubborn sections as lubricant. Persistent issues indicate a size mismatch—verify your tire code (e.g., T24134 vs T24183) matches the rim.
Stop Repeated Flats Permanently
Inspect the rim strip for damaged spoke holes after removing the inner tube. Replace torn rim tape immediately. For chronic flats, upgrade to urethane tires (URETHANE-24) which eliminate punctures entirely—ideal for rough terrain users.
Eliminate Wheel Wobble
Check axle nut tightness on both sides first. If wobble persists, examine wheel bearings for wear (common on older chairs). Ensure the tire is evenly seated around the entire rim circumference—uneven seating creates rhythmic vibrations during movement.
Extend Tire Life with Simple Maintenance
Weekly Pressure Checks Prevent Wear
Use a digital gauge weekly—tires lose 5-10 PSI monthly even when unused. Proper inflation prevents premature tread wear and reduces pushing effort. Always check pressure before long outings; under-inflated tires double rolling resistance.
Monthly Visual Inspections Catch Issues Early
Look for embedded glass, cuts, or uneven tread wear. Pay special attention to sidewalls for cracks—common in tires stored in sunlight. Replace tires showing significant damage immediately; compromised tires increase fall risk.
Annual Replacement for Safety
Active users should replace rubber tires yearly regardless of appearance. Rubber hardens over time, losing grip and shock absorption. Urethane tires (URETHANE-24) last longer but still require annual inspection for hardening or cracks.
Your wheelchair now rolls silently with like-new tires. Take a 10-minute test spin indoors to confirm brake clearance and smooth rotation. Store your tire levers and spare tube in a chair-side pouch for roadside repairs. Remember: properly inflated tires reduce pushing effort by 30%, protecting your shoulders during daily use. For active users facing rough terrain, consider upgrading to 24″ x 1 ¾” urethane tires—they eliminate flats while conquering cracks and curbs with ease. Mastering how to replace rubber tire on wheelchair means never being sidelined by a flat again.


