Your wheelchair tire just went flat—again. Whether you’re staring at a bald tread or dealing with a punctured pneumatic, replacing your wheelchair tire doesn’t require a bike shop or expensive service call. This guide walks you through every step of identifying, selecting, and installing the right tire for your chair, saving you time and money while keeping you mobile. With the right tools and knowledge, you can complete most replacements in under 30 minutes, avoiding $50+ service fees and getting back on the move immediately.
Ignoring worn tires risks dangerous instability—especially on uneven terrain—and increases rolling resistance by up to 40%. Properly maintained tires directly impact your independence, comfort, and safety. We’ll help you diagnose issues, choose the perfect replacement, and execute professional-grade installations using only household tools or affordable specialty equipment.
Why Your Wheelchair Tire Fails Prematurely
Pneumatic vs Solid vs Foam-Filled: Real-World Tradeoffs
Pneumatic tires deliver the smoothest ride at just 36 PSI, making them ideal for daily users who prioritize comfort over convenience. You’ll need to check pressure weekly and carry spare tubes for inevitable flats. Solid tires eliminate punctures entirely but add noticeable weight and firmness—perfect for users who log high mileage and can’t afford downtime. Foam-filled pneumatics split the difference, offering puncture resistance with moderate cushioning for power chairs.
Critical insight: Heavy users over 250 lbs should avoid pneumatics—solid urethane tires like SHOX Dark Gray handle weight better without cracking. Always match your tire type to your propulsion style: aggressive pushers need puncture-proof solids, while casual users benefit from pneumatic comfort.
Identify Your Current Tire Type in 60 Seconds
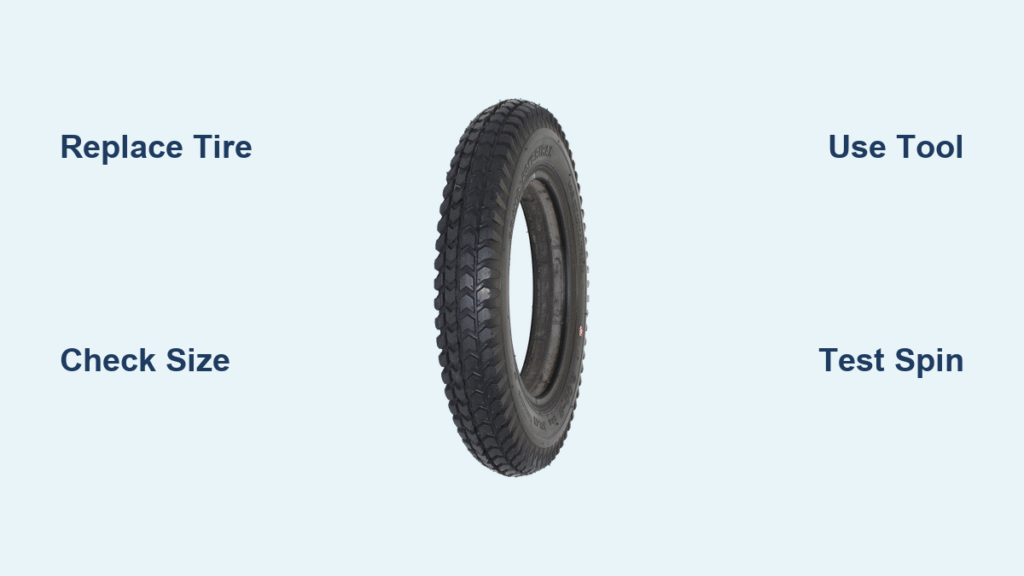
Look at the sidewall—pneumatics have visible valve stems, solids show molded construction, and foam-filled appear solid but feel slightly softer when pressed. Check the tread pattern too: knobby designs indicate pneumatic mountain tires, while smooth patterns suggest solid indoor tires. If you see “37-540” or similar ETRTO codes stamped on the tire, you’ve confirmed compatibility details for ordering replacements.
How to Know If You Need Full Wheel Replacement

Tire-Only vs Full Wheel Replacement: The Spin Test
Replace just the tire when tread disappears, sidewalls crack, or punctures occur with intact rims. Replace the entire wheel when spokes bend, hubs wobble, or bearings grind despite cleaning. Perform the spin test: remove the wheel and spin it freely. If it stops abruptly or wobbles, bearings are shot. If it spins smoothly for 5+ seconds but has bald spots, tire-only replacement suffices.
Pro tip: For caster wheels, clean hair/debris from bearings with tweezers first—this fixes 30% of “wobble” issues without replacement.
Warning Signs You Can’t Ignore
Caster wheels that stop mid-spin usually need hair removal first—try cleaning before replacing. Rear wheels that click during propulsion often indicate loose spokes or damaged hubs requiring full wheel replacement. Weekly inspections catch these issues before they strand you. If your chair pulls to one side after replacement, mismatched tire sizes or uneven inflation are likely culprits.
Find Your Exact Tire Size Without Guessing

Decode Sidewall Markings Like a Pro
Your tire size appears as 24×1-3/8 (37-540) or similar format. The first number (24) equals outer diameter in inches. The second (1-3/8) shows width. The ETRTO code (37-540) provides precise compatibility—always match this when ordering. Never rely solely on inch measurements; ETRTO ensures perfect fitment across brands.
Measure Caster Wheels Correctly in 3 Steps
For front wheels:
1. Measure diameter first (usually 6″, 8″, or 10″)
2. Check width (1-1/4″ or 2″ common)
3. Verify hub width—the distance between fork legs—and bearing inner diameter (8mm or 12mm most frequent)
Critical mistake: Measuring only diameter causes 70% of ordering errors. Always photograph your old tire’s sidewall markings before purchasing.
Choose Your Replacement Tire for Maximum Value
Solid Tire Options Under $30 That Last Years
DME Hub’s grey airless urethane at $25 offers reliable 24×1-3/8 sizing with moderate grip. The Sentinel series adds shock-absorbing technology for just $29.50—ideal for users over 250 lbs. SHOX dark gray provides high-performance urethane at $27.50, resisting cracks even in freezing temperatures. Avoid cheap “no-name” solids—they harden quickly and transmit more vibration.
Pneumatic Selections for Comfort Seekers
Primo Orion delivers quality pneumatics at $18.95 for 24×1-3/8 sizing—perfect for indoor/outdoor use. Schwalbe Marathon Plus pairs cost $116 but offer puncture-resistant performance worth the investment for daily commuters. Cheng Shin provides budget pneumatics starting at $16 for smaller caster sizes. Always buy tubes separately—Schrader valves (standard car-style) are easiest to inflate.
Gather Essential Tools Before Starting
Must-Have Equipment List Under $50
- Solid tire installation tool ($45) for airless tires (non-negotiable)
- Composite tire lever set ($9.95) for pneumatics (prevents rim damage)
- Digital pressure gauge ($12) for accurate pneumatic checks
- Replacement tubes in correct size ($8-9 each)
- Two wrenches matching your axle nuts (usually 13mm or 15mm)
Pro tip: The $45 solid tire tool pays for itself after two DIY replacements versus shop labor costs. Never attempt solid tire installation with screwdrivers—this damages rims and risks injury.
Replace Front Caster Wheels in 10 Minutes
Quick Assessment First: Skip Unnecessary Work
Clean hair and debris from caster bearings using tweezers—this restores free spin 30% of the time without replacement. If wheels still wobble after cleaning, replacement becomes necessary. Check for bent forks—if the metal is warped, replace the entire fork assembly.
Step-by-Step Removal for Bolt-On Casters
- Secure your chair with brakes engaged
- Hold the caster bolt stationary with one wrench
- Turn the nut counterclockwise with second wrench
- Keep hardware organized—note washer and spacer order
- Slide old wheel out of fork assembly
Visual cue: If the bolt spins freely when loosening the nut, you’ve lost bearing tension—replace the entire caster.
Installation Without Wobble
Insert new caster into fork, re-install hardware in exact reverse order. Tighten until snug but verify free rotation—overtightening causes wobble and premature bearing wear. Test spin before final tightening: wheels should rotate 3+ full turns without resistance.
Replace Rear Drive Wheels Safely

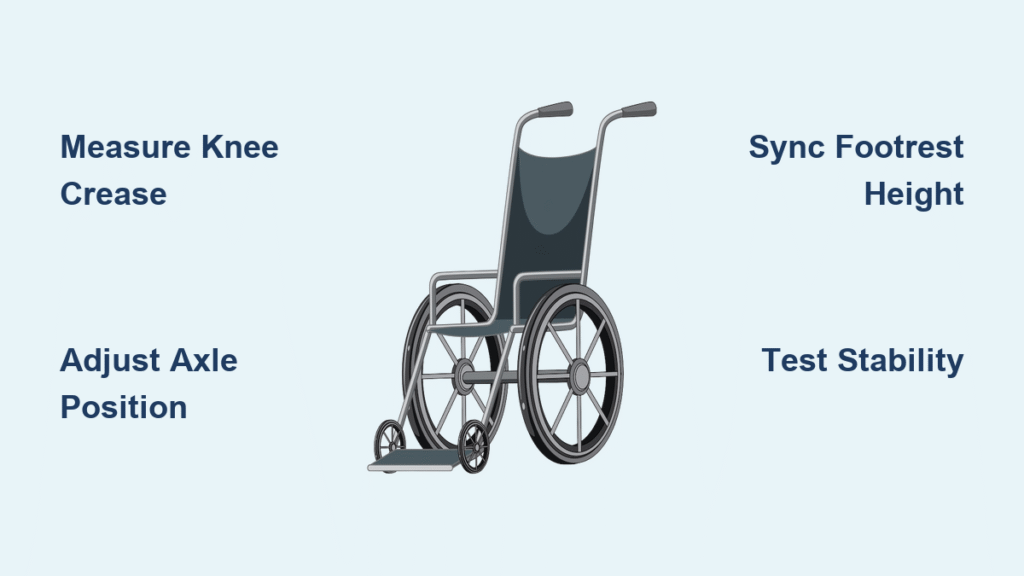
Quick-Release vs Bolt-On Systems: Know Your Chair
Quick-release wheels pop off by pressing the center button—no tools required. Bolt-on wheels need wrench removal but offer more security for active users. Identify your system before starting—forcing quick-release mechanisms can shear internal pins.
Bolt-On Wheel Replacement Process
- Remove both axle nuts using wrenches on each side
- Note spacer placement for reassembly (critical for alignment)
- Slide old wheel straight out—avoid tilting to prevent bearing damage
- Insert new wheel in same orientation (valve stem position matters for pneumatics)
- Tighten nuts evenly to prevent wheel misalignment
Safety check: Spin wheel after installation—any wobble indicates loose hardware or bent axle.
Install Solid Tires With Special Tool
When Standard Methods Fail: Avoid Costly Mistakes
Solid tires require the $45 installation tool or significant leverage. Attempting installation without proper tools risks injury and damaged tires. Never use excessive force—urethane tires crack under uneven pressure.
Tool-Assisted Installation in 5 Steps
- Lubricate tire edges with soapy water (reduces required force by 50%)
- Position wheel in tool with tire centered on rim
- Crank handle slowly to stretch tire over rim (pause if resistance increases)
- Verify seating around entire circumference—no gaps near valve stem
- Check for twists before use (a twisted tire causes dangerous wobble)
Expert note: Warm tires in sunlight first—this increases flexibility and reduces installation force needed by 30%.
Maintain Your New Tires for Longevity
Weekly Inspection Routine That Prevents Breakdowns
Check tread wear patterns and sidewall cracks during your weekly chair cleaning. Look for embedded glass or metal that could cause future punctures. Rotate rear tires monthly to even wear, especially important for users who favor one hand for propulsion.
Pressure Management for Pneumatics
Maintain 36 PSI for standard Cheng Shin tires—lower pressure increases rolling resistance by 25% and tire wear. Digital gauges provide accurate readings; analog gauges often read 2-3 PSI low. Carry a spare tube and mini-pump for emergency repairs away from home.
Smart Shopping Strategies to Avoid Returns
Verify Compatibility Before Ordering
Always confirm ETRTO size (like 37-540) matches your existing tire. Check hub width and bearing inner diameter for caster wheels. When in doubt, contact DME Hub’s expert support—they’ll cross-reference your chair model with tire specifications in minutes.
Budget vs Performance Decisions
Budget pneumatics ($16-32 each) work well for occasional users. High-performance options like Schwalbe Marathon Plus ($116 pair) justify their cost for daily commuters through puncture resistance and extended tread life. Solid tires ($25-44 each) eliminate tube costs entirely after the first year.
Final Safety Checks Before Rolling Out
Post-Installation Verification You Must Do
After any tire replacement, test your chair on carpet first—wobbles or tracking issues show up immediately on soft surfaces. Check brake engagement—new tires sometimes sit slightly higher or lower, affecting brake contact. Adjust brake pads if needed for proper stopping power.
Critical reminder: Proper tire selection and maintenance directly impacts your mobility independence. Taking 30 minutes to replace your own tire saves $50-80 in shop labor while ensuring you know how to handle future flats. With these skills, you’ll never be stranded by a simple tire failure again—your chair stays ready when you are.

