Your wheelchair footrest collapses unexpectedly during a routine trip to the pharmacy. One side hangs lower than the other, forcing you to drag your foot. That persistent clicking noise grows louder every time you shift your weight. These aren’t just annoyances—they’re safety hazards that compromise mobility and independence. Most wheelchair footrest problems stem from simple mechanical failures you can resolve in under 15 minutes with basic tools. This guide delivers immediate solutions for wobbling attachments, height malfunctions, and angle misalignments—no technician required. You’ll master precise adjustment techniques, prevent dangerous detachments, and extend your footrest’s lifespan through proactive maintenance.
Diagnose Loose Footrest Connections
Spot Wobbling Attachment Signs
Immediate indicators: Grab your footrest and shake it firmly. Any lateral movement means worn hanger pins or incomplete locking. Listen for rhythmic clicking when applying pressure—that’s micro-movements accelerating wear. Critical checks: Visually inspect for gaps between mounting brackets and frame pins. Attempt lifting the footrest straight up while locked—any upward movement confirms failure. Finally, rock the footrest side-to-side; audible clicks pinpoint loose connections needing urgent attention.
Identify Height Adjustment Failures
Key symptoms: Your feet scrape the ground despite previous adjustments, thighs press uncomfortably against the seat cushion, or one footrest visibly sags lower than its counterpart. Verification method: Measure from the seat base to each footplate using a tape measure. Differences exceeding 1/4 inch cause posture damage and uneven pressure distribution. This misalignment strains joints and increases pressure sore risks—correct it immediately using identical hole positions on both sides.
Secure Wobbly Footrest Mounts

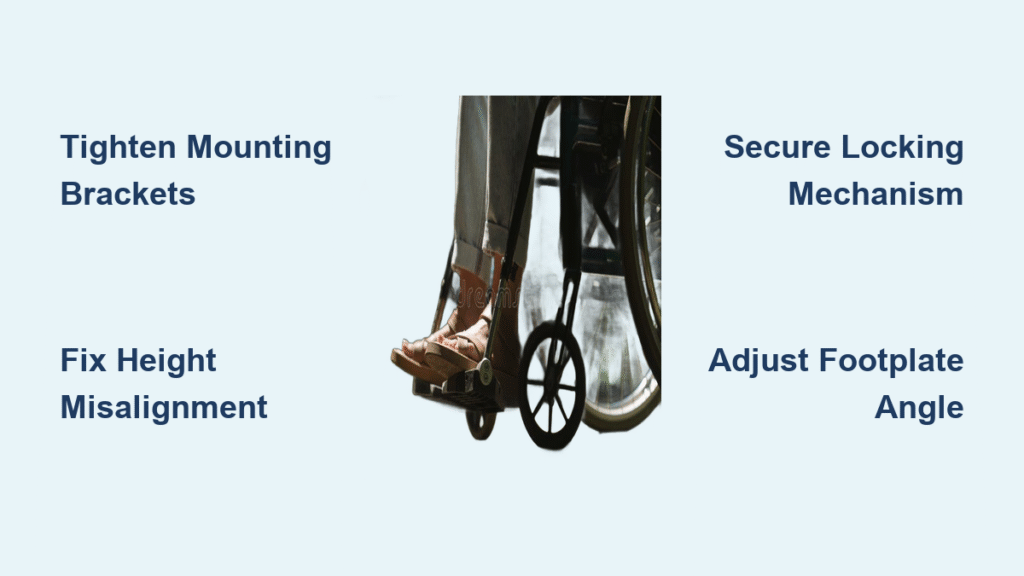
Tighten Mounting Brackets Properly
Tools needed: 4-6mm Allen wrench set, Phillips screwdriver, needle-nose pliers. Step-by-step fix: First, engage both wheelchair brakes until they click. Remove the footrest by pushing the release lever toward the front, swinging outward, then lifting straight up. Inspect frame-mounted hanger pins for bending or wear. Tighten all visible bracket bolts with the Allen wrench until snug—not overtightened. Finally, test locking mechanisms by pressing push pins; they must spring back fully.
Stabilize Adjustment Points
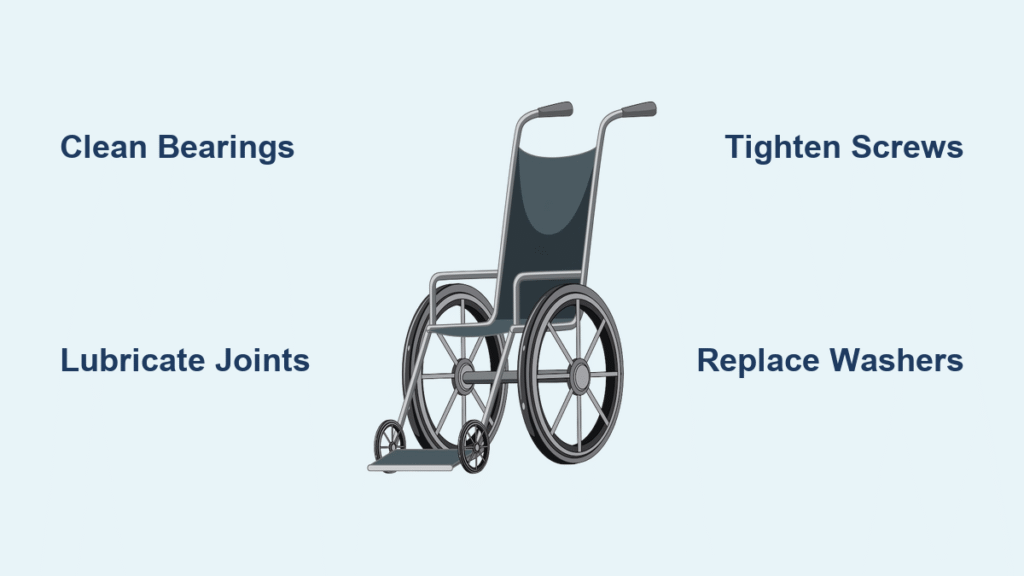
Target failure zones: Footplate pivot bolts, height adjustment buttons, and angle locking levers. Precision tightening sequence: For pivot bolts, turn clockwise until resistance, then back off 1/4 turn for smooth movement. Clean height adjustment buttons by blasting debris from housing with compressed air. Lubricate angle levers internally with silicone spray—never oil-based products that attract dirt. This eliminates play while maintaining fluid motion.
Correct Height and Angle Positioning
Set Exact Leg Rest Length
Measurement protocol: Note hip-to-knee length for thigh support and knee-to-heel distance for lower leg alignment. Adjustment process: Remove the leg rest, locate dual buttons below adjustment holes, and press both simultaneously while sliding the inner tube. Count identical holes from the top on both sides—this prevents uneven positioning. Reattach by aligning hanger pins, lowering until you hear two distinct clicks, then swinging forward. Pro tip: Mark optimal hole positions with a permanent marker for future reference.
Fix Footplate Tilt Immediately
Ideal angle: Footplates must tilt 5-10 degrees backward to stop feet from sliding forward. Adjustment method: Locate the angle lever on the mounting bracket, release the lock by pulling outward, then rotate the footplate until heels sit slightly lower than toes. Secure by releasing the lever with firm pressure until it clicks. For persistent heel pressure, add soft heel loops or calf pads to distribute weight and prevent sores.
Reattach Footrests Without Failure

Follow Critical Installation Steps
Safety-first setup: Position your wheelchair on level ground, engage both brakes until they click, and confirm left/right orientation. Attachment sequence: Hold the footrest at a 45-degree angle to the frame. Hook mounting brackets over hanger pins, then push down firmly until you hear a loud click. Swing forward to the resting position and push the lever down until it clicks a second time. Verification test: Attempt lifting the footrest straight up—it should not budge. Apply full foot pressure to simulate body weight.
Prevent Future Footrest Failures
Implement Weekly Security Checks
5-minute inspection routine: Verify all locking mechanisms click securely when engaged. Check footplate bolts for tightness using a screwdriver. Scan for unusual wear patterns like pin grooves or bracket cracks. Ensure adjustment buttons move freely without resistance. Neglecting this takes 60 seconds but prevents dangerous mid-day failures.
Perform Monthly Deep Maintenance
Essential service process: Remove footrests completely and clean contact points with a damp cloth and mild soap. Apply silicone-based lubricant to height adjustment buttons, angle levers, pivot bolts, and locking springs. Inspect hanger pins for wear—if they show visible grooves, replace immediately. Test adjustment mechanisms for smooth operation before reinstallation.
Solve Stubborn Footrest Problems
Fix Non-Locking Footrests
Top causes and fixes: Obstructions in brackets? Clear debris with compressed air. Bent hanger pins? Replace them—never force attachment. Misaligned mounting? Hold the footrest at 45 degrees while lowering to ensure hooks engage perfectly. Critical reminder: If pins won’t lock after three attempts, stop using the wheelchair until components are replaced.
Correct Uneven Height After Adjustment
Diagnosis flow: First, confirm your wheelchair sits on a flat surface. Second, count identical adjustment holes from the top on both sides—never eyeball positions. Third, measure from the seat base (not the floor) to eliminate surface inconsistencies. Finally, have someone observe your leg angles while seated; knees must bend at 90 degrees with feet flat.
Replace Critical Worn Components

Recognize Replacement Urgency
Footplate red flags: Cracks longer than 1/4 inch, sharp edges from wear, or missing non-slip texture. Leg rest assembly warnings: Worn hanger pins preventing secure locks, stripped adjustment threads, or bent support arms. Never ignore these: Damaged components can detach during transfers, causing falls. Replace immediately using original manufacturer parts—verify compatibility with your wheelchair’s serial number.
Source Parts Safely
Ordering protocol: Always request original equipment manufacturer (OEM) parts for warranty compliance. Provide your wheelchair’s serial number when ordering to ensure exact matches. For universal parts, triple-check mounting specifications, weight capacity ratings, and adjustment ranges. Test replacements thoroughly before daily use—apply full body weight while stationary for 60 seconds.
Final Verification Checklist: After any adjustment or repair, confirm both footrests click securely when lifted, sit perfectly parallel, and maintain 90-degree knee angles with feet flat. Weekly inspections catch 90% of failures before they become hazards. Keep a 4mm Allen wrench and silicone spray in your wheelchair bag for emergency fixes.
Immediate Action Plan: Bookmark this guide, schedule your first 5-minute inspection tonight, and mark your optimal adjustment holes with a marker. Your mobility depends on reliable footrests—don’t wait for failure to act.

