That moment when you’re stuck at the car door, dreading the awkward lift from wheelchair to seat—it doesn’t have to be this hard. A transfer board bridges the gap between surfaces, letting you slide across safely with minimal strength. Whether you’re recovering from surgery or managing long-term mobility needs, mastering this technique restores independence for errands, appointments, and spontaneous road trips. Forget risky lifts or relying solely on caregivers. With the right board and technique, you’ll complete transfers confidently in under three minutes.
Most failed transfers happen due to overlooked details: mismatched seat heights, rushed movements, or poorly positioned boards. This guide cuts through the guesswork. You’ll learn exact board placement angles, how to leverage your car’s window frame for stability, and why a 2-inch height difference changes everything. Let’s transform a stressful chore into a smooth, repeatable process.
Essential Transfer Board Equipment Checklist
Gather these before attempting your first transfer—skipping any item risks injury or frustration.
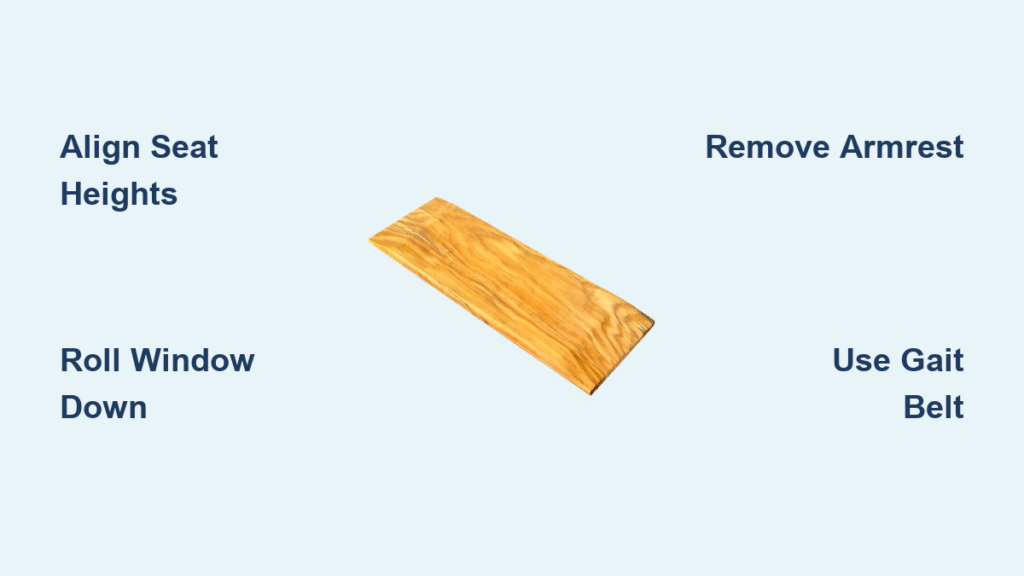
• Specialized transfer board (wood, plastic, or curved “banana” style)
• Gait belt for caregiver support or self-stabilization
• Wheelchair with removable armrest (swinging armrests create tripping hazards)
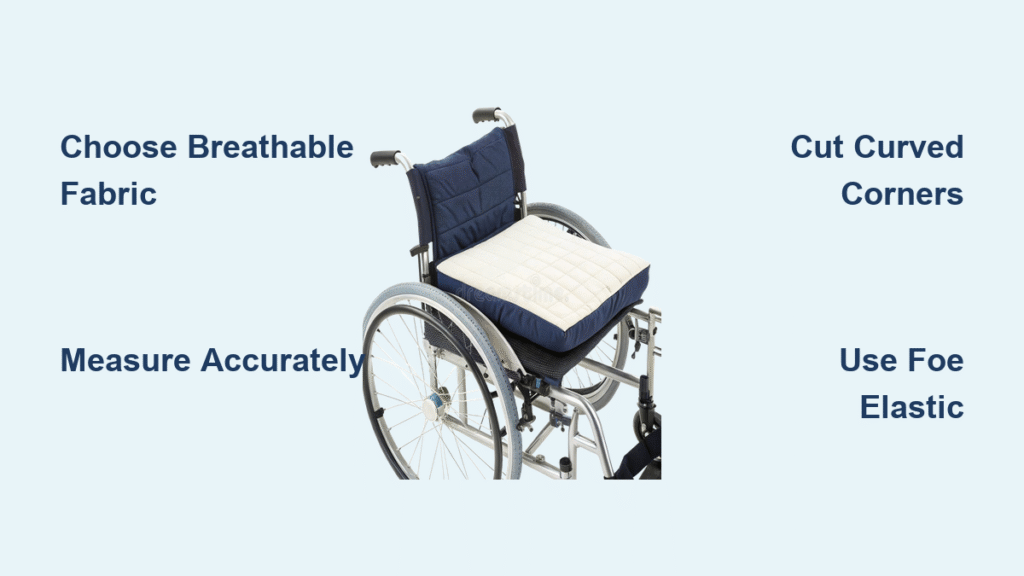
• Firm seat cushion (for height adjustments if needed)
Material matters critically for car transfers:
– Wood boards (27-35″) provide rock-solid stability but weigh 5-7 lbs—ideal if loading with help
– Plastic boards glide smoother and prevent skin pinching (2-3 lbs for solo handling)
– Curved “banana” boards navigate around wheelchair wheels in compact cars
Pro Tip: Test board surfaces by sliding your palm across them. If it feels sticky, clean with mild soap—residue increases friction and causes skin tears during transfers.
Vehicle Setup First: Create Your Transfer Highway

Maximize Space with Seat Positioning
Roll your car seat all the way back from the steering wheel. This creates two crucial advantages: 1) Extra room to maneuver your body sideways, and 2) Space to pull your folded wheelchair inside afterward. Recline the seat back 10-15 degrees if you hit your head on the roof during transfers—this small tilt adds 3+ inches of clearance.
Why the Window Must Be Fully Down
Roll down the door window completely—this isn’t optional. The rigid window frame becomes your emergency handhold if you start to slip. During practice transfers, grip this frame firmly before lifting your body. Unlike the car door, it won’t flex or shift under pressure.
Fix Height Mismatches Before Transferring
Never attempt transfers when your car seat sits more than 2 inches below your wheelchair. This downhill slope causes uncontrolled sliding and falls. Instead:
1. Use your car’s power seat controls to raise the seat height
2. Place a firm foam cushion (not memory foam) on the car seat if raising isn’t possible
3. Verify alignment by sitting in your wheelchair—you should see level surfaces when looking down
Critical Mistake: Using folded towels for height adjustment. They compress under body weight, causing sudden drops mid-transfer.
Wheelchair Positioning: Lock Down Your Foundation
Secure Positioning Protocol
Park your wheelchair within 2 inches of the car door opening, angled slightly toward the seat. Lock both wheels twice—push the levers firmly downward until they click. Remove the armrest closest to the car completely; swinging it back leaves a dangerous protrusion.
Clear Hidden Obstacles
Swing footrests fully outward—this is the #1 cause of failed transfers. During practice, watch how clothing or legs catch on these when not fully cleared. Position your wheelchair so the rear wheel just clears the car door edge—this creates the shortest sliding path.
Board Placement Technique: Avoid Painful Pinching

Skin-Safe Insertion Method
Slide the board’s front edge under your thigh pointed slightly downward (like a ramp). Simultaneously lean your upper body away from the board to create space beneath your hip. This prevents the board from pinching skin—a common reason people abandon transfers.
Optimal Board Angling
Place the board’s car-end at the back corner of the seat farthest from your wheelchair. This diagonal placement shortens the sliding distance by 6-8 inches versus straight-across positioning. Ensure 6+ inches of board extend past the wheelchair’s rear wheel for stability.
Pro Tip: Place your hand on the board’s car-end while positioning it. If the seat fabric dips under your palm, you need a firmer cushion—soft seats cause board wobble.
Execute the Transfer: Controlled Micro-Movements
Lift-and-Slide Sequence
Push down hard with both palms on the wheelchair armrests to briefly lift your body 1-2 inches. This reduces friction significantly. Now slide just 2-3 inches toward the car seat. Repeat this “lift-slide-lower” sequence 4-6 times until fully transferred.
Counterbalance for Stability
Lean your head and shoulders opposite your movement direction. Sliding left? Lean right. This keeps your center of gravity over the board, preventing tipping. Keep your gaze on the car seat—not your feet—to maintain balance.
Emergency Stop Technique
If you start to slip:
1. Press palms firmly down on both surfaces
2. Freeze your body position
3. Call for help immediately
Never try to “catch yourself” by grabbing the car door—it may open unexpectedly.
Troubleshooting Height Discrepancies
Quick Fixes for Uneven Surfaces
Place a 4-inch firm foam cushion (like those used for pressure sore prevention) on the lower seat. Test it by sitting on the cushion in your wheelchair—if the seat compresses more than 1 inch, it’s too soft. For permanent solutions, explore swivel car seats that rotate toward the door (requires professional installation).
Practice Strategy for Height Challenges
Transfer early in the day when you have maximum energy. Fatigue reduces upper body strength by 40% by evening—making lifts impossible. Start with caregiver assistance for height adjustments, then progress to solo transfers once you’ve mastered the technique.
Caregiver Safety Essentials
Proper Support Mechanics
Caregivers must:
– Stand with feet shoulder-width apart, knees bent
– Support weight through the gait belt (never pull on arms)
– Use verbal cues: “Lift on three—1, 2, 3!”
Emergency Pathway Rule
Clear a 3-foot path between wheelchair and car before starting. A single grocery bag on the ground causes 31% of transfer-related falls. Have caregivers stand slightly behind you to catch falls backward—not to the side where they can’t react fast enough.
Board Selection for Car Transfers

Critical Length Requirements
Choose 27-35 inch boards for cars. Shorter 21-inch boards (common for toilet transfers) leave dangerous gaps. Measure your specific vehicle: sit in your wheelchair next to the car, then measure the gap between seats. Add 6 inches for stability.
Material Comparison
| Type | Best For | Weight | Car Transfer Tip |
|---|---|---|---|
| Wood | Daily transfers | 5-7 lbs | Use for stability if transferring with help |
| Curved Plastic | Compact cars | 2-3 lbs | Navigates around wheelchair wheels |
| Beasy Glide | Limited arm strength | 4 lbs | Eliminates friction—ideal for arthritis |
Pro Tip: Store your board in the car’s back seat—not the trunk. Retrieving it from the trunk defeats the purpose of independent transfers.
Safety Rules That Prevent Falls
Never attempt transfers alone until you’ve successfully completed 10 supervised transfers. Falls during car transfers cause hip fractures 3x more often than other transfers due to hard pavement surfaces.
Perform the 30-second safety check before every transfer:
1. Wheelchair wheels locked?
2. Armrest removed?
3. Footrests fully swung out?
4. Board extending 6+ inches past rear wheel?
5. Clear path to car seat?
Plan your return transfer before leaving home. Identify accessible parking spots that allow wheelchair positioning parallel to the car—not angled spots where you’ll transfer across traffic lanes.
Mastering wheelchair-to-car transfers with a sliding board isn’t just about technique—it’s about reclaiming freedom. Start with these fundamentals in a quiet parking lot, practice consistently for 5-10 minutes daily, and document what works for your specific vehicle. Within weeks, you’ll transfer with the confidence of someone who’s done it a hundred times. Remember: the right board placement prevents 90% of transfer failures, and consistent safety checks make independence sustainable. Your next adventure starts the moment you slide into the driver’s seat.

