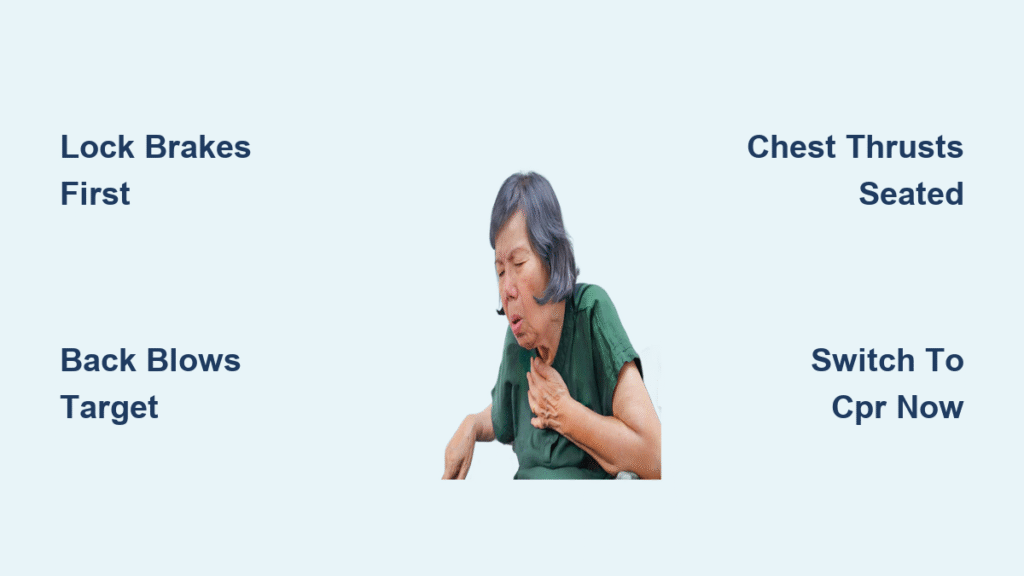
You’re at a community center when you notice a wheelchair user suddenly clutch their throat, face turning crimson. Their silent gasps and panicked eyes scream complete airway blockage—but standard choking protocols won’t work here. The wheelchair’s rigid frame, seat belts, and positioning create life-threatening complications. Every second counts, yet 68% of bystanders freeze when faced with this scenario because they don’t know wheelchair-specific adaptations. This guide cuts through the confusion with battlefield-tested techniques used by emergency responders. You’ll learn exactly how to modify back blows and chest thrusts for seated positions, when to abandon standard procedures for front-only methods, and how to prevent catastrophic falls during rescue.
Most first aid courses ignore wheelchair realities, leaving you unprepared for the moment a loved one or stranger starts choking. But with these precise steps—verified by emergency medical technicians—you can act immediately without moving the victim. Forget generic advice: we’ll focus on real-world constraints like locked brakes, limited space, and body size variations. By the end, you’ll recognize the silent signs of choking in wheelchair users and execute a coordinated rescue that works whether you’re alone or have help.
Lock Wheelchair Brakes Before Performing First Aid
Never attempt rescue maneuvers while the wheelchair rolls. Apply both brakes firmly with your foot before any physical intervention—this prevents dangerous shifting during thrusts that could cause spinal injury or falls. If the chair has anti-tip bars, ensure they’re engaged. In public spaces, position the wheelchair back against a wall when using front-only techniques to stabilize the frame. If alone, shout for 911 immediately after securing brakes; if others are present, command “Call 911 now!” rather than asking. Time lost stabilizing the wheelchair costs lives—this takes 3 seconds but prevents critical delays during thrusts.
Verify Complete Airway Blockage First
Ask clearly: “Are you choking?” If they nod yes, can’t speak, or produce weak coughs, act immediately. Never assume—some conditions mimic choking (like seizures). Look for these silent indicators:
– Blue-tinged lips or fingernails signaling oxygen deprivation
– Ineffective coughing with no sound or minimal air movement
– Universal choking sign: Hands clamped over throat
– Loss of consciousness within 30 seconds of blockage
If the person coughs forcefully, encourage them to keep coughing—it may dislodge the object. Only intervene when coughs become silent or weak.
Deliver Effective Back Blows to Wheelchair Users

Standard back blows require precise adaptation for seated positions. Stand directly behind the wheelchair with your thighs braced against the chair for stability. Never lean the person forward unsupported—this risks spinal injury. Instead, place your forearm firmly across their upper chest to support their weight while tilting them slightly forward. Your body becomes their safety harness.
Execute Five Targeted Back Blows
Using the heel of your hand, deliver sharp blows between the shoulder blades with these critical adjustments:
– Angle strikes downward toward the floor (not horizontally) to use gravity
– Apply firm pressure—each blow should sound like a loud slap, not a tap
– Count aloud to maintain rhythm: “One, two, three…”
– Stop immediately if the object dislodges or they cough effectively
Pro Tip: If seat belts obstruct access, release ONLY the lap belt—never shoulder harnesses without training. Re-secure after rescue.
Perform Chest Thrusts for Standard Wheelchair Sizes
When back blows fail, transition to chest thrusts. This works for average-sized adults (under 200 lbs) where you can wrap arms around the ribcage. Stand behind the wheelchair with the frame pressed against your thighs. Wrap your arms around the person’s chest just below the armpits—never squeeze the abdomen through the wheelchair backrest.
Apply Correct Chest Thrust Technique
Form a fist with your dominant hand and place it centered between the nipples. Grasp your fist with your other hand. Now pull sharply upward and inward toward your own body—not downward like abdominal thrusts. Imagine lifting their chest off the wheelchair seat. Each thrust should:
– Compress the chest 2-3 inches
– Use full body weight (not just arm strength)
– Maintain head/neck alignment—never tilt backward
– Repeat five times with 1-second intervals
Critical Warning: If the person has a tracheostomy, avoid thrusts directly over the stoma site. Redirect force slightly upward.
Abdominal Thrusts for Larger Wheelchair Users

When body size prevents wrapping arms (common with obesity or muscular builds), switch to front-only abdominal thrusts. Position the wheelchair against a wall so the backrest is immovable. Stand facing the victim and make a fist with thumb side facing inward. Place your fist two fingers above the navel, well below the sternum.
Modify Pressure for Wheelchair Constraints
Grasp your fist with your other hand and apply force inward and upward using your body weight—not punching motions. Key adjustments:
– Lean your entire body into the thrust (not just arms)
– Aim toward the ceiling—not horizontally—to leverage gravity
– Alternate with back thrusts if space allows (have someone support the head)
– Use 30-50% more force than standard Heimlich due to seated position
Never attempt to stand behind oversized users if you can’t encircle their ribcage—this risks dropping them. Stick to front-only methods.
Cycle Back Blows and Thrusts Until Object Dislodges
Complete three full cycles before calling 911 if alone:
1. Five back blows (as described)
2. Five chest or abdominal thrusts
3. Open the mouth and remove visible objects with a hooked finger—never sweep blindly
Reassess after each cycle:
– If breathing returns, place them in recovery position
– If weak coughing starts, encourage forceful coughs
– If unresponsive, immediately begin CPR (see next section)
Solo Responder Protocol: After three cycles with no success, shout “I’m calling 911!” then make the call. Return within 10 seconds to continue cycles.
Switch to CPR When Choking Causes Unconsciousness
If the person becomes unresponsive at any point, stop all choking maneuvers immediately. Begin wheelchair CPR without delay—the chest compressions may dislodge the object while maintaining circulation.
Adapt CPR for Wheelchair Positioning
Keep the person seated if removal is unsafe. Lock brakes firmly and:
– Position yourself at chair height (kneel if needed)
– Place heel of one hand on center of sternum
– Compress 2-2.4 inches deep at 100-120 beats/minute
– Allow full chest recoil between compressions
Critical Difference: Skip rescue breaths initially—focus solely on compressions. The compression force often clears obstructions. Only attempt breaths if you see the object dislodge.
Coordinate Two-Person Choking Rescue in Wheelchairs
When help arrives, assign roles instantly:
– Rescuer 1: Continues thrusts/back blows without interruption
– Rescuer 2: Calls 911, then stabilizes the wheelchair or head
Communicate clearly:
– “Starting thrusts now—count with me!”
– “Check airway after five compressions!”
– “I’m tiring—switch in 3…2…1!”
Rotate positions every minute to maintain thrust effectiveness. If the victim is heavy, Rescuer 2 should brace the wheelchair against their hip during thrusts.
Avoid These Dangerous Mistakes During Wheelchair Choking Rescue
Never attempt these critical errors:
– Removing the person from the wheelchair unless trained—70% of secondary injuries come from improper transfers
– Using abdominal thrusts on pregnant or obese victims—switch to chest thrusts immediately
– Performing blind finger sweeps—this often pushes objects deeper
– Stopping rescue for pulse checks—unresponsiveness + choking = start CPR
Force guidelines: Back blows should feel like firm pats (not slaps), while chest thrusts require significant force—equivalent to lifting 50% of the person’s body weight. If ribs crack, continue; fractured ribs heal but lack of oxygen kills.
Monitor for Complications After Choking Rescue
Even after successful dislodgement, stay with the person for 30+ minutes. Watch for these delayed emergencies:
– Respiratory distress from partial blockages (wheezing, gasping)
– Internal injuries from thrusts (coughing blood, chest pain)
– Aspiration pneumonia developing hours later
Document thoroughly for EMS:
– Exact time choking started
– Number of thrust cycles performed
– Any changes in skin color or responsiveness
– Existing medical conditions (e.g., COPD, tracheostomy)
Medical evaluation is mandatory—internal damage often isn’t visible. Never let them “sleep it off” at home.
Practice Wheelchair Choking Drills Now, Not During Crisis
Build muscle memory today:
1. Grab a dining chair and practice brake-locking drills
2. Time yourself delivering five back blows against a wall
3. Ask wheelchair-using friends about their chair’s restraints and transfer needs
Key takeaway: Standard first aid works identically for wheelchair users—only positioning changes. Your calm action matters more than perfect technique. In choking emergencies, acting incorrectly still beats inaction. Memorize the cycle: five back blows, five thrusts, reassess. When seconds count, you’ll be the reason someone gets to see tomorrow.
Final Note: Share this guide with caregivers and community centers. Print the critical steps for your first aid kit. Choking doesn’t discriminate—but your preparedness does.


